Your Guide to Fixing a Non-Dispensing Water Dispenser
Is your water dispenser on strike? 💧
A water dispenser not dispensing is a common frustration. You can often find a surprisingly simple solution.
Many issues stem from a loss of power, an empty bottle, an airlock, or even a frozen water line. We will begin with the easiest fixes to get your water flowing again.
Key Takeaways
- Check power, water bottle, and spigot first. These are common problems with easy fixes.
- Clear airlocks by holding both hot and cold spigots for 60 seconds. This helps water flow again.
- Thaw frozen lines with a hairdryer on medium heat. Always unplug the dispenser first.
Step 1: Check the Power and Water Supply
You should always start with the most common culprits. A lack of power or water causes most dispenser problems. These simple checks can save you time and effort.
Confirm It's Plugged In and On
First, look behind the unit. You need to ensure the power cord is securely plugged into the wall outlet. Next, find the power switch, which is often on the back of the dispenser. Many models have helpful indicator lights to show their status.
- Power Light: Some dispensers, like certain Igloo models, have an LED that confirms the unit has power.
- Heating/Cooling Lights: Other lights may show if the heating and cooling functions are active.
Tip: Don't worry about electricity usage. Energy Star certified dispensers are very efficient, often using less than 0.16 kWh per day.
Test the Power Outlet
Your dispenser might be fine, but the outlet could be the issue. You can test it by plugging in a small appliance, like a lamp or phone charger. If that device doesn't work, the outlet has no power. Go to your home's electrical panel. You should look for a circuit breaker that has tripped, as this is a common safety measure that cuts power.
For a more definite test, you can use a multimeter.
- Set your multimeter to measure AC voltage (V~).
- Carefully insert the black probe into the larger neutral slot and the red probe into the smaller hot slot.
- A working outlet in the U.S. should give a reading between 110-125 volts.
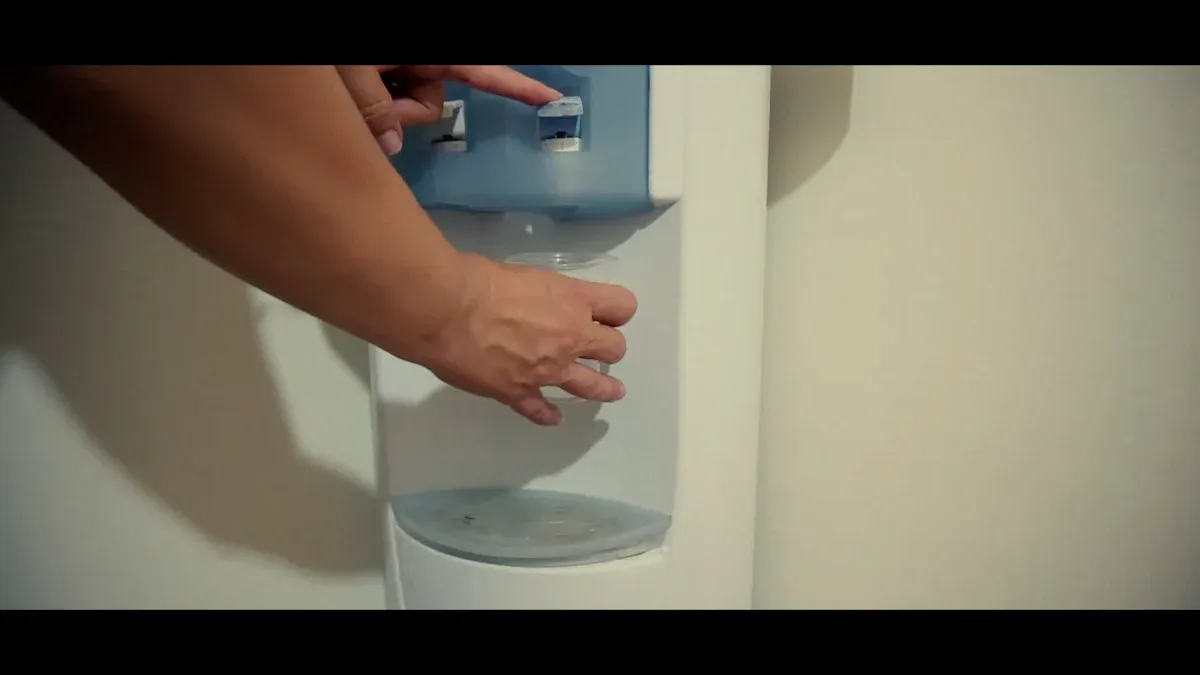
Check the Water Bottle
This may seem obvious, but an empty water bottle is a frequent reason for a dispenser not working. Do not just look at the bottle. You should lift it slightly to feel its weight. A full 5-gallon bottle is quite heavy. If it feels light, you have found your problem. Simply replace the empty bottle with a full one to get the water flowing again.
Step 2: Inspect for Simple Blockages
If your dispenser has power and a full water bottle, a simple blockage might be the culprit. Debris or mineral buildup can easily stop the water flow. These next checks will help you find and clear these common obstructions.
Examine the Dispensing Spigot
First, you should look closely at the dispensing spigot, which is the tap where water comes out. Hard water can leave mineral deposits inside the spigot over time. This buildup, called scale, can eventually block the water. You can clear this blockage with a safe cleaning solution.
Safe Cleaning Tip: Food-grade citric acid cleaning powder is an excellent choice. It is designed to remove stubborn mineral buildup and scale safely. Using a non-toxic cleaner like this ensures your water's taste and purity are preserved.
Follow the product's instructions to dissolve the powder and clean the spigot and internal lines.
Check the Bottle's Probe and Seal
The probe is the sharp tube inside the dispenser that pierces the bottle's cap. If it is blocked or if the bottle is not sealed correctly, water cannot flow into the machine. 🔬
You can inspect this area with a few simple actions:
- Remove the water bottle. Carefully lift it off the dispenser.
- Inspect the bottle's cap area. Look for any cracks or damage. A damaged bottle will not create a proper seal and needs to be replaced.
- Examine the probe. Look for any visible blockages or physical damage like cracks. Wipe the probe with a clean cloth to remove any debris.
- Re-seat the bottle. Place the full bottle back onto the dispenser. Make sure you press down firmly to create a tight, secure seal.
Step 3: Fix a Water Dispenser Not Dispensing Due to an Airlock
If the power is on and the bottle is full, an airlock might be your problem. This issue is common, especially after you change the water bottle. Luckily, you can fix it easily.
What Is an Airlock?
An airlock happens when a large air bubble gets trapped inside your dispenser's water lines. Air is much lighter than water. This trapped air bubble floats and collects in a high spot within the internal piping, creating a blockage that stops water from flowing. This is a frequent cause for a water dispenser not dispensing.
Air can enter the system in a few ways. It often gets in when you replace an empty water bottle. Sometimes, a closed thermostat can also prevent air from escaping the lines properly. The trapped pocket of air then acts like a plug, and your water dispenser not dispensing becomes the main symptom.
How to Purge the Air
You can force the trapped air out of the system. This process is called purging. It clears the line and lets water flow freely again. 💨
Follow these simple steps to purge the air:
- Make sure the dispenser is plugged in and turned on.
- Get a cup or bucket ready to catch water.
- Press and hold down both the hot and cold water spigots at the same time.
- Keep holding them for about 60 seconds. You might hear gurgling sounds as the air escapes.
- Water should begin to flow steadily from one or both spigots. Once it does, you can release the levers.
Pro Tip: If water doesn't flow after one minute, release the spigots and wait a few seconds. Then, try pressing them both down again. You may need to repeat this process two or three times to completely clear the airlock.
Step 4: Address Temperature-Related Problems
Sometimes the problem isn't a blockage but ice. A thermostat set too cold can freeze the water inside your dispenser's lines, stopping the flow completely. This is especially common in coolers with powerful chilling functions.
Identify a Frozen Water Line
You can identify a frozen line with a few simple checks. The most obvious sign is that the water stopped flowing suddenly, even with power and a full bottle. The freeze often happens in the water line located inside the dispenser's main housing.
A thermostat set too cold is a major cause of freezing. Your dispenser's cooling system can accidentally create an ice plug in the reservoir or lines.
Cooling Tip: To prevent freezing, experts recommend keeping the water temperature above 48°F (9°C). This provides a safe buffer and minimizes the risk of your water lines turning into ice.
You can perform a quick test to confirm an ice blockage:
- Try to carefully insert a long, thin zip tie (about 6-8 inches) into the water dispenser spigot.
- If the zip tie stops and won't go in fully, you have likely found an ice blockage.
How to Safely Thaw the Line
You can melt the ice plug with gentle heat. You must do this carefully to avoid damaging the dispenser's plastic parts. 🧊
Safety First: Critical Warnings
- NEVER use an open flame, like a lighter or blowtorch. This is a serious fire hazard and will melt the plastic.
- Do NOT use a high-powered heat gun.
- Do NOT pour salt or antifreeze into the system. This water is for drinking.
The safest tool for the job is a common hairdryer.
- Unplug the dispenser from the wall outlet for safety.
- Set a hairdryer to medium heat.
- Aim the warm air at the area where you suspect the freeze is, like the internal reservoir or tubing.
- Keep the hairdryer moving. Do not hold it in one spot for more than a few seconds. Touch the plastic often to ensure it feels warm, not hot.
- After 5-10 minutes, plug the dispenser back in and test the water flow. You may need to repeat this process until the ice melts and water runs freely.
Step 5: Check for a Clogged Water Filter
Your dispenser's water filter is essential for clean, great-tasting water. Over time, it can get clogged with contaminants, which stops the water flow. Checking the filter is a crucial step in troubleshooting your dispenser.
Locate and Inspect the Filter
First, you need to find the filter. Its location varies by model. You might find it inside the main housing, behind a small door on the back, or near the water bottle assembly. Check your product manual if you are unsure where it is.
Once you find it, look for signs that it is clogged or expired. A filter that needs changing often causes noticeable issues.
- You may see a significant decrease in water flow, sometimes called a 'slow pour'.
- The water might look cloudy or have floating particles in it.
- You could notice a change in the water's taste or smell.
Maintenance Tip: Most manufacturers recommend you replace water filters every three to six months. Following this schedule helps maintain water quality and prevents clogs.
How to Replace a Clogged Filter
Replacing a clogged filter is a straightforward process. You will need a new, compatible filter and a towel for any spills. 💧
- Remove the old filter. Depending on your dispenser, you may need to twist it or simply pull it straight out. Keep a towel handy to catch any drips.
- Prepare the new filter. Take off any packaging or protective caps from the new cartridge. Make sure its O-rings are in place to create a good seal.
- Install the new filter. Push the new filter into the housing and twist it until it locks securely in place.
- Flush the system. Place a large cup under the spigot. Run about three gallons of water through the dispenser. This prepares the new filter and clears out any loose carbon particles.
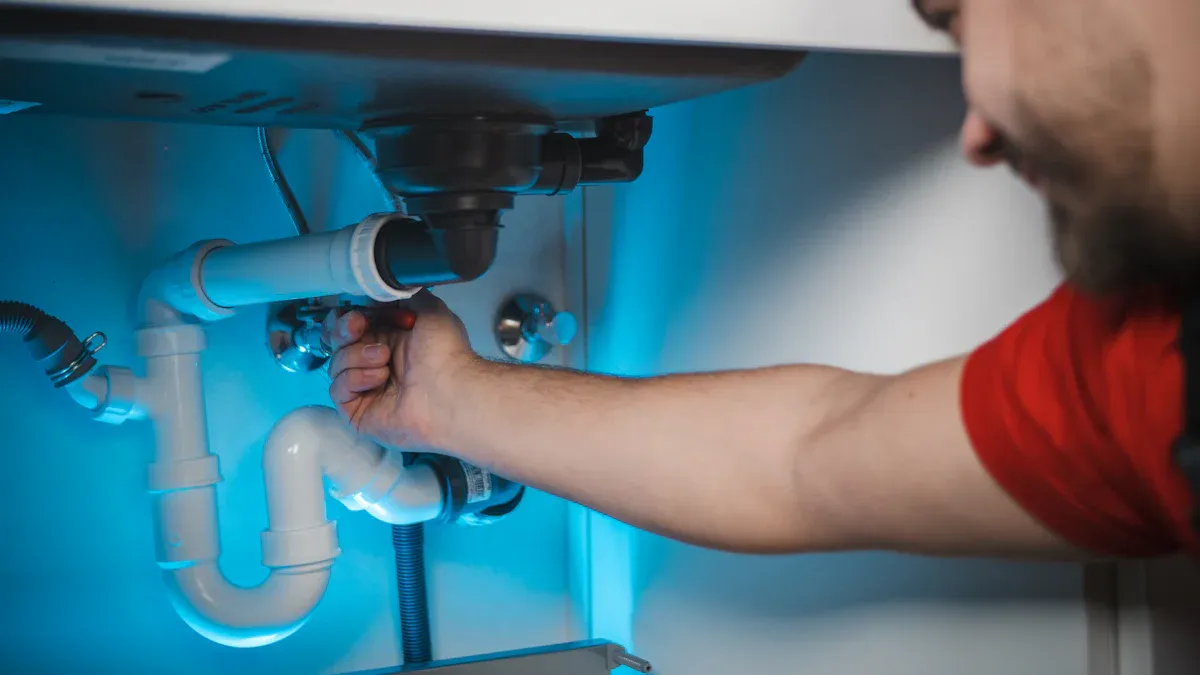
When Is It Time to Call a Professional?
You have tried all the simple fixes, but your dispenser is still on the fritz. Sometimes, the problem is too complex for a DIY repair. Knowing when to call for help can save you time and prevent further damage.
Signs of a Serious Problem
You should stop troubleshooting and call an expert if you notice any of these warning signs. These issues often point to a failure in the electrical or sealed systems of the unit.
- Electrical Issues: You hear buzzing or humming sounds from inside the dispenser. You see sparks when plugging it in or notice a burning smell.
- Major Leaks: Water is leaking from the body of the dispenser itself, not just from the spigot or bottle area.
- No Cooling or Heating: The indicator lights are on, but the water is consistently room temperature. This could signal a failed compressor or heating element.
- Persistent Failure: Your water dispenser not dispensing issue continues after you have tried all the previous steps.
Finding a Qualified Technician
Hiring the right person ensures a safe and effective repair. You should look for a technician with proper certifications. This proves they have the necessary skills and knowledge.
Some companies, like Culligan, offer their own advanced 'Master Service Technician' certification. This involves 2-5 years of proprietary training on their specific water systems.
For dispensers with cooling functions, a technician must have an EPA certification. This is required for anyone who handles refrigerants.
- EPA Section 608: This certification is legally required for servicing equipment with refrigerants.
- Certification Types: These include Type I for small appliances, Type II for high-pressure systems, and Universal for all equipment types.
You can find verified professionals on reputable online platforms. These sites provide reviews, ratings, and credential information.
- Angi
- Thumbtack
- HomeAdvisor
You can resolve most common dispenser issues by following these steps. Regular monthly cleaning and proper bottle changes are key to preventing future problems. For complex mechanical or electrical failures, professional help is the safest option. A water dispenser not dispensing often has a simple fix.
Consider a repair if the cost is less than 70% of a new unit's price.
FAQ
How often should I clean my water dispenser?
You should clean your dispenser every month. Regular cleaning prevents mineral buildup and keeps your water tasting fresh and pure. This simple habit helps avoid future blockages.
Why is my dispenser leaking water?
A leak often comes from a cracked water bottle or a bad seal. You should check the bottle for damage. Make sure it sits securely on the dispenser.
Can I use tap water in my dispenser?
Check your user manual first. Some dispensers are designed only for bottled water. Using tap water in these models can cause mineral buildup and damage the unit. 🚰