Water Dispenser Not Cooling? Try These Quick Tips
It sounds simple, but you'd be surprised how often a loose plug is the culprit when your water dispenser is not cooling. Let's start with the most basic checks to rule out any simple power-related problems. These quick steps often solve many cooling issues right away.
Confirm It's Plugged In Securely
First, go to the wall outlet where your dispenser is connected.
- Wiggle the Plug: Gently push the plug to ensure it sits firmly in the outlet. Sometimes, it can get knocked loose, leading to your water dispenser not cooling.
- Test the Outlet: Unplug the dispenser and plug in a small lamp or a phone charger. If that device doesn't work, the problem is your outlet, not the dispenser. You may need to check your home's circuit breaker.
Locate and Flip the Cooling Switch
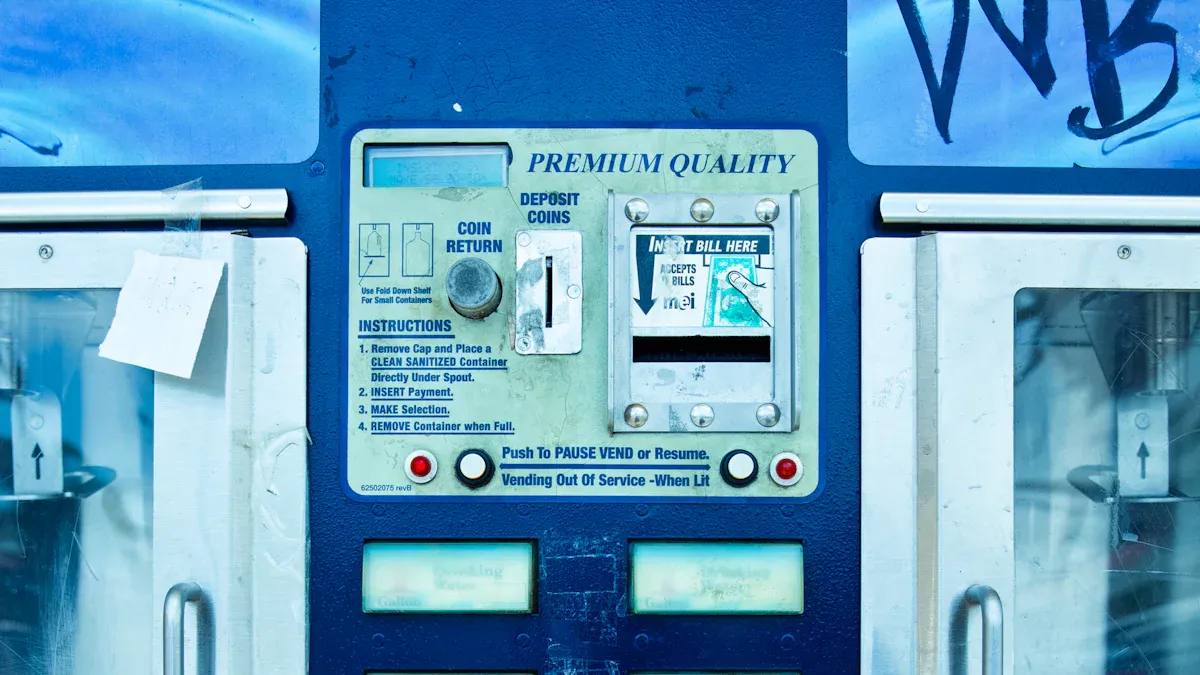
Many water dispensers have separate switches for heating and cooling to help save energy. It's easy to forget the cooling switch is off, which would explain why your water dispenser is not cooling.
Pro Tip: The cooling switch is almost always on the back of the unit. It is usually a simple toggle or rocker switch, often colored red or green, and may be labeled "Cool" or have a snowflake icon ❄️.
Flip this switch to the "On" position. You should hear the compressor or fan start up within a few moments. Give the dispenser about an hour to cool the water down.
Key Takeaways
- Check simple things first. Make sure your water dispenser is plugged in tightly. Also, check if the cooling switch on the back is turned on.
- Give your dispenser space. It needs at least 4-6 inches of open room around it. This helps air move and keeps the dispenser from getting too hot.
- Clean the back of your dispenser. Dust on the coils stops it from cooling well. Use a vacuum to clean the coils once a month.
First Steps: Check Power and Switches
It sounds simple, but you'd be surprised how often a loose plug is the culprit when your water dispenser is not cooling. Let's start with the most basic checks to rule out any simple power-related problems. These quick steps often solve many cooling issues right away.
Confirm It's Plugged In Securely
First, go to the wall outlet where your dispenser is connected. A secure connection is important because these units require a steady power supply to function correctly.
- Wiggle the Plug: Gently push the plug to ensure it sits firmly in the outlet. Sometimes, it can get knocked loose, interrupting the power.
- Test the Outlet: Unplug the dispenser and plug in a small lamp or a phone charger. If that device doesn't work, the problem is your outlet, not the dispenser. You may need to check your home's circuit breaker.
A standard dispenser uses a specific amount of electricity, as shown below.
| Specification | Value |
|---|---|
| Power | 5.8A/120V |
| Input Power Consumption | 580W |
| Heating Power Consumption | 500W |
Locate and Flip the Cooling Switch
Many water dispensers have separate switches for heating and cooling to help save energy. It's easy to forget the cooling switch is off, which would explain why your water dispenser is not cooling. The cooling function alone can draw a significant amount of energy.
| Type of Cooler | Typical Power Draw |
|---|---|
| Thermoelectric Cooler | 60 to 80 W |
| Compressor-Cooled Dispenser | 100 to 120 W |
Pro Tip: The cooling switch is almost always on the back of the unit. It is usually a simple toggle or rocker switch, often colored red or green, and may be labeled "Cool" or have a snowflake icon ❄️.
Flip this switch to the "On" position. You should hear the compressor or fan start up within a few moments. Give the dispenser about an hour to cool the water down.
Give Your Dispenser Room to Breathe
Your water dispenser works a lot like your home refrigerator. It needs space to get rid of heat. If your dispenser is pushed tightly against a wall or crowded by other items, it cannot cool your water properly. Let's look at why airflow is so important.
The Importance of Airflow
Most water dispensers use a compressor-based cooling system. This system needs good airflow to work correctly. The unit pulls heat out of the water and releases it into the surrounding air through coils on the back.
- Restricted airflow across these coils disrupts the heat transfer process.
- This disruption reduces the dispenser's cooling efficiency.
- It can also cause potential damage to internal parts over time.
Insufficient ventilation is a silent lifespan killer. A dispenser in a dusty, warm room with poor airflow may only last 5 to 6 years. Giving your unit room to breathe helps it run efficiently and last longer.
Proper Placement and Ventilation
You can easily improve your dispenser's performance by checking its location. Proper placement ensures the unit has enough space to operate without overheating.
Quick Tip: Always leave at least 4-6 inches of open space around the back and sides of your water dispenser. This clearance allows air to circulate freely.
Follow these simple placement rules for the best results:
- Avoid Direct Sunlight: Keep the dispenser away from windows where it will sit in the sun.
- Steer Clear of Heat Sources: Do not place your unit next to ovens, radiators, or other appliances that produce heat.
- Clean the Vents: Check the air vents on the back of the unit. Use a vacuum to gently remove any dust or debris that could block airflow.
Inspect the Back of the Unit
If your dispenser has enough space but still isn't cooling, the next step is to look at the back of the unit. The components here are essential for the cooling process. A quick inspection and cleaning can often solve the problem.
Clean the Condenser Coils
The condenser coils are the thin, radiator-like tubes on the back of your dispenser. They release heat from the refrigerant to cool your water. Dust and dirt can build up on these coils over time. This layer of dust acts like a blanket, trapping heat.
When the coils cannot release heat properly, the cooling system works much harder. This leads to several problems:
- The system uses more electricity to do its job.
- It causes extra wear and tear on important parts.
- It reduces the dispenser's cooling power.
- It can shorten the lifespan of your appliance.
Safety First! ⚠️ Always unplug the water dispenser from the wall outlet before you start cleaning.
Follow these simple steps to clean the coils:
- Gently vacuum the coils using a brush attachment to remove dust.
- You can also use a soft, dry brush to wipe away any remaining dirt.
- Perform this cleaning about once a month to keep your dispenser running well.
Check if the Cooling Fan is Running
After cleaning the coils, plug the dispenser back in and make sure the cooling switch is on. Locate the cooling fan, which is also on the back of the unit. Its job is to blow air over the condenser coils to help them cool down.
Listen closely and look to see if the fan blades are spinning. If the fan is not running, the coils will overheat, and your water will not get cold. A non-working fan could mean the fan motor has failed. This issue often requires a professional technician to fix.
Adjust the Cold Water Thermostat
Sometimes the problem is not a broken part. Your dispenser’s thermostat might just be set too warm. An accidental bump or a previous adjustment could be the reason your water is not cooling. You can easily check and change this setting yourself.
Finding the Thermostat Dial
First, you need to locate the cold water thermostat. This control lets you decide how cold you want your water.
- Check the Back: The thermostat is almost always on the back of the water dispenser.
- Look for a Dial or Screw: It is usually a small, round dial or a flat-head screw. You might need a small screwdriver to turn it.
What to Look For: The thermostat is often labeled with words like "Cold" or "Temperature Control." You may also see a blue line or a snowflake icon ❄️ indicating the colder direction.
Setting the Ideal Temperature
Once you find the thermostat, you can adjust it to make the water colder. Residential water dispensers typically set their cold water temperature between 4-10°C. This range is designed to provide refreshing cold water, perfect for a hot day.
Follow these steps to set your ideal temperature:
- Turn the Dial: Use your fingers or a screwdriver to turn the dial slightly toward the "Colder" or "Max" setting. Only make a small adjustment at a time.
- Wait Patiently: Plug the unit back in if you unplugged it. Give the dispenser at least one hour to adjust to the new setting.
- Test the Water: Pour a glass of water to see if it has reached your desired coolness.
Be careful not to turn the thermostat to its absolute coldest setting right away. This can sometimes cause the water in the reservoir to freeze, which will block water flow.
What to Do If Your Water Dispenser Not Cooling After a Move
Did you just move your water dispenser to a new home or even just a new room? If you find your water dispenser not cooling afterward, the problem might be related to the move itself. Like a refrigerator, your dispenser has a delicate cooling system that needs time to stabilize after being transported.
Let the Refrigerant Settle
Your water dispenser uses a compressor and a special liquid called refrigerant to make the water cold. The compressor also contains oil to keep its parts lubricated. When you move the dispenser, especially if you tilt it or lay it on its side, this oil can flow out of the compressor and into the refrigerant lines.
If you plug the unit in too soon, the compressor will try to pump this thick oil mixture through the system. This can create blockages and cause permanent damage to the cooling mechanism. You must give the oil time to drain back into the compressor where it belongs.
Think of it like this: Shaking a can of soda creates pressure. You let it sit for a while before opening it. Similarly, you need to let your dispenser sit so the internal fluids can settle.
The 4-Hour Wait Rule
You can easily prevent damage and ensure your dispenser works correctly by following one simple rule.
The 4-Hour Wait Rule:
- Place your water dispenser in its final, upright position.
- Wait for at least 4 hours before plugging it into the wall outlet.
- After waiting, you can plug it in and turn on the cooling switch.
This waiting period allows the compressor oil and refrigerant to separate and return to their proper places. This simple step is crucial for the long-term health of your appliance and is often the solution when your water is warm after a move.
Reset the System
Sometimes, the issue isn't mechanical but electronic. Your water dispenser has a small internal control board, like a mini-computer, that manages its functions. Just like a computer or phone, this board can sometimes develop minor electronic glitches or software bugs. A simple power cycle, or "soft reset," can often clear these temporary problems and get your dispenser working correctly again.
Unplug the Unit
The first step in a reset is to completely cut the power. This action forces the internal control board to shut down entirely. It clears out any transient software issues that might be causing the cooling system to malfunction. Think of it as giving the dispenser's electronic brain a fresh start.
Important Note: Simply turning off the cooling switch on the back is not enough. You must physically disconnect the unit from the power source to perform a true reset.
Wait and Plug It Back In
Once unplugged, you need to give the system enough time for all the electronic components to fully discharge. This waiting period is crucial for the reset to be effective. It ensures that any lingering electronic errors are completely erased from the system's memory.
Follow these simple steps for a successful reset:
- Carefully unplug the water dispenser from the wall outlet.
- Let the unit sit unplugged for at least 5 to 10 minutes. ⏳
- Plug the dispenser securely back into the outlet.
- Turn the cooling switch on the back to the "On" position.
After plugging it back in, listen for the compressor or fan to start. Allow the dispenser about an hour to cool the water before checking the temperature. This simple reset often resolves unexplained cooling failures.
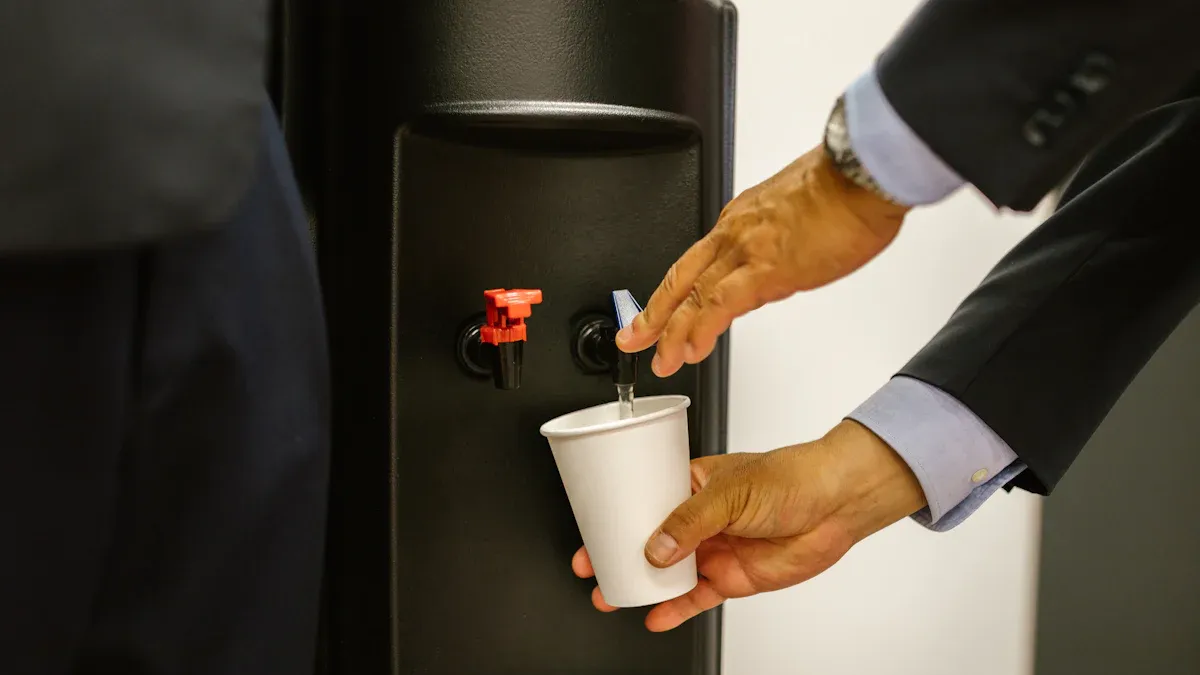
Check the Water Supply
Your water dispenser cannot cool water it does not have. A disruption in the water supply is a common reason for cooling problems. You need to make sure water is actually getting into the cooling reservoir. The steps to check this depend on the type of dispenser you own.
Is the Water Bottle Empty?
This check applies to top-loading and bottom-loading dispensers. The cooling system chills the water stored in an internal tank, or reservoir. If the main water bottle is empty, the reservoir will not refill. The dispenser will then have no water to cool.
- Look at the Bottle: Visually inspect your water bottle to see if it is empty.
- Replace if Needed: If the bottle is empty, replace it with a full one.
- Wait for Cooling: You should hear the reservoir begin to fill. Give the unit about an hour to cool the new supply of water.
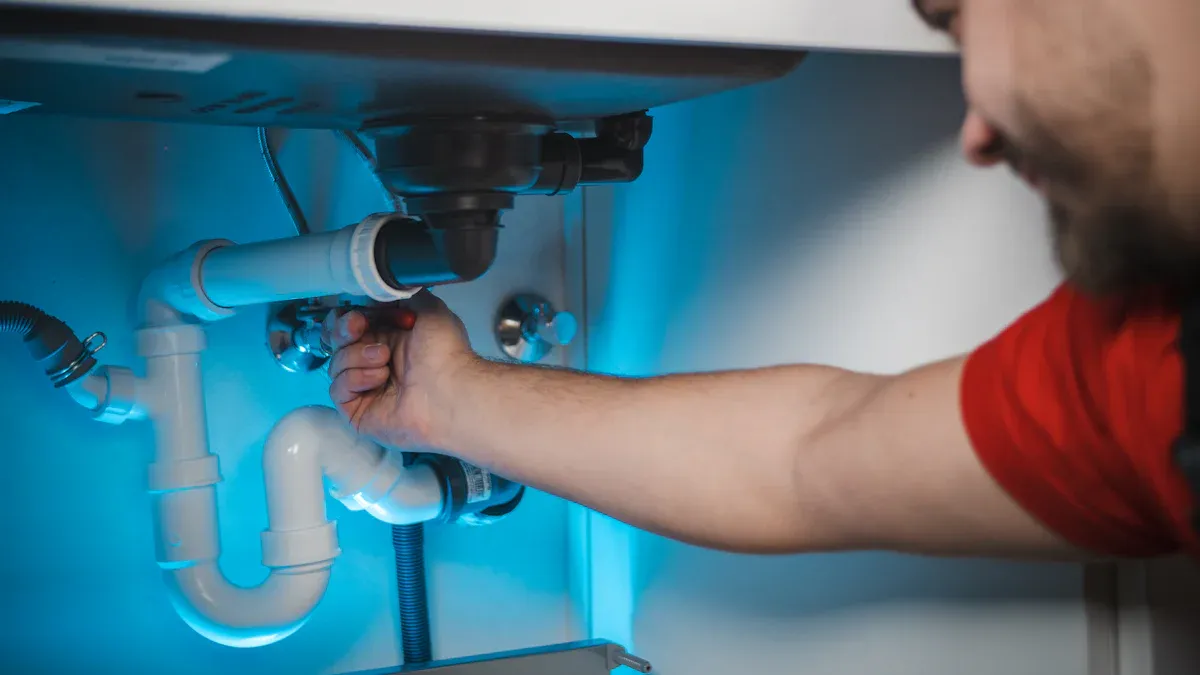
Inspect the Water Line for Plumbed-In Units
Plumbed-in units, also called point-of-use dispensers, connect directly to your building's water supply. A problem with this connection can stop water from reaching the dispenser. You should first check the water line for any visible issues like sharp bends or kinks that could block flow.
Did You Know? Water lines can get clogged from the inside over time. This is a common issue in areas with hard water, where mineral deposits build up and restrict water flow. Other materials from the main plumbing, like grease, can also create blockages.
If the line looks fine, the clog may be internal. While less common for a dedicated dispenser line, the main pipes feeding it can be affected by issues like tree roots, especially in older homes. If you suspect an internal clog, you may need to call a plumber for help.
These quick tips resolve most cooling problems. If you still have a water dispenser not cooling, you may face a complex issue. Problems like a faulty compressor or a refrigerant leak require professional service. You should contact a qualified technician to fix your water dispenser not cooling safely and effectively.
FAQ
How long does it take for the water to get cold?
Your dispenser needs about one hour to cool water. Room temperature and the specific model can affect this time. This is a normal part of its operation.
Why is my water dispenser making a gurgling noise?
Gurgling sounds are normal. 💧 This happens when air replaces water in the bottle. You will hear it when the internal tank refills after you pour a glass.
My cold water is not working, but the hot water is. What's wrong?
Heating and cooling systems are separate. A problem with the cooling side will not affect the hot water. Check the cooling switch or look for a blocked fan.