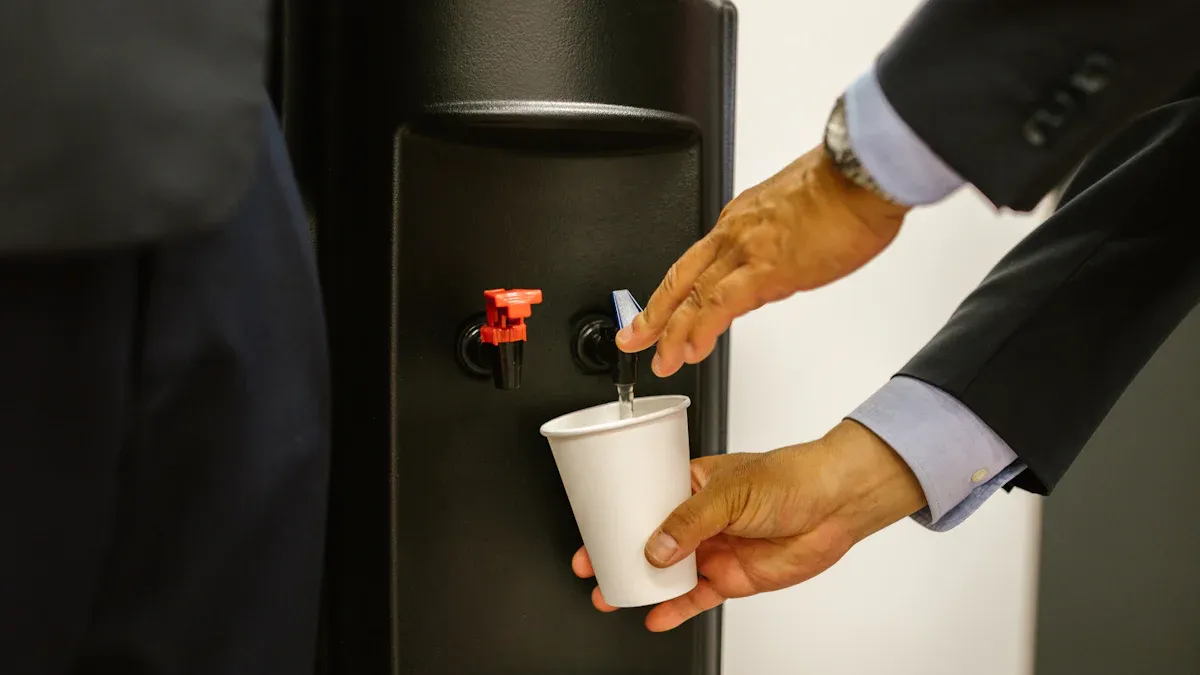
Water dispenser not cooling? 5 easy steps to fix it
Your water dispenser likely has a simple problem. A flipped switch, poor airflow, or a dirty part often causes the issue of a water dispenser not cooling. You can fix most cooling troubles in just a few minutes. Basic troubleshooting will help you get cold water flowing from your unit again.
Key Takeaways
- Check simple things first. Make sure your water dispenser is plugged in. Turn on the cold water switch.
- Give your dispenser space. Pull it away from walls. This helps it cool water better.
- Clean the coils and reset the unit. Dust on coils stops cooling. A reset can fix electronic problems.
Step 1: Check the Power Supply and Cooling Switch
Before you assume a major failure, start with the simplest solutions. A lack of power or a flipped switch is often the culprit when your water dispenser is not cooling. This first step covers the essential checks that can solve the problem in seconds.
Ensure the Unit is Plugged In and Powered On
First, confirm your dispenser's power cord is plugged securely into a working wall outlet. Sometimes, a loose plug is all that stands between you and a cold drink. Once you confirm it's plugged in, look for signs that the unit is receiving electricity.
You can check for visual feedback from the dispenser itself.
- LED Indicator Lights: Most units have lights that show when the dispenser is actively heating or cooling.
- Temperature Display: Some advanced models have a screen that displays the current water temperature.
If you see no lights, the outlet itself might be the issue. Try plugging another small appliance into the same outlet to test it.
💡 Pro Tip: Know Your Dispenser's Power Understanding your unit's electrical needs helps you ensure it's on a suitable circuit. Typical household dispensers use:
- Voltage: 220V, 50HZ
- Rated Heating Power: ~550W
- Rated Cooling Power: ~75W
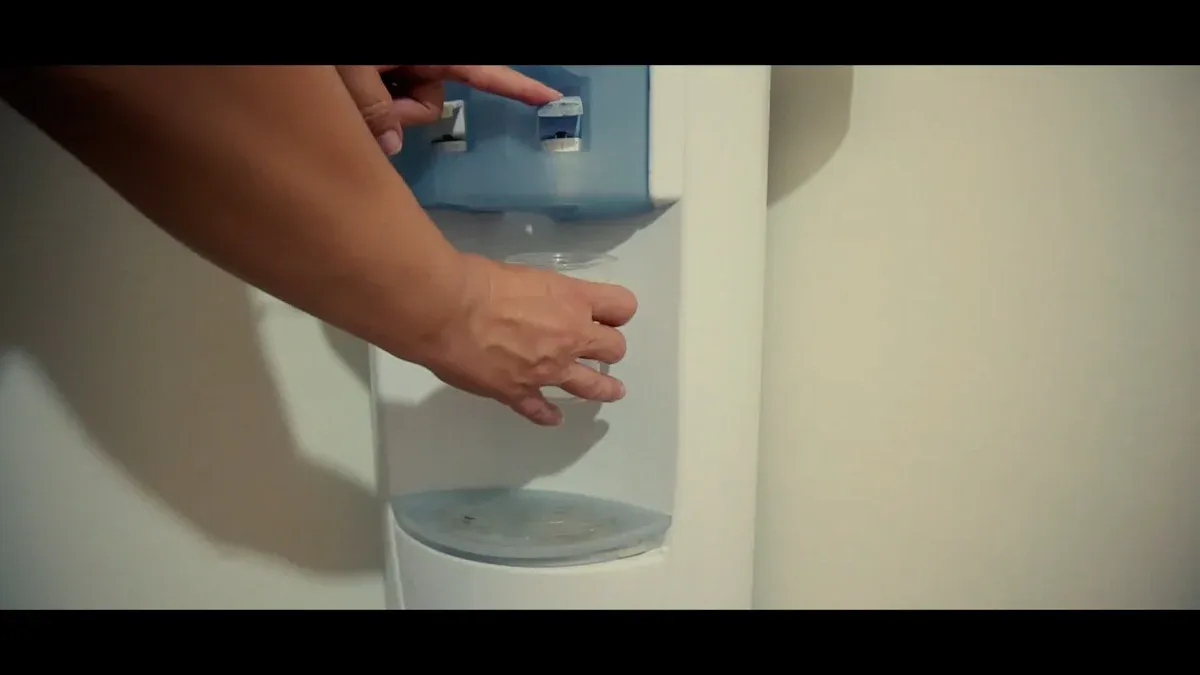
Locate and Activate the Cold Water Switch
Many users don't realize that dispensers often have separate switches for the heating and cooling functions. This feature helps save energy when you don't need one of the functions. You will usually find these switches on the back of the unit.
For example, most Brio water dispensers feature an external switch that directly controls the cooling mechanism. Find the switch labeled for cold water, often marked with a blue icon or the word "Cold." ❄️ Ensure you flip this switch to the 'On' position. It is an easy step to miss, especially if the dispenser was recently moved or installed.
Step 2: Give Your Dispenser Room to Breathe
Your water dispenser’s cooling system works like a small refrigerator. It generates heat as it chills the water. The unit needs open space to release this heat effectively. If it's too cramped, the dispenser can overheat, preventing it from cooling your water properly.
Check for Proper Ventilation
Proper ventilation is crucial for your dispenser's performance. The back and sides of the unit often have vents or coils that dissipate heat. When these are blocked, the trapped heat forces the cooling system to work much harder to reach the target temperature. This not only affects cooling but also wastes electricity.
Did You Know? 💨 Poor ventilation can make your dispenser's cooling system work overtime. This can increase its energy consumption by 10-25% just to keep your water cold. Professional installation guides always highlight the need for proper airflow.
Pull the Unit Away from the Wall
You can easily fix poor airflow. Pull your dispenser away from the wall and any surrounding furniture or objects. This simple action ensures the vents are clear and can function as intended. For optimal airflow, you should position your water dispenser at least 6 inches (15cm) away from any wall.
| Location | Minimum Clearance |
|---|---|
| Back | 6 inches (15cm) |
| Sides | 6 inches (15cm) |
Giving your unit space is also a matter of safety.
- Proper clearance prevents the unit from overheating.
- Keep the power cord and outlet away from the dispenser's water source to avoid splashes and electrical failures.
- Avoid placing the unit near other heat sources, like an oven or radiator.
Step 3: Adjust the Thermostat for Colder Water
Sometimes, your water dispenser is working, but the water just isn't cold enough. This often happens if the thermostat setting was accidentally changed or was never set to your preference. Adjusting the thermostat is a simple fix that gives you direct control over the water temperature.
Find the Thermostat Control
First, you need to locate the thermostat. You can usually find this control on the back of the water dispenser. It might look like a small dial or a screw that you can turn with a flathead screwdriver. The control is often labeled with words like "Cold" or "Temp Adjust." If you have trouble finding it, your user manual will show you its exact location.
Note for Safety 📝 The thermostat is a sensitive component. Always make small, gradual adjustments. Turning it too far or too forcefully could damage the control mechanism.
Set it to a Colder Temperature
Once you find the thermostat, you can set it for colder water. Turn the dial or screw slightly toward the "Colder" or "Max" setting. A small adjustment can make a big difference. Most dispensers have a specific temperature range they operate within.
- Cold Water Temperature Range: 41-50°F (5-10°C)
- Hot Water Temperature: Around 192°F (89°C)
After you adjust the knob, you need to give the unit time to respond. Wait for two to three minutes. Then, dispense some water to check if the temperature meets your needs. If the water is still not cold enough, you can repeat the process and adjust it a little more. This simple calibration puts you in charge of your perfect water temperature. 🌡️
Step 4: Clean the Condenser Coils
Your dispenser's condenser coils are critical for cooling. You can usually find these coils on the back of the unit, looking like a grid of thin black tubes. These coils work like a radiator for your car, releasing heat from the cooling system into the air. Over time, dust and dirt can build up on them. This layer of dust acts like a blanket, trapping heat and forcing the system to work harder. Cleaning them is an effective way to restore cooling performance.
Unplug the Dispenser for Safety
Safety is your top priority before you start cleaning. You must unplug your dispenser from the wall outlet. This simple step prevents any risk of electric shock, which is especially important when you are working near electrical parts and potential water sources.
Follow these essential safety guidelines:
- Always turn off and unplug the water dispenser from its power source.
- This action eliminates the risk of electric shock during cleaning.
- If you have a bottled unit, carefully remove the water bottle and set it aside after unplugging.
Gently Clean Dust from the Coils
Once the unit is safely unplugged, you can access the coils on the back. Use a soft-bristled brush or a vacuum cleaner with a brush attachment to gently remove the dust. Move the brush in the direction of the coil fins to avoid bending them. Be thorough and clean away all visible dust and debris.
💡 Pro Tip: Use the Right Tools A condenser coil brush is a long, flexible tool designed specifically for this job. It can reach deep between the coils without causing damage. Avoid using sharp objects or harsh chemicals, as they can puncture the coils and cause a refrigerant leak.
Cleaning the coils is a simple maintenance task that can make a huge difference. For best results, you should clean your dispenser's coils every 6 to 12 months. 🧹
Step 5: Reset Your Unit to Fix the "Water Dispenser Not Cooling" Issue
Sometimes, the problem isn't mechanical but electronic. A simple reset can clear internal errors that may cause your water dispenser not cooling issue. This process, known as a power cycle, reboots the dispenser’s internal components and can often restore normal function.
Perform a Simple Power Cycle Reset
A power cycle is an easy and effective troubleshooting step. You are essentially turning the device off and on again to clear out any temporary glitches. This process requires no tools and only takes a few minutes.
Follow these steps to perform the reset:
- Turn off both the hot and cold water switches on the back of the unit.
- Carefully unplug the dispenser’s power cord from the wall outlet.
- This action completely cuts power and forces the internal electronics to shut down.
This simple procedure is a go-to fix for many electronic appliances, and your water dispenser is no exception.
Wait Before Plugging It Back In
Patience is key for a successful reset. You must wait before plugging the unit back in. This waiting period allows the internal capacitors to fully discharge and clears any lingering errors from the system's memory.
Important Reset Tip ⏱️ Wait for at least 5 to 10 minutes before you plug the dispenser back into the outlet. Plugging it in too soon may not give the system enough time to reset properly.
After waiting, plug the power cord securely back into the wall outlet. Then, flip the cold water switch back to the 'On' position. Give the unit about an hour to cool the water in the reservoir. Check the water temperature afterward. This final step often resolves the water dispenser not cooling problem and gets your unit working correctly again.
Did the five steps not fix your water dispenser not cooling issue? The problem may be more serious. Issues like a faulty compressor or a refrigerant leak require an expert.
It is now time to contact the manufacturer or a qualified appliance repair technician for a safe and effective repair. 🛠️
FAQ
How long does it take for a water dispenser to get cold after a reset?
Your dispenser needs about one hour to cool the water after a reset. You should check the temperature after this time. This gives the system enough time to work properly.
Why is my water dispenser not cooling but the hot water works?
This often points to the cold water switch being off. A water dispenser not cooling can also mean a problem with the cooling system itself, like the compressor.
Quick Check ✅ Make sure you have flipped the cold water switch on the back of your unit to the 'On' position.
Can a dirty filter cause the cooling issue?
A clogged filter usually affects water flow, not temperature. The cooling problem is more likely a power, ventilation, or component issue. You should check the filter if water dispenses slowly.