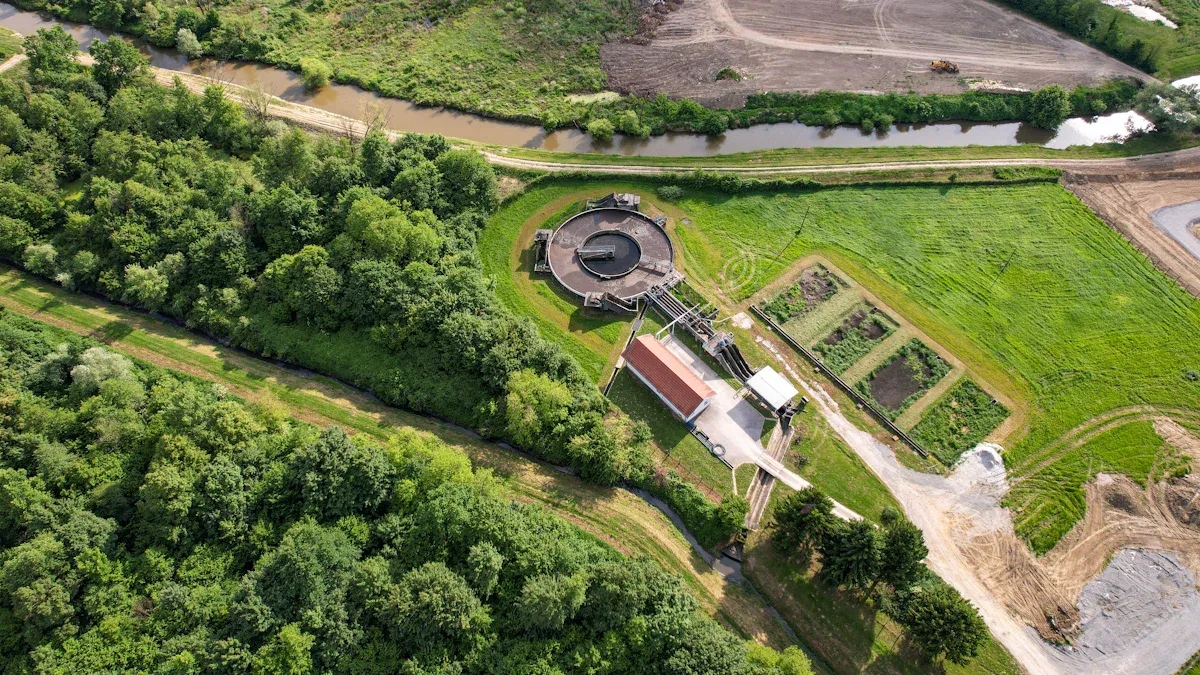
Small scale sewage treatment plant installation guide for homeowners
You can install a small scale sewage treatment plant at home if you prepare well. You need enough space and the right tools. Soil type, water table depth, and topography often make the job harder. Many homeowners succeed with basic skills. Always check local rules before you start.
Key Takeaways
- Assess your property carefully. Check soil type, water table depth, and yard shape to ensure suitability for a sewage treatment plant.
- Always obtain the necessary permits before installation. Local regulations protect health and the environment, and skipping this step can lead to fines.
- Use the right tools and materials for installation. Proper equipment ensures safety and efficiency, helping your system function effectively.
Assessing Feasibility for a Small Scale Sewage Treatment Plant
Property suitability
You need to check if your property can support a small scale sewage treatment plant. Start by looking at the ground and yard area. Wet or spongey ground can cause problems because it shows poor drainage. Low spots near streams or ditches may flood. Thin topsoil or shallow bedrock can make digging hard. You also need enough space for your house, the treatment system, and your well. Watch for signs of flooding or wet areas. Test pits help you learn about the soil and how water moves through it.
| Property Characteristic | Description |
|---|---|
| Wet or spongey ground | Ground that remains wet after dry spells indicates poor drainage. |
| Low areas | Locations near streams or ditches may flood, affecting installation. |
| Thin topsoil | Shallow bedrock or exposed rock limits installation depth. |
| Usable yard area | Sufficient space is needed for the home, septic system, and well. |
| Flood risk | Proximity to water bodies can create significant constraints. |
| Wet signs | Persistent wet areas suggest high water conditions. |
| Bedrock interference | Shallow bedrock can restrict installation zones. |
| Soil investigation | Test pits help assess soil type and drainage behavior. |
Local regulations and permits
You must follow local rules before you install a small scale sewage treatment plant. Many towns and counties require permits. Some places have strict codes about where you can put the system. You may need to show plans or get inspections. Always check with your local health or building department. This step helps you avoid fines and delays.
Environmental considerations
You should think about how your system affects the environment. A small scale sewage treatment plant can cause odors and attract pests. Moving sludge can create sanitary risks. The system may pollute air, soil, or water if not installed right. It can also lower property values nearby or bother your neighbors. Careful planning helps protect your land and community.
Tip: Always talk to local experts if you have questions about your property or the environment.
Essential Tools and Materials for Small Scale Sewage Treatment Plant Installation
Tools needed for installation
You need the right tools to install a small scale sewage treatment plant. These tools help you dig, measure, and connect the system safely. Many tools are common in home projects, but some are special for wastewater work.
| Equipment Type | Description |
|---|---|
| Shovel and Spade | For digging trenches and preparing the site. |
| Level | To check that the tank and pipes sit flat. |
| Pipe Cutter | For cutting pipes to the right length. |
| Wrenches and Pliers | For tightening pipe fittings and connections. |
| Tape Measure | To measure distances and pipe lengths. |
| STP Marine Sewage Treatment Plant Equipment | Useful for small-scale wastewater treatment, especially in tight spaces. |
Tip: Wear gloves and safety glasses when you handle tools and pipes.
Small-scale wastewater treatment systems work best where you cannot connect to a city sewer. They treat water close to your home and reduce the need for long pipes.
Materials required for the system
You must gather all the right materials before you start. The materials depend on your soil, water table, and yard shape. You also need to follow local codes and choose the best technology for your needs.
- Check your soil type, water table depth, and topography.
- Pick the right treatment system for your wastewater and land.
- Use microorganisms to break down waste in the tank.
| Treatment Process | Description |
|---|---|
| Preliminary Treatment | Screens and grates remove large debris like sticks and rocks. |
| Primary Treatment | Solids settle or float, sometimes with chemicals to help. |
| Secondary Treatment | Bacteria and air remove more waste from the water. |
| Tertiary Treatment | Filters and disinfectants clean the water before it leaves the system. |
You may also need pipes, tanks, gravel, sand, and special filters. Always check your plan and local rules before you buy materials.
Step-by-Step Small Scale Sewage Treatment Plant Installation
Site assessment and planning
You must start with a careful site assessment. Walk around your property and look for a flat, open area away from wells, buildings, and water sources. Check the manufacturer’s guidelines for your small scale sewage treatment plant. These guidelines tell you the minimum distances you need to keep from other structures. Good planning helps you avoid problems later.
| Step | Description |
|---|---|
| Sitting the tank | Verify the installation location against the manufacturer's guidelines, including minimum distances. |
| Ventilation arrangements | Ensure proper ventilation to prevent odour issues, including vents on the treatment plant and drainage field. |
You should also plan for ventilation. Vents on the tank and drainage field help stop bad smells from building up. Draw a simple map of your yard to mark the tank, pipes, and vents.
Tip: Always check for underground cables or pipes before you dig.
Excavation and base preparation
You need to dig a hole for the tank and trenches for the pipes. Use a shovel or a small excavator. Make sure the hole is deep and wide enough for the tank. The base must be flat and strong to support the weight.
Safety is very important during this step. You should follow these precautions:
| Safety Precaution | Description |
|---|---|
| Shoring/Benching/Sloping | Prevent collapses during excavation. |
| Hydro-testing Tanks | Test tanks for leaks before installation. |
| Secondary Containment | Prevent soil and groundwater contamination. |
| Gas Detectors | Monitor for explosive gases to keep workers safe. |
You can use gravel or sand to make a level base. This helps the tank stay stable and prevents sinking.
Placing the treatment tank
You must place the tank carefully. Choose the right spot based on your plan. Lower the tank into the hole using ropes or a machine. Make sure the tank sits flat and does not tilt.
- Select the best site for the tank.
- Prepare a solid foundation with gravel or sand.
- Position the tank correctly to avoid shifting.
- Check the tank’s level from different sides.
You should check the tank for cracks or leaks before you move to the next step. Regular checks help you spot problems early.
Connecting inlet and outlet pipes
You need to connect the pipes that bring wastewater into the tank and carry treated water out. Place the inlet and outlet at opposite ends of the tank. This setup helps water move and stops it from sitting still.
| Design Strategy | Description |
|---|---|
| Inlet and Outlet Placement | Place the inlet and outlet at opposite ends of the compartment to encourage circulation and avoid stagnation. |
| Flow Distribution | Use a long inlet weir or tapered diffuser pipe to spread incoming flow evenly. |
| Valve House Arrangement | Use a single valve house for both inlet and outlet for easy operation. |
| Bellmouth Design | Keep the outlet bellmouth under water to stop air from getting in and causing problems. |
Check all pipe joints for leaks. Tighten fittings with a wrench and use pipe sealant if needed.
Electrical connections
You must handle electrical work with care. A licensed electrician should do all wiring for the pump station. State plumbing codes say you cannot put electrical outlets inside the pump tank. All electrical connections must stay outside the tank. Most systems use piggyback plugs for the on/off switches. The control cord plugs into an outlet, and the pump cord plugs into the control cord. Use a weatherproof box for the outlet to keep water out and stay safe.
Note: Never try to do electrical work yourself if you are not trained.
Backfilling and securing the system
You need to fill the hole around the tank after you finish the connections. Use gravel, sand, or concrete as backfill. Always check the manufacturer’s instructions for the best material. Cover the gravel with building paper or synthetic drainage fabric before adding soil. This step keeps soil from clogging the drainage area.
- Backfill and compact the trench to stop water from running along the pipes.
- Add soil in layers and press it down gently.
- Make sure the tank does not move as you fill.
System startup and initial checks
You are now ready to start your small scale sewage treatment plant. Fill the tank with clean water before you use it. Turn on the power and check that the pump and air system work. Look for leaks at all joints and around the tank. Watch for any strange noises or smells. Test the system by running water from your house and checking the outlet.
Callout: Keep a record of your checks and maintenance. This helps you spot problems early and keeps your system running well.
Common Mistakes to Avoid During Small Scale Sewage Treatment Plant Installation
Incorrect site selection
You might choose a site that seems easy to dig, but this can cause problems later. If you place your system too close to a well or water source, you risk contaminating your drinking water. Low spots in your yard can flood and damage the system. Always check for underground cables and pipes before you start. Good site selection keeps your small scale sewage treatment plant safe and working well.
Poor leveling or base preparation
If you do not level the ground or prepare a solid base, your tank can shift or sink. This movement can break pipes and cause leaks. Use gravel or sand to make a flat, strong base. Check the level from several angles. A stable base helps your system last longer and work better.
Improper pipe connections
Loose or poorly sealed pipes can let extra water into your system. This extra water can overload the treatment plant and lower its efficiency. You might also see higher energy costs and more solids to dispose of. The table below shows how improper pipe connections can affect your system:
| Impact Type | Description |
|---|---|
| Overloaded Treatment Plants | Excess water from leaks can overwhelm the plant and reduce efficiency. |
| Increased Energy Costs | More water means the system uses more energy to process it. |
| Higher Solids Disposal Costs | Diluted wastewater makes treatment harder and raises disposal costs. |
Check all joints and seals before you finish the job.
Skipping regulatory steps
You may want to save time by skipping permits or inspections. This choice can lead to fines or force you to remove your system. Local rules protect your health and the environment. Always follow the steps your town or county requires.
Tip: Careful planning and attention to detail help you avoid costly mistakes.
Legal and Regulatory Considerations for Small Scale Sewage Treatment Plant
Permits and approvals
You must get the right permits before you install a small scale sewage treatment plant. Local health departments control these permits under state laws. You need to show that your land can handle the system. Officials will check your soil and make sure it can treat wastewater. You must also follow rules about how far the system sits from buildings and water sources. Some areas ask for a maintenance contract. This contract makes sure you keep your system in good shape. You cannot start building or change your system without a permit.
| Requirement | Description |
|---|---|
| Local Permits | Local health departments issue permits for septic systems under state laws. |
| Site Assessment | Local permitting agencies assess soil adequacy for treatment. |
| Setback Distances | Regulations stipulate distances from buildings and water sources. |
| Maintenance Contracts | Standards for inspections and maintenance of alternative systems. |
| Permit Requirement | Owners must obtain a permit before construction or modification of sewage systems. |
Tip: Always keep copies of your permits and inspection reports. You may need them if you sell your home.
Compliance with local codes
You must follow all local codes when you install your system. These codes protect your health and the environment. If you do not follow the rules, you can face serious penalties. Local authorities can fine you or take you to court. They can also stop your project or make you remove the system. Penalties can reach at least $1,000 per day for each violation. Publicly Owned Treatment Works (POTW) can also take action if you break the rules.
- Civil and criminal penalties for not following Pretreatment Standards
- Enforcement actions by Publicly Owned Treatment Works (POTW)
- POTWs can seek court orders to stop noncompliance
- Minimum fines of $1,000 per day for each violation
You should always check with your local building or health department before you start. This step helps you avoid costly mistakes and keeps your project on track.
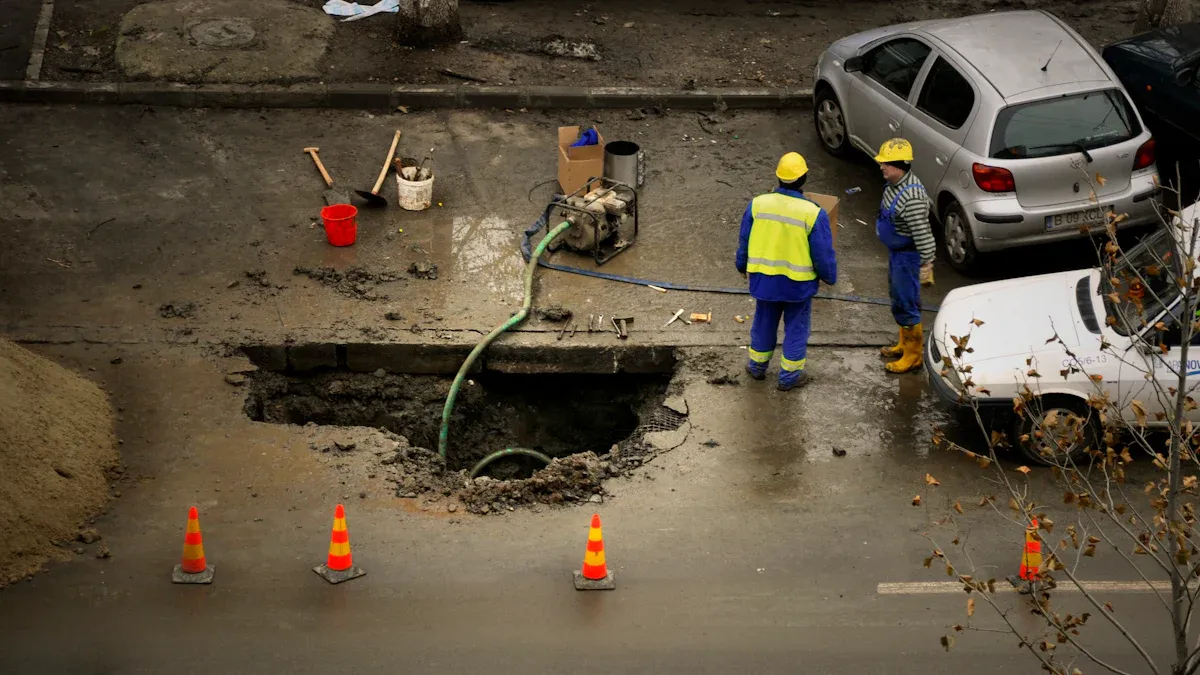
When to Call a Professional for Small Scale Sewage Treatment Plant Installation
Complex site conditions
You may face tough challenges if your property has rocky soil, steep slopes, or a high water table. These conditions make digging and placing tanks much harder. You might also find sand or shale underground, which can cause problems during installation. Professionals know how to handle these issues. They use special tools and methods to keep your system safe and working well.
- Rocky or sandy ground can shift and damage pipes.
- Steep slopes need careful planning to prevent leaks.
- High water tables can cause tanks to float or move.
If you feel unsure about your yard, you should ask an expert for help.
Electrical or plumbing challenges
Working with electricity and plumbing can be risky. You need to follow strict rules to keep your home safe. Some tasks require special skills, like connecting pumps or testing for leaks. Electricians and plumbers often work together to avoid mistakes. They check every part of the system to make sure it works right.
- Underground plumbing can be tricky in tough soil.
- Above-ground work needs careful planning between trades.
- Final tests must show no leaks for safety and compliance.
You should call a licensed professional if you do not have experience with these jobs.
Uncertainty about regulations
Rules for installing a small scale sewage treatment plant can change from place to place. You may not know all the permits or steps you need. Sometimes, the rules change because of the environment or new technology. Professionals understand these changes and help you follow the law.
- Changing rules can slow down your project.
- Water quality and flow can affect system performance.
- Experts know how to set up your system to meet all standards.
If you have questions about permits or codes, a professional can guide you.
Tip: You should always consider hiring a professional if you need to compare different systems, have special questions, or want to make sure your installation meets all requirements.
- You can install a small sewage treatment plant that removes over 90% of contaminants and works better than a septic tank.
- Check your soil, water table, and yard shape before you start.
- Always wear protective gear, follow safety rules, and call a professional for complex tasks.
FAQ
How often should you maintain your small scale sewage treatment plant?
You should check your system every 6 to 12 months. Regular maintenance keeps it working well and helps you avoid costly repairs.
Can you install a sewage treatment plant without a permit?
No, you need a permit before you start. Local rules require you to get approval to protect health and the environment.
What should you do if your system smells bad?
- Check for blocked vents or leaks.
- Clean filters if needed.
- Call a professional if the smell does not go away.
See Also
A Comprehensive Overview of Semi-Welded Heat Exchangers 2025
Understanding the Functionality of Plate Heat Exchangers
Comparative Analysis of EHEDG and 3A SSI Hygiene Standards