Keep Your Water Pure with These Dispenser Maintenance Tips
You expect pure, great-tasting water from your dispenser. Simple, regular care makes this a reality. Ignoring this routine allows bacteria to grow and can cause breakdowns.
A complicated water dispenser fix is often avoidable with simple upkeep. Following a clear schedule keeps your machine in perfect condition.
Key Takeaways
- Regular cleaning stops germs like mold and bacteria from growing in your water dispenser. This keeps your water tasting fresh and helps you stay healthy.
- Follow a simple cleaning plan: wipe surfaces daily, clean the drip tray weekly, and deep clean the inside of your dispenser every 4-6 weeks. This helps your dispenser last longer.
- Always change your water filter on time. A new filter ensures your water is clean and safe to drink, and it prevents bad tastes or smells.
Why Regular Maintenance is Non-Negotiable
You might think your water dispenser cleans itself, but it needs your help. Skipping simple upkeep can cause serious problems for your health and your machine. Understanding why maintenance matters will motivate you to keep your water pure.
Prevent Bacteria, Mold, and Biofilm
Your dispenser's moist, dark environment is a perfect home for germs. Without regular cleaning, you invite mold and bacteria to grow inside. Some common molds found in dispensers include:
- Aspergillus
- Penicillium
- Cladosporium
These microbes can form a slimy layer called biofilm. This biofilm protects dangerous pathogens like Legionella pneumophila and Pseudomonas aeruginosa from disinfection. These germs pose a health risk, especially for people with weakened immune systems. Regular cleaning stops biofilm before it starts.
Preserve Fresh Water Taste
You expect your water to taste clean and refreshing. Neglect changes that. Biofilm releases compounds that give your water an unpleasant earthy or musty taste. Mineral buildup from hard water also causes problems. High levels of calcium and magnesium can leave a bitter or metallic flavor in your mouth. A clean dispenser delivers water that tastes exactly as it should: pure and simple.
Extend Your Dispenser's Lifespan
Proper care helps your dispenser last longer. A well-maintained unit can serve you for a decade or more. Ignoring it leads to preventable damage.
Pro Tip: Common failures from neglect include clogged filters, faulty dispenser valves, and dirty condenser coils. These issues reduce performance and can lead to expensive repairs. A simple cleaning routine protects your investment and ensures your dispenser works efficiently for years.
Your Simple Maintenance Schedule
A consistent routine is the key to a healthy water dispenser. You can break down your maintenance into simple daily, weekly, and monthly tasks. This schedule makes upkeep easy and ensures your water is always pure.
Daily Habits for a Clean Dispenser
Small actions every day prevent big problems later. These habits take only a minute but make a huge difference in stopping germ growth.
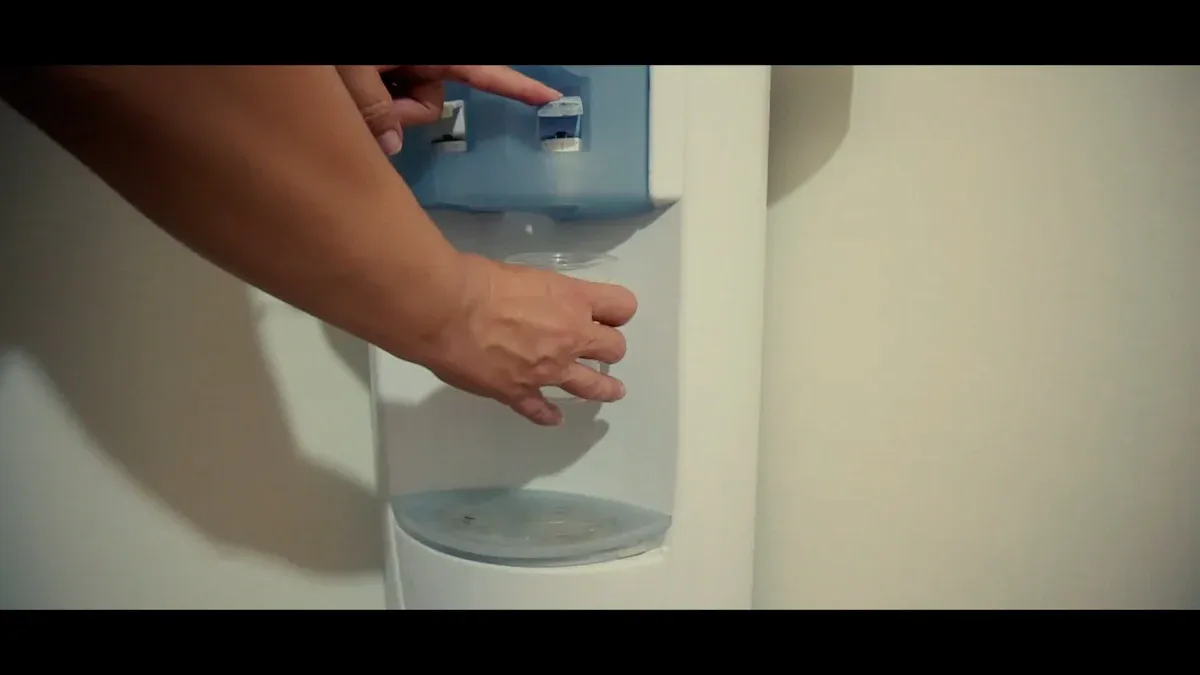
- Wipe Down Surfaces: Use a damp microfiber cloth to wipe the dispenser's exterior. This removes dust, fingerprints, and spills. Pay special attention to high-touch areas like the dispensing buttons and spigots. A food-safe sanitizing wipe is also a great option for these spots.
- Clean the Drip Tray: The drip tray catches spills and can quickly become a breeding ground for mold. You should empty and wash it daily with warm, soapy water. This simple step prevents odors and keeps your dispenser looking clean.
- Drain Unused Water: If your dispenser has a collection reservoir that sits at room temperature, you should drain any unused water daily to ensure freshness.
Weekly Refresh for Key Components
Once a week, give your dispenser a little extra attention. This refresh focuses on the parts that come into direct contact with your water and hands.
Quick Tip: A weekly vinegar rinse for your drip tray can help dissolve mineral buildup and provide an extra level of clean. Just soak it for a few minutes before washing.
Your main focus this week is a thorough cleaning of the drip tray and spigots.
- Remove the drip tray from the dispenser.
- Empty any water into the sink.
- Wash the tray and its cover with warm, soapy water.
- Rinse both pieces thoroughly to remove all soap residue.
- Let the tray and cover air dry completely before you put them back.
While the drip tray is drying, use a clean cloth or brush to gently scrub around the water spigots to remove any hidden grime.
Monthly Deep Clean and Sanitization
A monthly deep clean is your best defense against biofilm and bacteria inside the machine. This process sanitizes the internal reservoirs and water lines where you cannot see.
Experts offer different timelines for this task. Some recommend a deep clean every 15 to 20 days, especially for heavily used dispensers or in humid climates. Others suggest a schedule of every three to six months is enough for typical home use.
We recommend you perform a deep clean and sanitization every 4-6 weeks to be safe. This frequency ensures your dispenser's internal parts stay free of biofilm and mineral scale, preserving water quality and machine health.
This task is more involved than your daily wipe-down, but it is essential for pure water. The next section will guide you through the entire process step-by-step.
How to Perform a Deep Clean

Your monthly deep clean is the most important task for ensuring pure, safe water. This process sanitizes the internal parts of your dispenser, eliminating biofilm and bacteria. It requires more effort than daily wipes, but it is straightforward. Follow these steps to keep your machine pristine.
Essential Cleaning Supplies
You need a few simple items to perform a thorough deep clean. Gather everything before you start to make the process smooth and efficient.
- Safety Gear: Rubber gloves to protect your hands.
- Cleaning Tools: A clean bucket, a soft cloth or sponge, and a long-handled brush for scrubbing inside the reservoir.
- Sanitizing Solution: You have two main options for a food-safe sanitizer.
- Purchased Products: You can use a store-bought, food-grade sanitizer. Look for products like Purell Multi-Surface Disinfectant or wipes specifically labeled for food contact surfaces.
- Homemade Bleach Solution: You can make your own solution with unscented household bleach.
- Descaling Solution: Plain white vinegar and water.
⚠️ Important Safety Note: When using bleach, always use plain, unscented chlorine bleach. Check the label for the sodium hypochlorite percentage. Never use scented, concentrated, or gel-based bleach. Most importantly, never mix bleach with other chemicals like vinegar, as this can create dangerous toxic gas.
Step-by-Step Sanitizing Guide
This guide walks you through sanitizing your dispenser's reservoir and water lines. Set aside about 30 minutes for this process.
-
Prepare the Dispenser: Unplug the dispenser from the wall outlet. Remove the water bottle. If you have a point-of-use model, turn off the water supply. Drain any remaining water from the reservoir through the spigots.
-
Mix Your Sanitizing Solution: If you are using bleach, you must dilute it correctly. The right concentration is powerful enough to kill germs but safe after rinsing. Use the table below to mix your solution.
Water Bleach Strength* 8.25% Bleach Strength* 5.25-6.25% 1 gallon 1 teaspoon 2 teaspoons 1 quart ¼ teaspoon ½ teaspoon *Use only plain, unscented bleach.
-
Clean the Reservoir: Pour the sanitizing solution into the dispenser's reservoir. Use your long-handled brush to gently scrub the inside walls. This action helps break up any early-stage biofilm.
-
Let the Solution Sit: Allow the sanitizing solution to sit in the reservoir for three to five minutes. This contact time is necessary to effectively kill bacteria and other microbes.
-
Drain and Flush 💧: Drain the entire sanitizing solution out through the cold and hot spigots. This cleans the water lines. After draining, you must flush the system to remove any trace of the cleaning solution. Fill the reservoir with fresh, clean water and drain it completely through the spigots. Repeat this flushing process 2-3 times.
-
Clean Removable Parts: While the solution is working, clean the spigots, drip tray, and any other removable parts. You can use the same sanitizing solution to wipe them down or wash them with warm, soapy water. Rinse them thoroughly.
-
Reassemble and Finish: Once you have thoroughly flushed the system, you can put all parts back in place. Wipe down the exterior of the dispenser with a clean, damp cloth. Plug your dispenser back in and load a new water bottle.
How to Descale Your Hot Tank
If you have hard water, minerals like calcium and magnesium can build up inside your hot water tank. This buildup, called scale, forces the heating element to work harder and can affect your water's taste. You should descale your dispenser every six months, or more often if you notice slow flow from the hot tap.
Pro Tip: A sign you need to descale is a white, chalky residue inside the reservoir or on the drip tray.
Follow these simple steps to descale your hot tank using vinegar.
- Prepare the Vinegar Solution: Mix a solution of one part white vinegar to three parts water. You will need enough to fill the dispenser's reservoir.
- Fill and Heat: Unplug the dispenser and remove the water bottle. Pour the vinegar solution into the reservoir. Plug the dispenser back in and turn on the hot tank switch. Allow the water to heat up fully.
- Let It Soak: Once the water is hot, unplug the dispenser again. Let the vinegar solution sit in the tank for at least 30 minutes to dissolve the mineral deposits.
- Drain and Flush Thoroughly: Drain the entire vinegar solution through the hot water spigot. The vinegar taste can linger, so you must flush the system well. Fill the reservoir with fresh water and drain it completely through the hot spigot. Repeat this flushing step at least three to four times, or until you no longer smell or taste any vinegar.
Essential Filter Replacement Guide
Your dispenser's filter is the heart of its purification system. You must change it regularly to ensure every glass of water is clean and safe. This guide shows you when and how to replace your filter.
When to Change Your Water Filter
You should follow the manufacturer's schedule for filter replacement. Most brands recommend changing filters every three to six months. However, the exact timing depends on the filter type.
- Pitcher filters: Replace these about every two months.
- Carbon filters: These can last from six to twelve months.
- Sediment filters: Change these every three to nine months.
Your water quality and how much you use the dispenser also affect the filter's lifespan. Always check your product manual for specific instructions.
You should also watch for signs that your filter is failing. Change your filter immediately if you notice any of these issues:
- Unpleasant Taste or Smell: Water that tastes metallic or smells musty means the filter is full.
- Slow Water Flow: A clogged filter will reduce the speed of water coming from the spigot.
- Cloudy Water: If your water looks murky or has visible particles, the filter is no longer working.
How to Replace Your Filter
Replacing a twist-on filter is a simple task you can do in minutes. The exact steps may vary, so check your dispenser's manual first.
- Turn Off the Water: Locate the shut-off valve for the water line connected to your dispenser and turn it off.
- Remove the Old Filter: Open the dispenser cabinet. Gently twist the old filter counter-clockwise to remove it. Have a small towel ready to catch any drips.
- Install the New Filter: Remove the packaging from the new filter. Push it into the housing and turn it clockwise until it locks securely.
- Flush the System: Turn the water supply back on. Place a large cup under the spigot and dispense at least three gallons of water. This flushes out any loose carbon particles and prepares the filter for use.
Tips for Your Specific Dispenser Type
All water dispensers need care, but your specific model has unique needs. Knowing these details helps you target your cleaning efforts for the best results. Whether you use a bottled or point-of-use dispenser, these tips will help you maintain it correctly.
For Bottled Dispensers
Your main focus for a bottled dispenser is preventing contamination when you change the bottle. The area where the bottle meets the dispenser is a key entry point for germs. Before you load a new bottle, you should always wipe its neck and cap with a food-safe wipe or a clean, damp cloth. This simple action removes dust and bacteria that could otherwise fall into your water reservoir.
Storage Tip: You should store your extra water bottles in a cool, dark, and clean area. Keep them away from direct sunlight, which can encourage algae growth inside the sealed bottle.
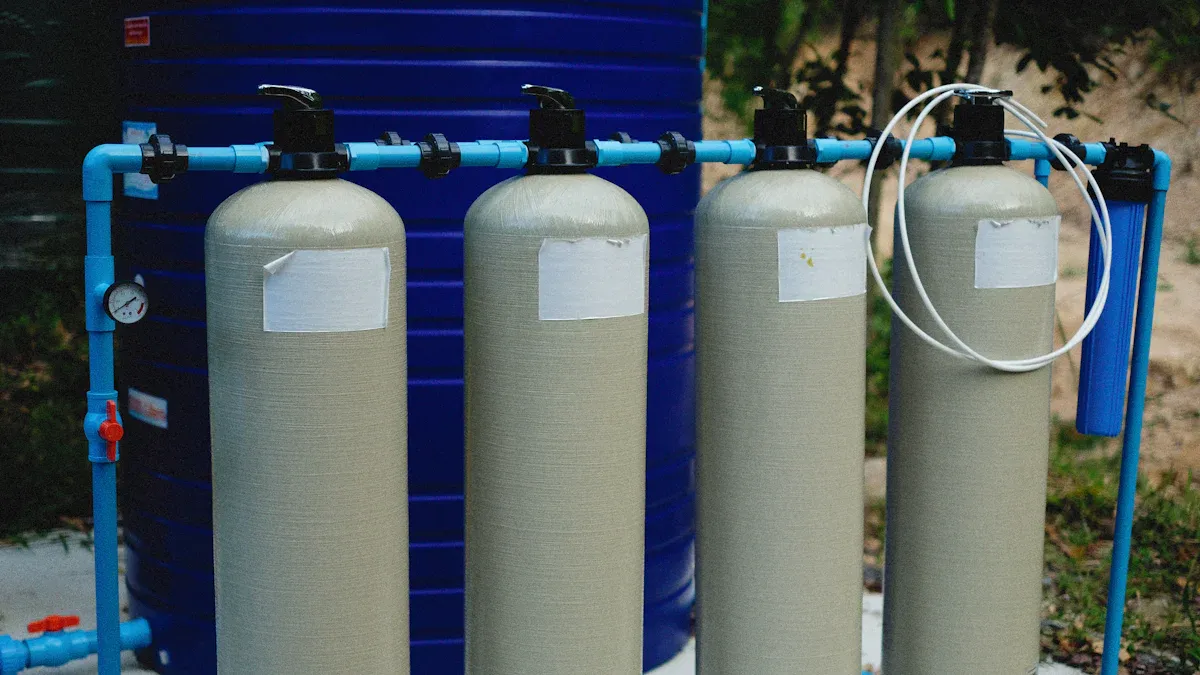
For Point-of-Use (POU) Dispensers
A point-of-use (POU) dispenser connects directly to your water line, so its maintenance focuses on the lines and filters. You must ensure the entire water path stays clean.
- Clean Water Lines: You should regularly check the water pipes for any buildup of germs or minerals. Cleaning these lines prevents contamination from reaching your glass.
- Replace Filters on Schedule: You need to change the filter elements every six to twelve months. This schedule depends on your water quality and usage. A fresh filter is essential to keep your water pure and prevent bacteria from growing inside the filter housing.
- Check for Leaks: Periodically inspect the water line connection at the back of the unit to ensure it is secure and not dripping.
Common Problems and Your Water Dispenser Fix
Even with regular care, you might face a few issues. Many problems have a simple water dispenser fix you can do yourself. This guide helps you troubleshoot the most common dispenser troubles.
Solving Slow Water Flow
You press the button and the water just trickles out. Slow water flow is frustrating but often easy to solve. The problem usually points to a blockage somewhere in the system. Common causes include:
- A clogged water filter
- A frozen water line
- Low water pressure from your home's supply
- A defective water inlet valve
Sometimes, air gets trapped in the lines, creating an airlock. This can also slow your water flow.
A quick water dispenser fix for an airlock is to slightly twist the filter. You might hear a release of air. The flow should return to normal for a while.
Eliminating Unusual Tastes or Odors
Your water should always taste fresh. A new dispenser can sometimes give water a plastic taste. This often comes from materials left over from the manufacturing process. The taste can also come from the large plastic bottle if it was stored in the sun. A musty odor usually means you have biofilm buildup. You can use a simple cleaning solution to fix this. A monthly deep clean is the best long-term water dispenser fix for bad tastes.
Stopping Minor Leaks
A puddle under your dispenser is a cause for concern. First, check the spigots. A constant drip can be caused by trapped air bubbles in the water lines. For point-of-use models, a leak might come from the connection at the back. You should unplug the unit and turn off the water supply valve. Carefully check if the leak is from the pipe or the dispenser itself. Tightening a loose connection can often solve the problem.
You now hold the secret to pure water and a long-lasting dispenser: consistent maintenance. Your simple routine of daily wipes and monthly sanitizing makes all the difference. This upkeep prevents the need for a difficult water dispenser fix. Enjoy the peace of mind that comes with having fresh, clean water always on tap.
FAQ
Is it safe to use bleach to clean my water dispenser?
Yes, it is safe when you use it correctly. You must dilute unscented bleach properly. Always rinse the system thoroughly multiple times to remove any remaining solution.
Why does my water still taste bad after cleaning?
A lingering vinegar or bleach taste means you need more rinsing. If the bottle was stored in sunlight, it can also affect the taste. Always flush thoroughly.
How often should I really deep clean my dispenser?
You should perform a deep clean every 4-6 weeks. This schedule prevents biofilm buildup. Heavily used units may need cleaning more often to ensure pure water.