Simple Steps to Clean Your BPA-Free Water Dispenser
You can maintain your bpa free water dispenser with a simple cleaning solution. You will use either distilled white vinegar and water or unscented bleach and water. The cleaning process requires you to drain the unit, wash the internal system, and rinse it completely.
Note: Many users perform maintenance bimonthly. However, unclean surfaces and poor hygiene practices contribute significantly to bacterial growth.
This routine deep clean every 3-6 months ensures your water remains fresh and safe.
Key Takeaways
- Clean your water dispenser every 3-6 months to stop germs and keep your water tasting fresh. This also helps your dispenser last longer.
- Look for signs like bad-tasting water or slow flow. These signs tell you it is time to clean your dispenser.
- Use vinegar or unscented bleach to clean your dispenser. Always rinse it many times to remove all cleaning solution.
Why Regular Cleaning is Essential for Your Health
Regular cleaning does more than just keep your dispenser looking good. You protect your health and your appliance with this simple habit. Understanding the risks of a dirty dispenser shows why maintenance is so important.
Prevents Harmful Bacteria and Mold Growth
Your water dispenser's moist, dark environment is an ideal place for germs to grow. Without regular cleaning, you invite harmful bacteria and mold to contaminate your water. Studies have found several concerning microbes in uncleaned water systems.
- Bacteria like Escherichia coli (E. coli) and Staphylococcus aureus can accumulate.
- Molds can appear as white, yellow, blue, or green spots. These include Aspergillus and Penicillium.
These germs can make you sick, so removing them is critical for your safety.
Eliminates Biofilm and Mineral Buildup
You may notice a slimy layer inside your dispenser over time. This is a biofilm, a sticky matrix where germs multiply. At the same time, hard water leaves behind mineral deposits called limescale. This chalky white substance can clog pipes and fixtures. Biofilm and limescale together create a dirty environment that affects water flow and quality.
Maintains the Fresh Taste of Your Water
A dirty dispenser changes the way your water tastes and smells. Biofilm and mold can give the water an "off" or musty flavor. Mineral buildup from hard water may also add a chalky or metallic taste. Cleaning your bpa free water dispenser removes these contaminants. You ensure every glass of water is pure and refreshing.
Extends the Life of Your Appliance
Consistent cleaning protects your investment. Mineral deposits force the unit to work harder, which increases energy use and wears down parts. Clogs from biofilm or limescale can strain the system, leading to poor performance and sudden breakdowns. Regular maintenance keeps the components clear. This helps the dispenser run efficiently and last much longer.
Signs Your Water Dispenser Needs Cleaning
Your senses can often tell you when it is time to clean your bpa free water dispenser. You should pay attention to changes in your water's taste, smell, and flow. These signs are clear indicators that your unit needs maintenance.
Your Water Tastes or Smells Off
You expect your water to be fresh and pure. A sudden metallic, musty, or sour taste is a major red flag. This change often points to contaminants inside the system. Several factors can cause this unpleasant taste.
- High Mineral Content: Your water source may contain high levels of minerals like iron and manganese, which create a metallic flavor.
- Plumbing Corrosion: Older pipes in your home or city can release trace metals into the water.
- Low pH Levels: Acidic water can corrode plumbing, dissolving metals like copper directly into your water supply.
You See Visible Slime or "Gunk"
A visual check can reveal a lot about your dispenser's cleanliness. You might see a slimy layer or dark specks inside the reservoir or around the spigots. This visible gunk is a sign of contamination.
What is that slime? The dark brown or black slime is often caused by the mineral manganese. Other spots of color could be mold, which thrives in damp places. This buildup creates a breeding ground for harmful bacteria.
Water Flow is Slower Than Usual
You may notice that your dispenser fills your glass more slowly than it used to. This is a common sign of an internal blockage. Over time, a slimy biofilm can form inside the dispenser's tubes and valves. This layer physically obstructs the small passages where water travels. As the biofilm hardens or grows, it narrows the path for the water. This restriction reduces the flow rate from the spigot, signaling a need for a deep clean.
Gather Your Cleaning Supplies
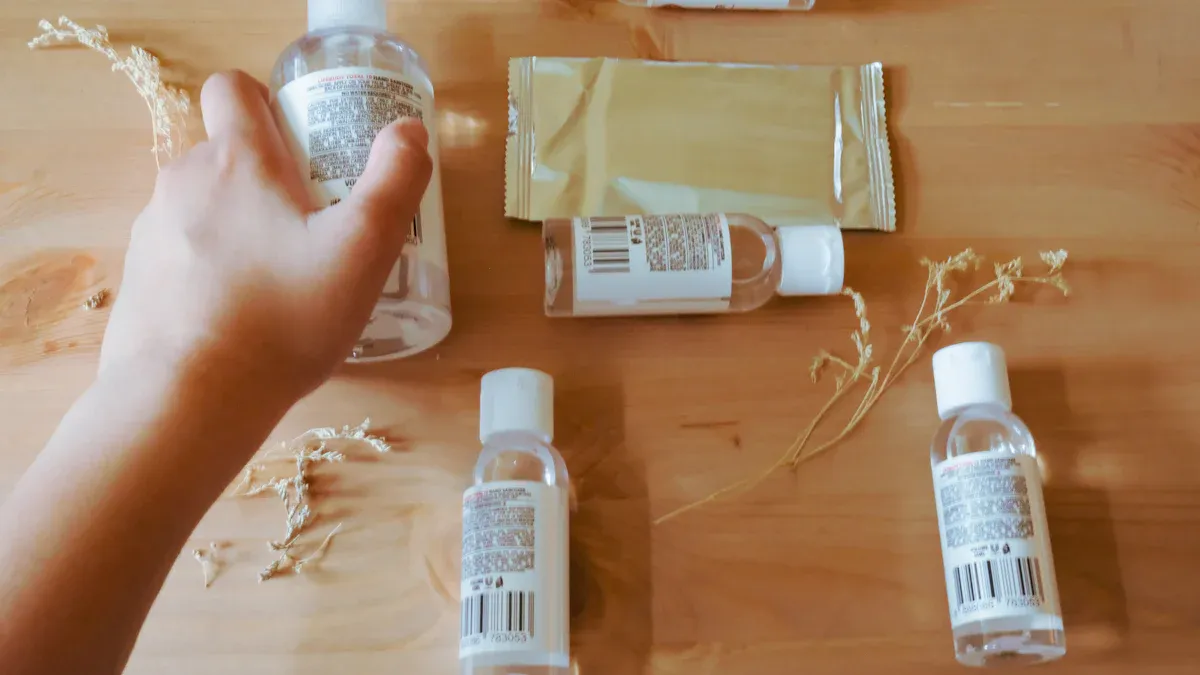
Before you start cleaning, you need to gather a few simple items. Having everything ready makes the process quick and easy. You will choose a cleaning solution and collect some basic tools for the job.
Choosing Your Cleaning Solution: Vinegar vs. Bleach
You have two effective options for your cleaning solution: vinegar or bleach. Both kill germs, but you should choose the one you are most comfortable using.
-
Vinegar Solution (Natural Disinfectant): Vinegar is a great non-toxic choice. You can create a simple and effective cleaning mix.
- Mix 1 part distilled white vinegar with 1 part water.
- For example, combine 8 ounces of vinegar and 8 ounces of water.
- Using warm water can make the solution work even better if you use it right away.
-
Bleach Solution (Powerful Sanitizer): Bleach provides a stronger sanitizing power. You must use it carefully and choose an unscented variety.
Safety First! ⚠️ Federal regulations recommend a specific ratio for surfaces that touch food. Use about one tablespoon of unscented chlorine bleach per gallon of water. This creates a safe solution that will not harm your dispenser.
Essential Tools for the Job
You do not need special equipment to clean your dispenser. A few common household items will work perfectly.
| Tool | Purpose |
|---|---|
| Clean Bucket or Bowl | To mix your cleaning solution and catch draining water. |
| Long-Handled Brush | To scrub the inside of the water reservoir. |
| Small Brush or Pipe Cleaner | To clean inside the spigots and other small, hard-to-reach areas. |
| Lint-Free Cloths or Sponges | For wiping down the internal and external surfaces. |
| Gloves (Optional) | To protect your hands, especially if you use a bleach solution. |
A clean brush is your most important tool. It helps you scrub away any biofilm or mineral buildup inside the reservoir and spouts.
Step-by-Step Guide to Cleaning Your BPA Free Water Dispenser
Now you are ready to begin the cleaning process. Following these steps carefully will ensure your dispenser is sanitized safely and effectively. This guide will walk you through each stage, from preparation to the final refill.
Step 1: Unplug and Prepare the Unit
Your safety is the top priority. You must disconnect the dispenser from power before you do anything else. This prevents any risk of electric shock.
Safety First! ⚠️ Always unplug the water cooler from the electrical outlet before you start cleaning. If your unit has a hot water function, you must let the hot water reservoir cool down completely. This can take an hour or two. Attempting to drain a hot unit can cause serious burns.
Once the unit is unplugged and cool, you can prepare it for cleaning.
- Remove the water bottle from the top of the dispenser.
- Put on your protective gloves, especially if you plan to use the bleach solution.
- Check your manufacturer's user manual for any specific instructions, as dispenser designs can vary.
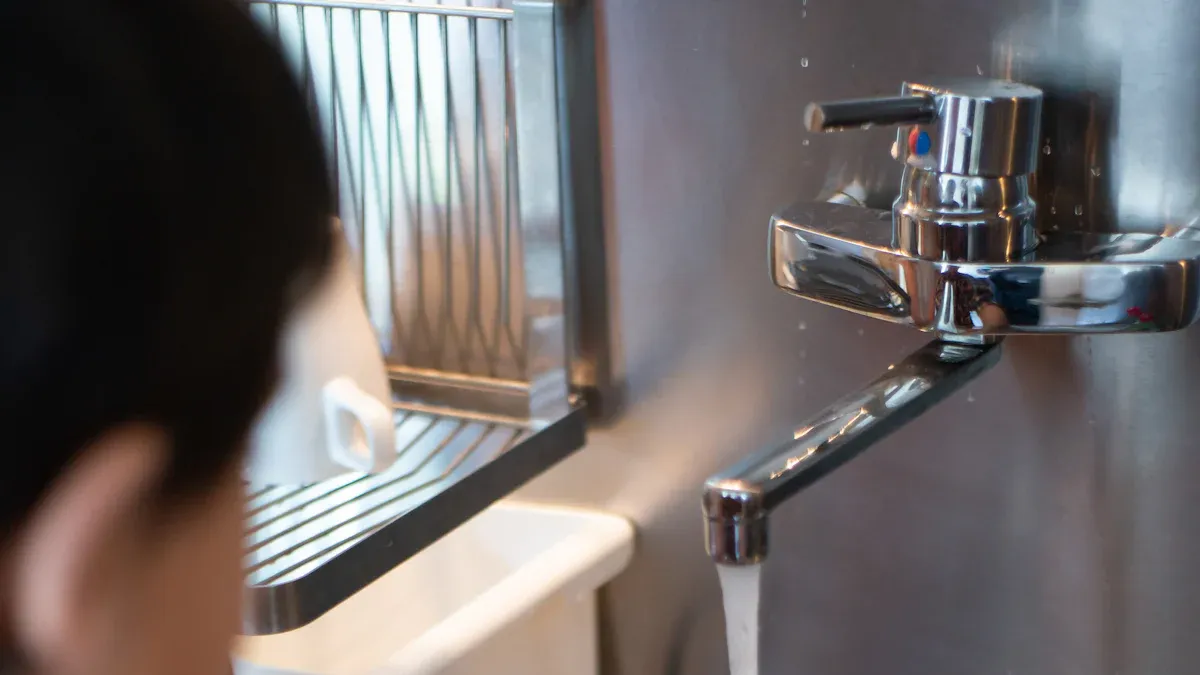
Step 2: Drain the Water Reservoirs
You need to empty all the water currently inside the dispenser. Most units have two reservoirs: one for cold water and one for hot water.
- Place a bucket under the cold water spigot. Press the tap until water stops flowing.
- Next, place the bucket under the hot water spigot. Drain it completely.
- Many dispensers also have a drain plug on the back of the unit. Carefully open this plug over your bucket to release any remaining water from the internal tanks.
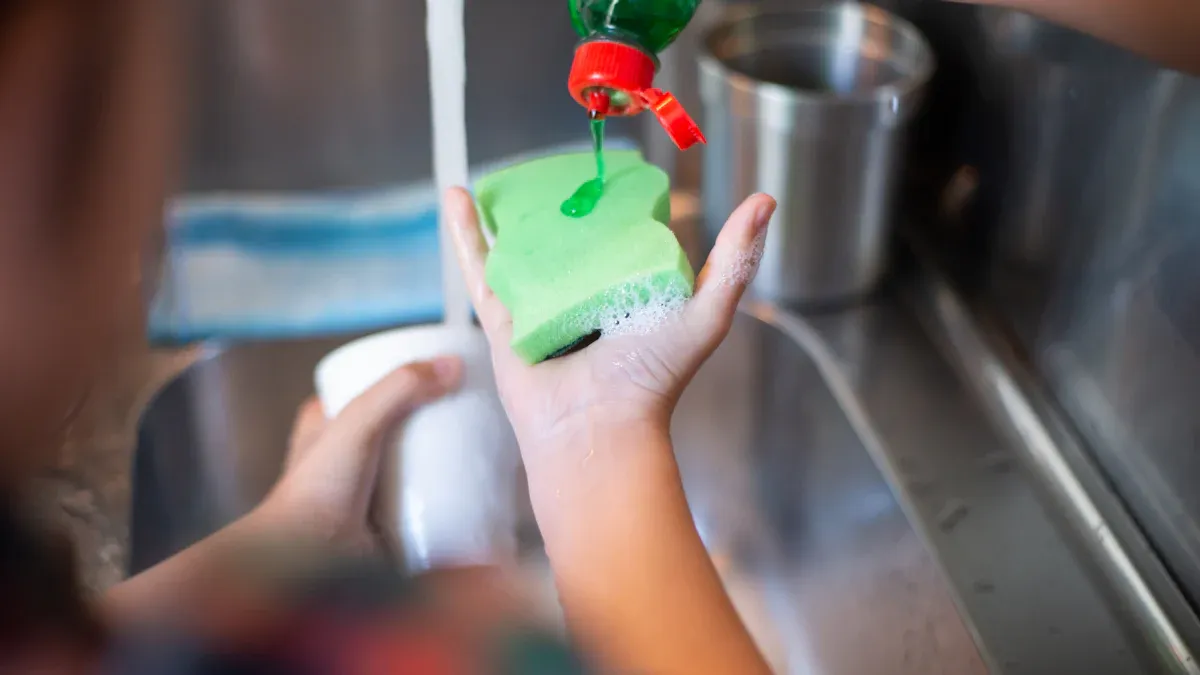
Step 3: Clean the Internal System
With the dispenser empty, you can now sanitize the inside. This step removes biofilm, mineral scale, and bacteria.
- Pour your chosen cleaning solution (vinegar and water or bleach and water) into the top of the dispenser, filling the main reservoir.
- Use your long-handled brush to scrub the inside walls of the reservoir. Pay special attention to corners and seams where buildup can hide.
- Use a small brush or pipe cleaner to scrub inside the spigots and any other hard-to-reach areas.
- Let the cleaning solution sit inside the reservoir for at least 3 to 5 minutes. This contact time is essential for the solution to kill germs effectively.
- After waiting, drain some of the solution through each spigot (hot and cold) to clean the internal lines and taps.
Step 4: Rinse Thoroughly to Remove All Traces of Cleaner
Rinsing is the most important step for ensuring your water tastes fresh and is safe to drink. You must remove every trace of the cleaning solution.
- Fill the reservoir completely with fresh, clean water.
- Drain the entire reservoir by dispensing water through both the hot and cold spigots.
- Repeat this process. You should rinse the system at least two to three times.
- After the final rinse, smell the inside of the reservoir and the water coming from the spigots. If you detect any hint of vinegar or bleach, you need to perform another rinse cycle. Continue rinsing until the smell is completely gone.
Step 5: Clean the Drip Tray and Exterior
Do not forget the outside of the unit. The drip tray and spigots can also harbor germs.
- Drip Tray: Remove the drip tray and its cover. Wash them in your sink with warm, soapy water. Rinse them well and set them aside to dry.
- Exterior Surfaces: Use a soft, lint-free cloth dampened with water and a little mild soap to wipe down the entire outside of the bpa free water dispenser. Pay attention to the areas around the spigots. Dry the exterior with a clean cloth.
Step 6: Reassemble and Refill
Once every part is clean and dry, you can put your dispenser back together.
Tip: Allow all removable components to air dry completely before you reassemble them. Putting parts back while they are still wet can encourage new mold growth.
- Secure the clean, dry drip tray back into place.
- Wipe the neck and top of a new water bottle with a clean cloth.
- Place the new bottle onto the dispenser.
- Plug the unit back into the electrical outlet.
- Fill a glass from both the hot and cold spigots to ensure the system is full and working correctly.
How Often Should You Clean Your Dispenser?
You can keep your water dispenser in top condition with a simple cleaning schedule. This involves two types of maintenance: quick weekly wipe-downs and more thorough deep cleans. Knowing how often to perform each task ensures your water stays fresh and your appliance runs smoothly.
Weekly Wipe-Downs
A quick cleaning each week prevents the buildup of external germs and grime. You should focus on the parts you touch and see most often. This simple habit takes only a few minutes but makes a big difference in hygiene.
Weekly Cleaning Checklist 📝
- Wipe down the spigots and control panels with a damp cloth.
- Remove and wash the drip tray with mild soap and water.
- Dry all external surfaces with a clean, lint-free cloth to prevent water spots.
This routine maintenance keeps the outside of your dispenser sanitary and looking its best between deep cleanings.
Deep Cleaning Every 3-6 Months
You should perform a full deep clean of your bpa free water dispenser every three to six months. This process, as detailed in the step-by-step guide, sanitizes the internal reservoirs and lines. It removes any biofilm or mineral scale that has formed.
The exact frequency depends on a few factors.
- Usage: If your dispenser is in a high-traffic area like an office breakroom, you should clean it closer to every three months.
- Water Source: If you use hard water, mineral deposits can build up faster. This also calls for more frequent cleaning.
For most homes, a deep clean every six months is sufficient. However, you should adjust your schedule based on your specific use and water quality to maintain optimal performance.
Common Mistakes to Avoid
You can clean your dispenser perfectly by avoiding a few common errors. These mistakes can leave your water tasting bad or even create safety hazards. Knowing what not to do is just as important as knowing the right steps.
Using Scented Bleach or Harsh Soaps
You should only use distilled white vinegar or unscented bleach for cleaning. Avoid scented products and strong dish soaps. Scented cleaners contain chemicals like phthalates, which can leave behind residues linked to changes in hormone levels. Harsh soaps are difficult to rinse away completely and will leave a soapy taste in your water.
Not Rinsing Enough
This is one of the biggest mistakes you can make. You must rinse the system completely to remove all cleaning solution. Leftover cleaner residue is dangerous to drink.
Health Risk! ⚠️ Ingesting even small amounts of cleaning chemicals can be harmful.
- Chemicals in bleach can cause corrosive injury if swallowed.
- Other harsh cleaners may contain ammonia, which can cause respiratory distress.
Rinse the dispenser two to three times, or until you can no longer smell any trace of vinegar or bleach.
Forgetting to Clean the Drip Tray
The drip tray is a critical breeding ground for germs. It collects standing water and creates a damp, humid environment where mold and bacteria thrive. Organic debris from your hands touching the spigots can also fall into the tray, feeding these microbes. Always remove and wash the drip tray with soap and water during every cleaning.
Cleaning a Hot Unit
You must protect yourself from burns. Always unplug the dispenser and wait for the hot water tank to cool down completely before you start cleaning. This can take an hour or more. Draining boiling water from the hot tap or the rear drain plug is extremely dangerous and can cause serious injury.
You now have the simple steps to keep your bpa free water dispenser safe and clean. Consistent maintenance every 3-6 months is the key to fresh, healthy water for your family. A clean dispenser protects your health and also extends the life of your appliance.
- You ensure your water is clean and hygienic.
- You improve the water quality and taste.
- You help your bpa free water dispenser last longer.
FAQ
Can I use lemon juice instead of vinegar?
You should avoid using lemon juice. It contains natural sugars that can leave a sticky residue. This residue may encourage new bacteria growth inside your dispenser.
What if my dispenser still smells after cleaning?
A lingering smell means you have cleaner residue left. You must perform more rinse cycles. Fill and drain the reservoir with fresh water until the odor is completely gone.
Is it safe to clean the hot water tank?
Yes, it is safe if you follow the proper steps. You must unplug the unit and let the hot tank cool for at least one hour before you start cleaning.