How to Install an Under-Sink Water Dispenser A DIY Guide
Proper preparation is the key to a smooth installation. Let's get everything ready before we start connecting pipes. This step ensures you have all the necessary items and a plan for where your new faucet will live.
Gather Your Tools and Parts
First, unpack your kitchen water dispenser kit. Lay out all the included parts and compare them against the manufacturer's parts list. This helps you confirm nothing is missing. You will also need a few basic tools for this project.
- Essential Tools:
- Adjustable wrench
- Drill with various bit sizes
- Safety glasses and gloves
- Bucket and towels
- Pencil or marker
Choose the Faucet Location
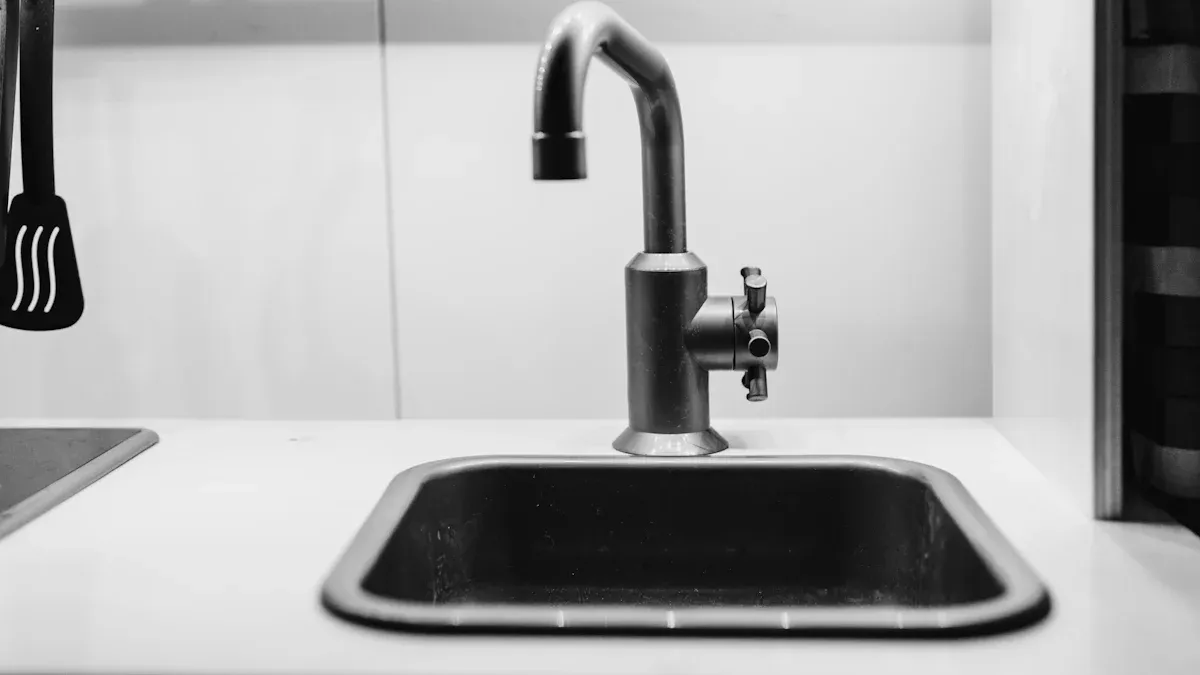
Next, decide where to place your new dispenser faucet on your sink or countertop. Most sinks have a pre-drilled hole, often covered by a cap, which is the ideal spot. If your sink doesn't have an extra hole, you will need to drill one.
Pro Tip: Choose a location that is convenient for filling glasses and pots. Make sure there is enough clearance for the faucet to swivel without hitting the main faucet or the wall. Check underneath the sink to ensure the location is clear of obstructions.
Drill the Mounting Hole
If you need to drill a hole, this is the most critical step. Always wear safety glasses.
- For Stainless Steel Sinks: Start with a small pilot hole. Gradually increase the drill bit size until the hole is large enough for the faucet shank. Using a center punch first can prevent the drill bit from wandering.
- For Stone/Composite Countertops: This requires a special diamond-tipped hole saw.
Caution! ⚠️ Drilling into stone countertops like granite or quartz is challenging. If you are not confident, it is best to hire a professional for this part to avoid cracking your countertop.
Mount the Dispenser Faucet
With the hole ready, you can now mount the faucet.
- Feed the faucet's threaded shank and any attached tubes through the hole from the top of the sink.
- From underneath the sink, slide the washer and mounting nut over the shank.
- Hand-tighten the nut to secure the faucet.
- Check the faucet's alignment from above, then use your wrench to give the nut a final quarter-turn. Do not overtighten.
Key Takeaways
- Gather all tools and parts before you start. This makes the installation smooth.
- Choose a good spot for the faucet. Make sure it has enough room to move.
- Connect the water lines carefully. Check for leaks to keep your home dry.
Preparation and Faucet Mounting
Proper preparation is the key to a smooth installation. Let's get everything ready before we start connecting pipes. This step ensures you have all the necessary items and a plan for where your new faucet will live.
Gather Your Tools and Parts
First, unpack your kitchen water dispenser kit. Lay out all the included parts, such as the faucet, tubing, and connectors. Compare them against the manufacturer's parts list to confirm nothing is missing. You will also need a few basic tools for this project.
- Adjustable wrench
- Drill and drill bits
- Tubing cutter
- Safety glasses and gloves
- Bucket and towels
- Pencil or marker
- Sealant tape
Choose the Faucet Location
Next, decide where to place your new dispenser faucet on your sink or countertop. Most sinks have a pre-drilled hole, often covered by a cap, which is the ideal spot. If your sink does not have an extra hole, you will need to drill one.
Pro Tip: Choose a location that is convenient for filling glasses and pots. Make sure there is enough clearance for the faucet to swivel without hitting the main faucet. Check underneath the sink to ensure the location is clear of obstructions.
Drill the Mounting Hole
If you need to drill a hole, this is a critical step. Always wear safety glasses.
- For Stainless Steel Sinks: Use a drill bit designed for metal with a 135-degree point to prevent slipping. Start with a small pilot hole. Gradually increase the drill bit size until the hole is large enough for the faucet shank.
- For Stone Countertops: This requires a special diamond-tipped hole saw.
Caution! ⚠️ Drilling into stone like granite is challenging. If you are not confident, it is best to hire a professional for this part to avoid cracking your countertop.
Mount the Dispenser Faucet
With the hole ready, you can now mount the faucet. For a leak-proof seal, apply a thin bead of waterproof silicone sealant around the base of the faucet before setting it.
- Feed the faucet's threaded shank through the hole from the top of the sink.
- From underneath the sink, slide the washer and mounting nut over the shank.
- Hand-tighten the nut to secure the faucet.
- Check the faucet's alignment from above. Then, use your wrench to give the nut a final quarter-turn. Do not overtighten.
Connecting Your Kitchen Water Dispenser
With your new faucet securely in place, it is time to connect the plumbing. This section guides you through linking the water supply to the filter system and then to the faucet. You are just a few connections away from finishing the installation of your kitchen water dispenser.
Install the T-Adapter
The T-adapter is a small fitting that lets you tap into your cold water line. It directs some water to your filter system while still supplying your main faucet. A compression-style T-adapter has three parts: the adapter body, a sleeve, and a retainer nut. These pieces work together to create a watertight seal.
Safety First! 🚰 Before you start, double-check that the cold water shut-off valve is still fully closed. Place a bucket and some towels under your work area to catch any drips.
Follow these steps to install the adapter:
- Using an adjustable wrench, carefully disconnect the flexible water line that runs to your main kitchen faucet from the shut-off valve.
- Screw the T-adapter directly onto the shut-off valve. Hand-tighten it first.
- Reconnect the main faucet's flexible water line to the top of the T-adapter.
- Use two wrenches to tighten the connections. One wrench holds the valve or adapter steady while the other turns the nut. A tight seal often makes a small squeaking sound.
Mount the Filter Housing
Next, you need to find a good home for the filter housing under your sink. Choosing the right spot now will make changing filters much easier later.
Pro Tip: Find a spot on the cabinet wall where the filter housing can be mounted upright and level. Most importantly, leave enough space below the housing (usually 3-4 inches) so you can easily unscrew the canister and replace the filter cartridge in the future.
To mount the housing securely:
- Hold the filter mounting bracket against the cabinet wall and mark the screw holes with a pencil.
- Drill small pilot holes on your marks.
- Secure the bracket to the cabinet wall using the screws provided in your kit. If your cabinet wall feels thin, you can first screw a small piece of plywood to the wall and then mount the bracket to the plywood for extra stability.
- Attach the filter housing to the bracket.
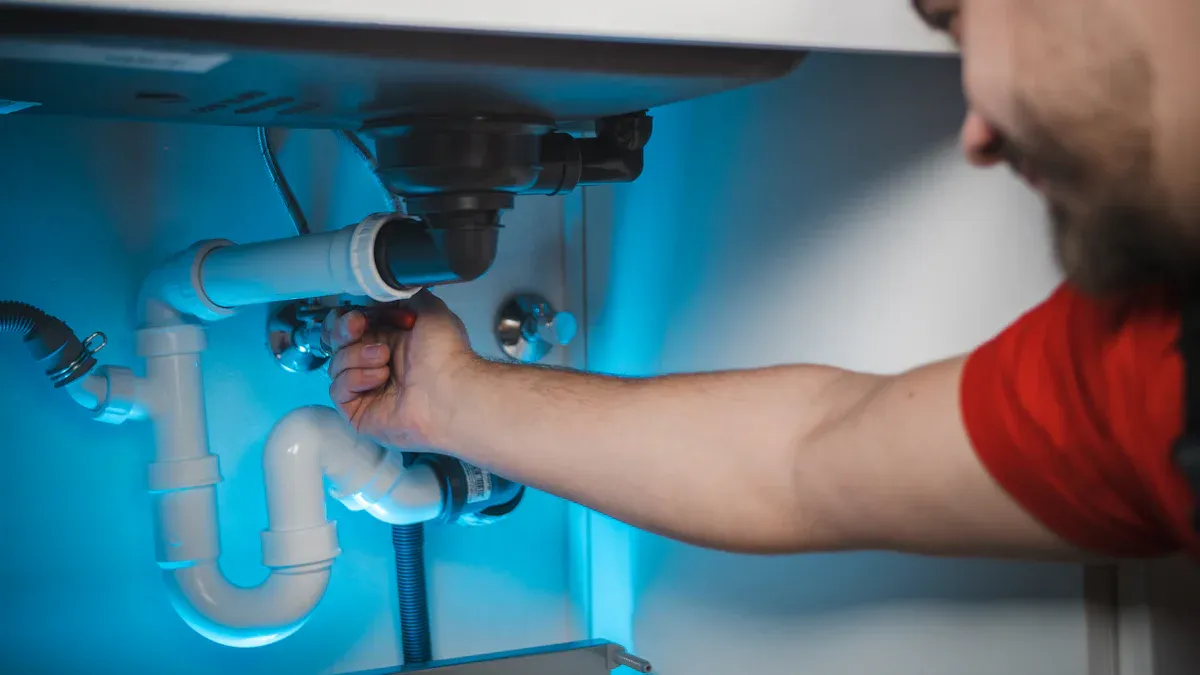
Connect the Water Lines
Now you will connect all the components using the plastic tubing from your kit. Most modern kits use push-to-connect fittings, which makes this step simple. Always use a tubing cutter for a clean, square cut.
- Connect to Filter Inlet: Push one end of a tube firmly into the T-adapter's outlet. Run this tube to the filter housing and push the other end into the port marked INLET.
- Connect to Filter Outlet: Take another piece of tubing. Push one end into the filter housing port marked OUTLET.
- Connect to Faucet: Run the tube from the filter outlet up to the bottom of your new kitchen water dispenser faucet. Push the end of the tube firmly into the faucet's connection point.
- Tug Gently: Give each tube a gentle tug to ensure it is locked securely in the fitting.
Final Steps and System Check
You have reached the final stage of the installation. Now you will install the filter, check for leaks, and flush the system. These steps ensure your new kitchen water dispenser works perfectly from day one.
Install the Filter Cartridge
Your filter housing is mounted, but it needs its cartridge. Most systems use a simple twist-lock design.
- Unwrap the new filter cartridge.
- Align the guides on the cartridge with the guides on the filter housing.
- Gently push the cartridge into the housing.
- Twist the cartridge clockwise until you feel it lock firmly into place.
- Confirm the cartridge is fully seated and secure before moving on.
Check All Connections for Leaks
This is the moment of truth. You will now slowly introduce water into the system. Residential water pressure is typically between 40 and 80 psi, so a secure connection is vital.
Leak Check Procedure 💧 Place a dry towel under the filter housing and connections. Slowly turn the cold water shut-off valve counter-clockwise just a quarter of the way. You should hear water filling the system. Listen and watch each connection point for drips. If you see a leak, turn the water off and tighten the leaking nut an extra quarter-turn.
Once you see no leaks, fully open the shut-off valve. Wipe everything down and check one last time.
Flush the New System
You must flush the new filter to remove any harmless carbon dust or preservatives. This process ensures your water tastes fresh.
- Place a pitcher under the new faucet.
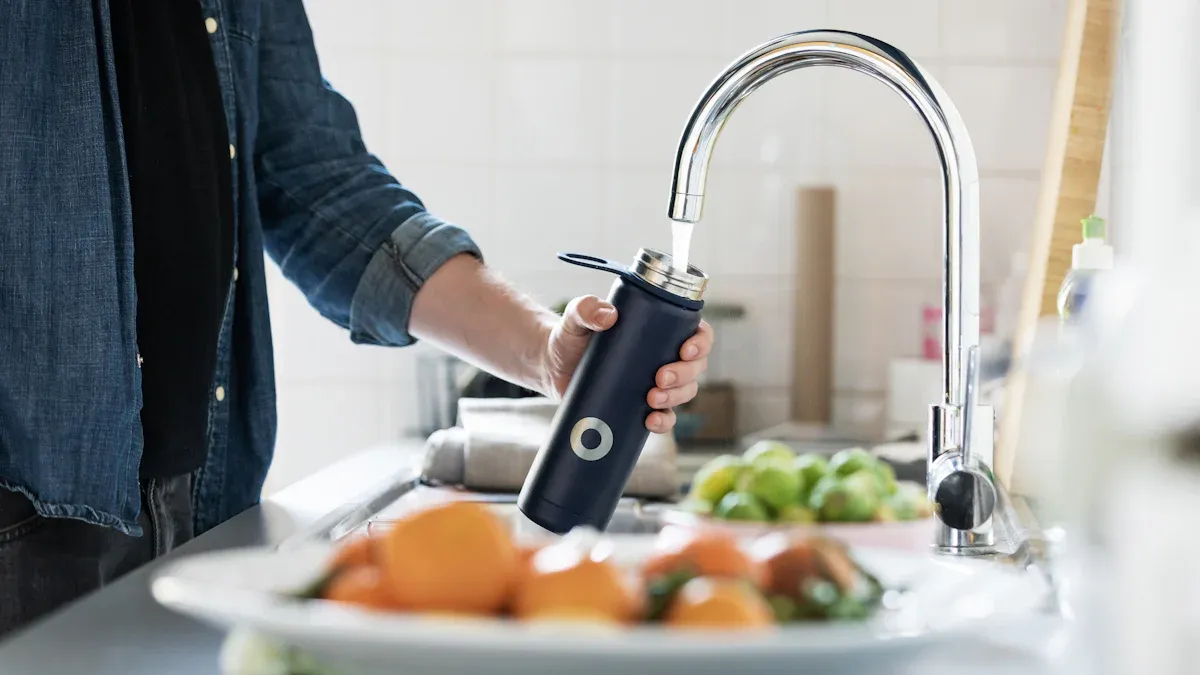
- Open the dispenser faucet and let the water run for at least five minutes. The water may appear cloudy or discolored at first. This is normal.
- Continue flushing until the water runs clear. Flushing works by forcing water through the new filter media, cleaning it out for first use.
Congratulations! Your system is now ready to use.
Congratulations on your successful installation! You can now enjoy the convenience of fresh, filtered water right from your tap. This simple upgrade helps you save money compared to buying bottled water and reduces plastic waste. Finally, set a calendar reminder for your first filter change to ensure great-tasting water.
FAQ
Why is the water flow from my new faucet so slow?
Slow flow often means the shut-off valve is not fully open. You can also check the water lines for any kinks or bends that restrict water movement.
How often should I change the water filter?
You should replace your filter cartridge every six months. Always check the manufacturer's guide for the exact recommendation based on usage and water quality in your area.
Can I connect the dispenser to my hot water line?
Important! 🚫 No. You must connect the system only to the cold water line. Hot water will permanently damage the filter cartridge and other plastic components.