Stop Worrying About Your Hamster Water Dispenser Leaks
You can stop most drips from your hamster water dispenser with a simple trick. This method creates a strong vacuum seal.
- Fill the bottle completely to the top, leaving no air.
- Screw the cap on tightly.
- Flip the bottle over and tap the metal ball until the dripping stops.
Key Takeaways
- Fill the water bottle completely. This creates a strong seal and stops leaks.
- Check the rubber washer and spout often. Damage to these parts can cause drips.
- Clean the bottle regularly. This prevents buildup and keeps the water fresh for your hamster.
Quick Fixes for a Leaking Hamster Water Dispenser
That first trick solves most leaks. Sometimes, a stubborn drip needs a little more investigation. You can try these simple fixes to stop the water and keep your hamster's bedding dry.
Perfect the Vacuum Seal
The vacuum seal is the most important factor for a drip-free bottle. Understanding how it works helps you fix it. The science is simple. Air always wants to move from a high-pressure area to a low-pressure area.
- You create a vacuum (a low-pressure space) inside the bottle when you fill it with water and seal the cap.
- The air pressure outside your hamster water dispenser is now higher than the pressure inside.
- This higher outside pressure pushes up against the ball bearing in the spout.
- This force holds the water inside the bottle, preventing it from leaking out.
Pro Tip: Always fill the bottle completely to the brim. Less air inside the bottle creates a stronger, more reliable vacuum seal. This is the best way to stop drips before they start.
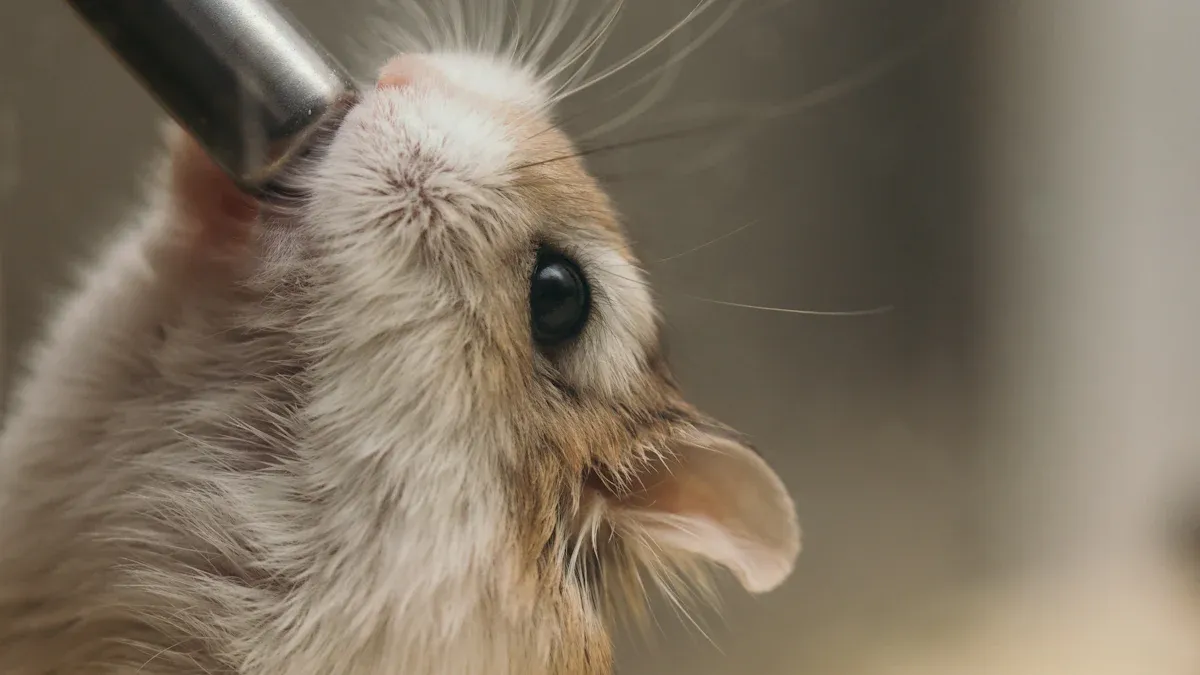
Check the Rubber Washer
Your bottle's cap has a small rubber ring inside. This is the washer. It creates an airtight seal between the bottle and the cap. A faulty washer will break the vacuum and cause leaks.
You should inspect the washer every time you refill the bottle. 🔧
- Unscrew the cap and carefully remove the rubber washer.
- Look for any signs of damage, like cracks or tears.
- Feel the washer. It should be soft and flexible, not hard or brittle.
- Clean any debris or buildup from the washer and the cap's threads.
If the washer looks worn out, you can sometimes flip it over to use the other side. A damaged washer needs to be replaced. This small part is essential for a leak-proof hamster water dispenser.
Adjust the Bottle's Angle
The position of the bottle on the cage can also cause leaks. Gravity-fed bottles work best when they are positioned correctly. A bottle that is angled too far horizontally may drip constantly because gravity is not working with the vacuum seal.
You want the bottle to hang vertically, straight up and down. This position helps the ball bearing settle properly and maintains the vacuum seal.
| Bottle Position | Problem | Solution |
|---|---|---|
| Too Horizontal | Gravity pulls water out, causing a constant drip. | Adjust the holder so the bottle hangs vertically. |
| Too Loose | The bottle moves around, breaking the seal. | Secure the bottle holder tightly to the cage bars. |
| Perfectly Vertical | The vacuum seal and gravity work together. ✅ | Keep the bottle in this ideal upright position. |
Check the bottle's angle after you hang it on the cage. A small adjustment can make a big difference.
Diagnosing Deeper Leak Issues
If the quick fixes did not stop the drip, you may need to investigate a little further. Sometimes, the problem lies with the hardware itself or even the environment around the cage. A careful inspection can help you find the root cause.
Inspect the Spout and Ball Bearing
The metal spout and the ball bearing inside are critical parts. Debris or damage here will cause leaks. You should check the spout every time you clean the cage. 🔍
A faulty ball bearing is a common problem. Here are signs that your ball bearing is malfunctioning:
- Constant dripping: A stuck ball bearing cannot create a proper seal.
- Visible rust: Corrosion on the ball prevents it from sealing effectively.
- Stuck ball: The ball should move easily when you touch it.
- Rough surface: A healthy ball bearing feels perfectly smooth and round.
If the spout is dirty, you can clean it.
- Use a small brush, like one for reusable straws, to scrub inside the spout.
- Soak the entire cap and spout in hot, soapy water to loosen any buildup.
- Rinse everything thoroughly before you reassemble it.
Look for Cracks in the Bottle
Even a tiny crack in the plastic bottle can ruin the vacuum seal. These cracks are often hard to see. You should inspect the bottle closely under a bright light. Bend the plastic slightly to see if any hairline fractures appear.
A cracked bottle cannot be safely repaired. It will always leak and can harbor bacteria. You should replace a damaged hamster water dispenser immediately to protect your pet's health.
Watch for Temperature Changes
Sudden changes in room temperature can make a perfectly good bottle leak. When the air in your room gets warmer, the small amount of air and the water inside the bottle expand. This expansion creates pressure. The increased pressure can push water out past the ball bearing.
To prevent this, keep your hamster's cage in a stable environment. Position it away from direct sunlight, heating vents, and drafty windows. This simple step helps maintain consistent pressure inside the bottle.
Preventive Care for a Drip-Free Bottle
Good habits are the best way to prevent leaks. A consistent care routine keeps your hamster water dispenser working correctly. You can save yourself a lot of trouble with a few simple, regular checks. These steps ensure your hamster's home stays dry and healthy.
Follow a Regular Cleaning Routine
A clean bottle works better. Algae, food particles, and mineral buildup can interfere with the seal. This debris can get stuck in the spout or on the ball bearing, causing drips. You should establish a cleaning schedule to keep everything flowing smoothly.
- Perform a deep clean of the bottle and steel tube once a week.
- Use hot, soapy water and a bottle brush to scrub away any film.
- Pay special attention to the spout and the threads on the cap.
A clean bottle not only prevents leaks but also stops harmful bacteria from growing. This protects your hamster's health.
Test the Seal After Every Refill
You should always test the vacuum seal before you walk away. This quick check takes only a few seconds. After you fill the bottle and tighten the cap, flip it over the sink. Tap the ball bearing a few times. The bottle should drip a little and then stop completely. If it keeps dripping, the seal is not secure. You may need to re-fill it or check the washer again. This simple habit confirms the bottle is working properly before you put it back in the cage.
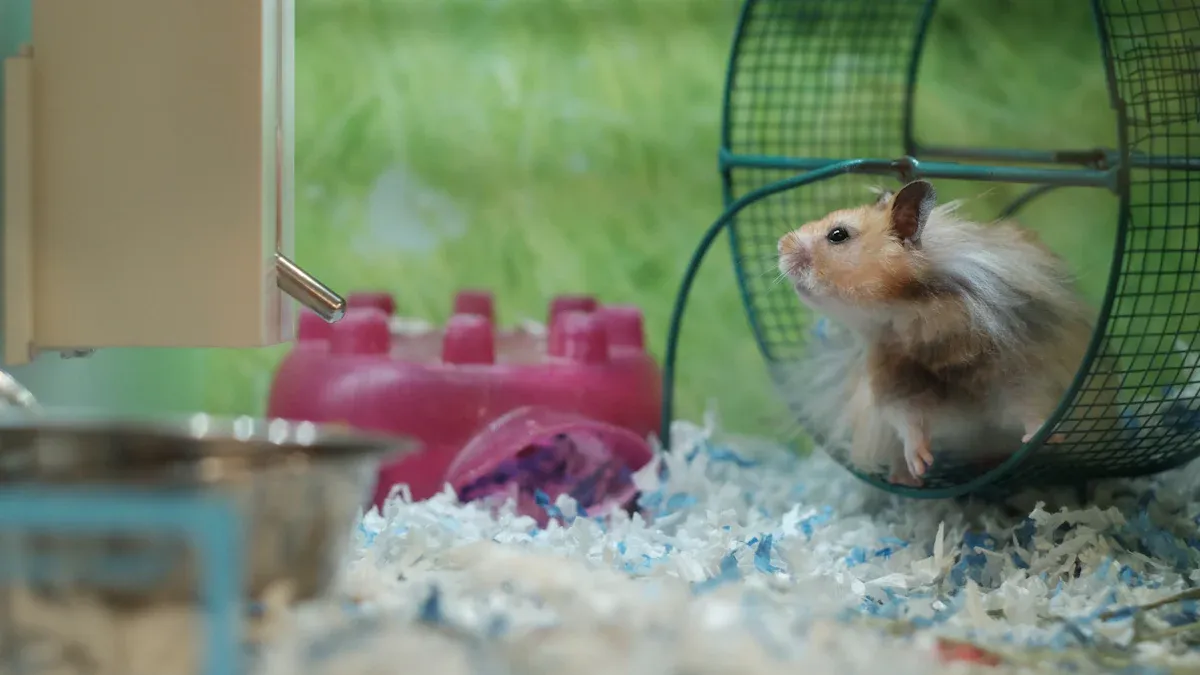
Place a Drip Catcher Underneath
Even the best bottle can have an occasional drip. You can prepare for this with a drip catcher. Placing a small, waterproof dish or a commercial drip pad directly under the spout provides an excellent safety net. This simple addition catches any stray drops of water. It keeps your hamster's bedding dry and prevents a small issue from becoming a big mess.
Safety First: A drip catcher is a great backup. It is not a solution for a constantly leaking bottle. You should always fix the source of a persistent leak.
Choosing the Right Equipment
Sometimes, your best efforts cannot fix a faulty bottle. Investing in the right equipment from the start can prevent future headaches. A better bottle or a simple backup plan gives you peace of mind.
Consider a Better Water Bottle
If you constantly struggle with leaks, it might be time for an upgrade. Not all water bottles are created equal. High-quality bottles have features designed to prevent dripping and keep your pet safe. You should look for a bottle with specific improvements.
- Better Materials: Choose bottles made from thick, BPA-free plastic. This material is safer and more durable.
- Reliable Seal: A good bottle uses a vacuum seal mechanism. This design is the best defense against leaks.
- Superior Spout: Look for a high-grade stainless steel tube. A polished, smooth tip is more comfortable for your hamster and less likely to get stuck.
Upgrading your hamster water dispenser can be a smart investment. It saves you time cleaning wet bedding and ensures your hamster always has fresh water.
Using a Water Bowl as a Backup
You can also offer water in a shallow, heavy ceramic bowl. This gives your hamster a second source of water. It is a great backup in case the bottle leaks or malfunctions.
A water bowl is an excellent secondary option. You must clean it daily. Bedding, food, and waste can easily get into an open bowl. A clean bowl ensures your hamster has a safe and hygienic water source.
This two-source system provides a reliable safety net. It guarantees your pet will never go thirsty.
You can prevent most leaks with a few good habits. A consistent routine is your best defense against a wet cage.
- Always fill the bottle completely to create a strong vacuum seal.
- Regularly inspect the rubber washer and spout for damage.
- Test the bottle after every refill.
These simple steps keep your hamster's home dry and ensure they always have fresh water. 🐹
FAQ
Why does my new bottle leak?
New bottles often drip until you create a vacuum. You must fill the bottle completely. Then, tap the ball bearing until the dripping stops.
How often should I change my hamster's water?
You should provide fresh water every day. This simple habit keeps your hamster healthy. It also prevents bacteria from growing inside the bottle.
Can I fix a cracked bottle with glue?
No, you should never use glue. It is toxic to hamsters and will not create a permanent seal. You must replace any cracked bottle immediately.