The 2025 Trend A Homemade Micellar Water Dispenser
A great skincare routine can be both simple and stylish. You can elevate your daily ritual with a homemade micellar water dispenser.
Why Make Your Own Dispenser? 💡
- Reduce Waste: Dispense the perfect amount every time.
- Save Time: Enjoy the convenience of quick, one-handed use.
- Add Style: Customize a chic dispenser for your vanity.
Key Takeaways
- Make a homemade micellar water dispenser to save product and add style to your routine.
- Use a foam pump with a PET plastic bottle for the best results with micellar water.
- Clean your dispenser often to keep it working well and prevent germs.
How to Create Your DIY Micellar Water Dispenser
Creating your own dispenser is a simple and rewarding project. You can transform a few basic components into a functional and stylish addition to your vanity. This guide will walk you through the entire process from start to finish.
Gather Your Essential Materials
First, you need to collect a few key items. You can find most of these at craft stores or online packaging suppliers.
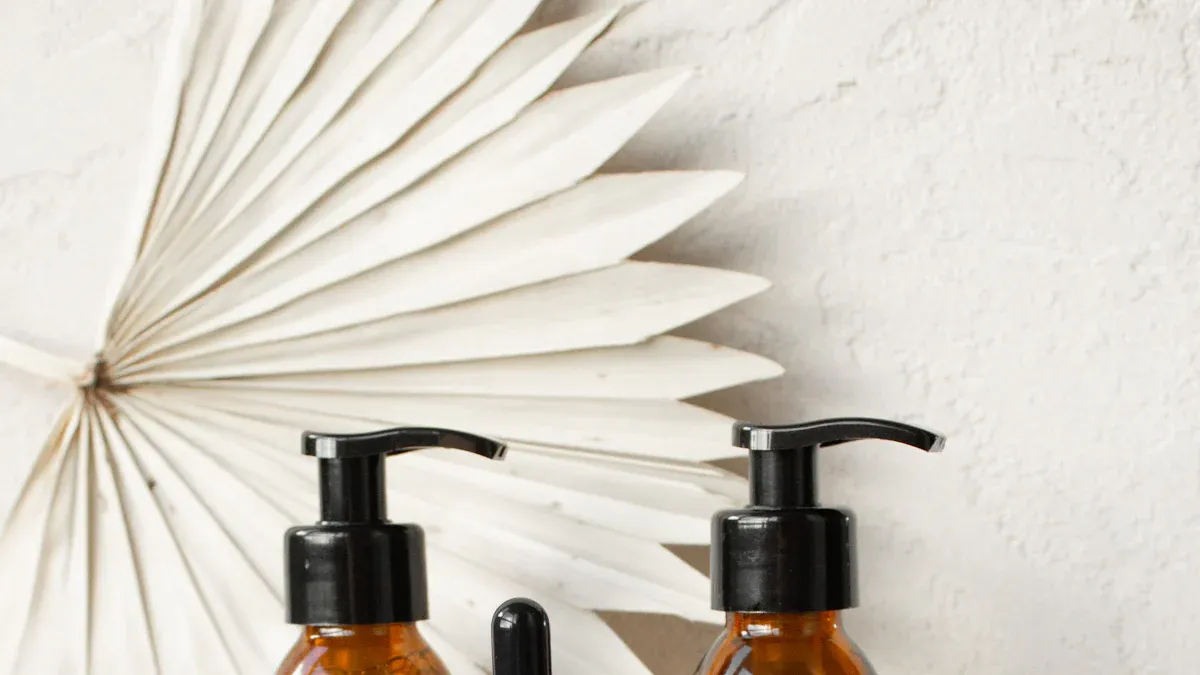
- An Empty Bottle: Choose a bottle made from PET plastic. This material is a great choice for water-based products like serums and toners.
- A Dispenser Pump: You must select the right pump for your project. Micellar water has a thin, watery consistency. A standard lotion pump will not work well. You need a foam pump.
- Essential Tools: You only need a few simple tools for this project.
- Scissors
- A ruler or measuring tape
Pump Selection Tip 💡 A foam pump is designed specifically for water-like liquids. It has two internal chambers that mix air with the liquid to create a rich foam. A regular lotion pump has only one chamber and is made for thicker products. Using a lotion pump with micellar water will result in poor dispensing.
The Step-by-Step Assembly Process
Assembling your micellar water dispenser is straightforward. Follow these steps for a perfect result.
- Prepare Your Bottle and Pump: Make sure your bottle is clean and completely dry before you begin. Un-screw the cap from your new foam pump.
- Measure the Dip Tube: The plastic tube attached to the pump is called the dip tube. It needs to be the correct length to reach the bottom of the bottle. Place the dip tube next to your bottle. You will see it is probably too long.
- Cut the Dip Tube: You must cut the tube at an angle. An angled cut prevents the tube from sitting flat against the bottom, which would block the flow of liquid. Measure the height of the bottle and trim the tube so it just reaches the bottom corner.
- Assemble the Dispenser: Insert the trimmed dip tube back into the pump mechanism. Screw the pump tightly onto the bottle.
- Fill and Test: Fill your bottle with your favorite micellar water. Leave a little space at the top. Prime the pump by pressing it a few times until foam comes out. Your new micellar water dispenser is now ready to use!
Troubleshooting Your Pump ⚙️ Is your pump not working? You might have an air blockage. Air can get trapped inside the pump mechanism. Simply press the pump repeatedly to force the air out. You can also check that the pump is screwed on tightly and correctly aligned.
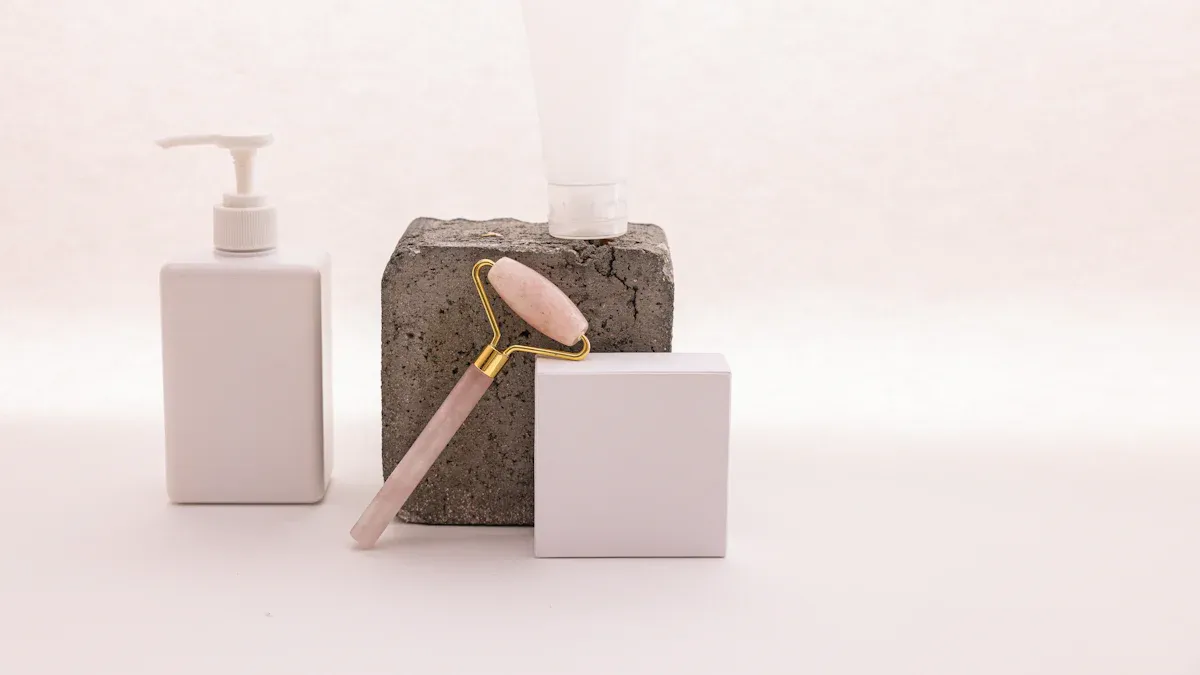
Personalize Your New Dispenser
Now for the fun part. You can customize your dispenser to match your personal style. A personalized bottle looks great and makes your skincare routine feel more special.
Here are a few creative ideas to get you started:
- Paint It: Use spray paint to give the bottle a modern matte or sea glass finish. You can use painter's tape or rubber bands to create stripes and patterns.
- Add a Label: Design a custom waterproof label. You can find printable waterproof sticker paper online. A simple label with the word "Micellar" looks clean and chic. For a permanent design, use a stencil and glass etching cream.
- Wrap It Up: For a rustic or natural look, wrap the bottle tightly with twine. Secure the ends with a small dab of hot glue.
Choose a decoration method that is waterproof. Your dispenser will be near water, so you want your design to last. Laminated labels or paints with a UV varnish finish are excellent choices.
Using and Maintaining Your Dispenser
Your new dispenser makes your skincare routine faster and cleaner. Proper use and maintenance will keep it working perfectly.
Your New Daily Use Routine
You can now enjoy a streamlined skincare process. Your new micellar water dispenser allows for quick, one-handed use. Simply place a cotton pad on top of the pump and press down once. The pump wets the pad with the perfect amount of product. This method improves hygiene because your fingers never touch the micellar water. It also reduces waste by giving you a consistent amount every time. Your routine becomes more efficient and less messy.
How to Clean and Refill for Hygiene
You should clean your dispenser between refills to prevent bacterial growth. Follow these simple steps for a hygienic pump and bottle.
- Rinse the bottle and pump parts with hot water.
- Wash everything with warm, soapy water.
- Pump rubbing alcohol through the pump mechanism to disinfect it.
- Rinse all parts again to remove any residue.
- Allow the bottle and pump to air dry completely. This step is crucial to prevent contamination of your fresh product.
Once dry, your dispenser is ready for a refill.
Making Your Own Micellar Water
You can easily create a custom micellar water at home. Most recipes use a few key ingredients. These include gentle surfactants to cleanse and humectants like glycerin to moisturize. You can also add ingredients for your specific skin type.
Recipe Customization Tips 🌿
- For Dry Skin: Add a few drops of argan oil.
- For Oily Skin: Use a non-comedogenic oil like hemp seed oil.
Making your own formula is a great way to control what goes on your skin. It also makes your homemade dispenser project even more personal.
You just created a chic and practical upgrade for your skincare routine. This simple micellar water dispenser project proves that a great beauty hack can be easy and affordable. You can enjoy benefits like:
- Reduced plastic waste
- Less product consumption
This project opens the door to other simple DIYs, like making your own honey cleanser.
FAQ
Can I use a glass bottle for my dispenser?
Yes, you can use a glass bottle. Just ensure your foam pump's screw top fits the bottle's opening securely. Glass offers a durable and elegant alternative to plastic.
Why did my dispenser stop making foam?
Your pump might be clogged or have an air lock.
Quick Fix 🛠️ Pump warm water through it to clear any clogs. Repeatedly press the pump to force out trapped air.
What other products can I use in this dispenser?
This dispenser works well with other thin, water-like liquids. You can try it with:
- Liquid facial cleansers
- Toners
- DIY brush cleaners