The Easiest Way to Clean Your Gallon Water Dispenser
Your gallon water dispenser can harbor harmful bacteria like E. coli if not cleaned regularly. You can get it sparkling clean in under 30 minutes. This simple cleaning process protects you from germs that can cause lung or skin infections.
Tip: Gather your supplies first. You will need 1 cup of distilled white vinegar, 3 cups of water, a bucket, and a soft cloth. 🧼
Key Takeaways
- Clean your water dispenser every 3 to 6 months to stop germs from growing.
- Use vinegar and water to clean your dispenser; it is safe and kills germs.
- Always unplug the dispenser before cleaning to stay safe from electricity.
The 7-Step Cleaning Process
Follow these seven steps to get your water dispenser clean and your water tasting fresh.
Step 1: Unplug and Prepare
Safety is your first priority. You must disconnect the dispenser from its power source before you begin. This action eliminates the risk of electric shock when you are working with liquids.
- Turn off the power switch on your gallon water dispenser.
- Unplug the machine from the wall outlet.
- Carefully lift the water bottle off the top. Place it to the side.
- Remove any loose parts like the drip tray and the baffle (the piece inside the reservoir).
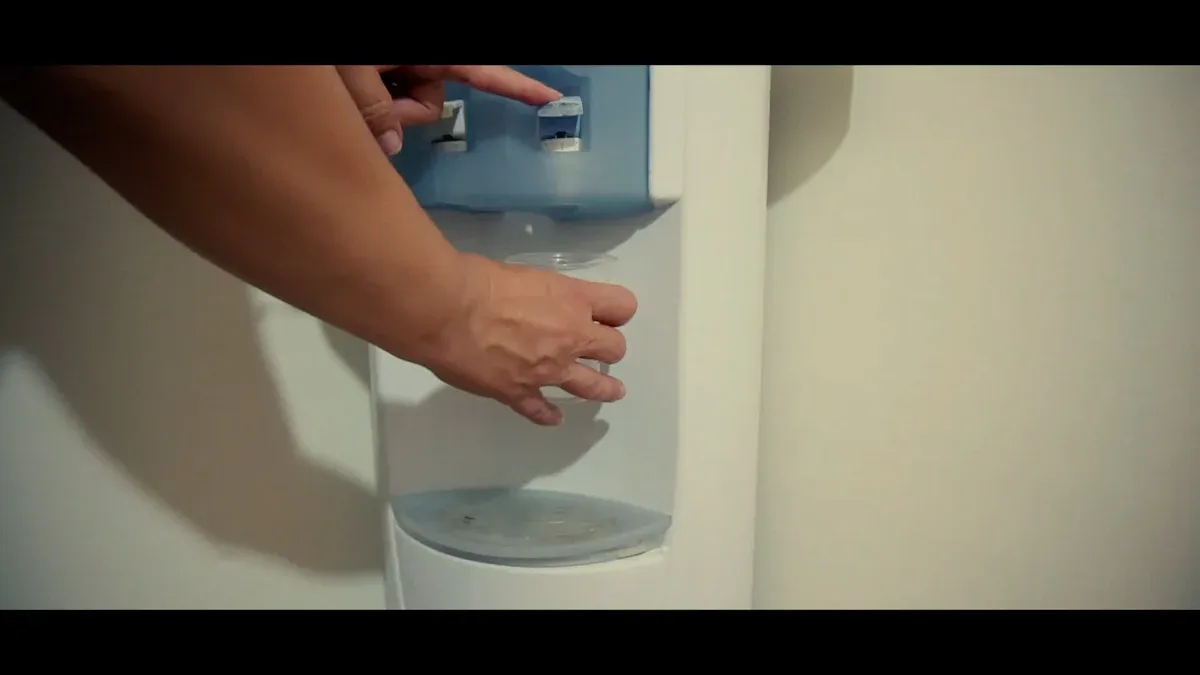
Step 2: Drain the Reservoir
You need to empty all the old water from the machine. This process flushes out any stagnant water and prepares the dispenser for sanitizing.
- Place a bucket under the spigots.
- Press the handles for both the hot and cold water taps. Let all the water drain into the bucket.
- Some dispensers have a small drain cap on the back. If yours does, unscrew it to release any remaining water.
Step 3: Wash Removable Parts
Now you can clean the parts you set aside. Use warm, soapy water and your soft cloth.
Pro Tip: Use a small detail brush to scrub inside the spigot openings. Move the brush in and out to clean the inner walls of each nozzle thoroughly. 🧽
Wash the drip tray, its grid, and the baffle. Pay close attention to all the small crevices where grime can hide. Rinse every piece well with clean water. You want to remove all soap residue. Set the parts on a towel to air dry completely. Allowing them to dry fully prevents new mold from growing.
Step 4: Sanitize with Vinegar
Vinegar is an excellent natural sanitizer. It contains acetic acid, a compound that can destroy certain harmful bacteria and viruses. This makes it a safe and effective choice for cleaning your gallon water dispenser.
- Carefully pour your cleaning mixture (1 cup vinegar, 3 cups water) into the dispenser's main reservoir.
- Let the solution sit inside the machine for 15 minutes. This gives the acetic acid enough time to work.
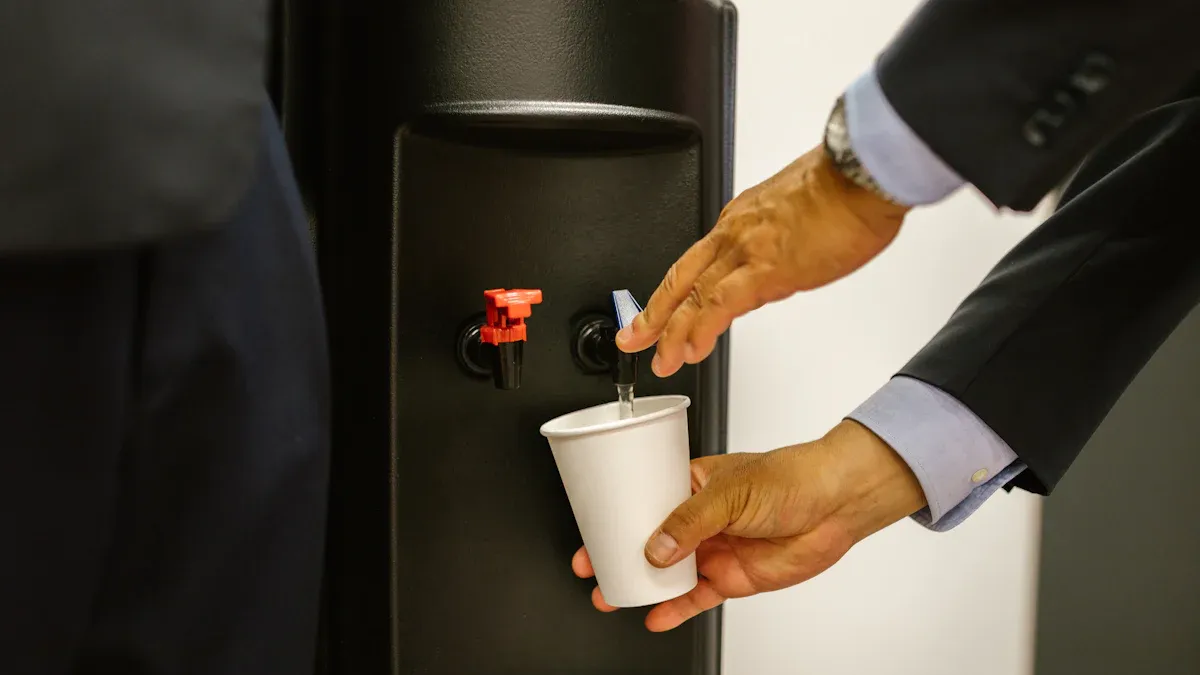
Step 5: Flush the Solution
After 15 minutes, you will flush the vinegar solution through the system. Place your bucket back under the spigots. Press each tap and drain all of the vinegar solution out of the reservoir.
Did you know? You can reuse the vinegar solution.
- Pour it on weeds in your garden.
- Pour it down the drain with plenty of running water.
- Avoid dumping it on pavers, as it can cause stains.
Step 6: Rinse with Fresh Water
You must rinse the dispenser to remove any leftover vinegar taste or smell. This step is very important for fresh-tasting water.
Fill the reservoir with fresh, clean water. Drain it completely through the spigots. You should repeat this rinse process at least two times. Continue rinsing until you can no longer smell any vinegar.
“For pure machine longevity, you can’t beat purified water,” advises home appliance engineer Jonathan Smith. Using purified water for the final rinse is the best way to prevent mineral buildup and extend the life of your machine.
Step 7: Reassemble and Refill
Your dispenser is now clean and sanitized. It is time to put it back together.
- Check that all removable parts are completely dry.
- Place the baffle back inside the reservoir.
- Put the drip tray back into its position.
- Wipe the outside of your new water bottle. Peel the sanitary seal off the cap.
- Lift the new bottle using your legs, not your back. A full bottle weighs about 42 pounds.
- Quickly and carefully flip the bottle over. Place it securely onto the top of the gallon water dispenser.
- Plug the dispenser back in and turn it on.
You are now ready to enjoy clean, pure, and refreshing water!
Maintaining Your Gallon Water Dispenser
A deep clean is essential, but regular upkeep keeps your dispenser in top shape. You can prevent grime and bacteria buildup with a few simple weekly habits.
Weekly Exterior Wipes
Your dispenser's outer surfaces collect dust and germs from daily use. You should wipe down the machine at least once a week to maintain hygiene. 🧼
- Wipe all external surfaces with a soft cloth.
- Use a food-safe sanitizing wipe on high-touch areas like the spigots and dispensing buttons.
- Remove visible dirt to keep the machine looking its best.
Drip Tray Upkeep
The drip tray is a common spot for mold growth if neglected. Keeping it clean is simple.
The drip tray should be emptied and cleaned periodically because it isn’t a drain, but a tray to catch the occasional spill.
You can easily clean and prevent mold in your drip tray.
- To Clean: Soak the tray in warm, soapy water or a vinegar solution. Scrub it well and let it dry completely before putting it back.
- To Prevent: Always ensure the tray is dry after cleaning. Place it in a well-ventilated area to discourage moisture buildup.
Proper Placement
Where you keep your dispenser matters. You should place your gallon water dispenser away from direct sunlight. Sunlight exposure can cause several problems. It warms the water, which helps microorganisms grow faster. This can lead to algae, which turns the water green and gives it an unpleasant taste and smell. Sunlight can also cause harmful chemicals like BPA to leach from the plastic bottle into your drinking water. Find a cool, shaded spot for your dispenser to ensure your water stays pure and safe.
You now have the easiest way to clean your gallon water dispenser. Following this 7-step guide every 3-6 months ensures your water tastes fresh and pure. A few minutes of regular cleaning helps your appliance last longer and prevents breakdowns, giving you safe, clean water every day. 💧
FAQ
How often should I clean my water dispenser?
You should deep clean your dispenser every 3 to 6 months. Regular cleaning prevents bacteria growth. It also ensures your water always tastes fresh and pure.
Can I use bleach instead of vinegar?
We do not recommend using bleach. It is a harsh chemical that can damage your machine's parts. Bleach can also leave behind a residue that is unsafe to drink.
Why does my water taste like vinegar?
A vinegar taste means you need to rinse the machine more. You should run fresh water through the spigots until you can no longer smell any vinegar. 💧