Keep Your Water Pure How to Maintain a Water Dispenser

You should clean your water dispenser every 3 to 6 months. This simple routine keeps your water pure and safe. It stops harmful bacteria from growing.
Did You Know? Uncleaned dispensers can grow bacteria like:
- Pseudomonas
- Legionella
- E. coli
Mineral buildup also creates problems. These deposits can trap bacteria and may contain heavy metals. Cleaning your water dispenser with hot and cold taps prevents this buildup. You only need simple items like white vinegar to do the job.
Key Takeaways
- Clean your water dispenser every 3 to 6 months. This stops harmful bacteria from growing and keeps your water safe.
- You can clean your dispenser with simple items like white vinegar or bleach. Follow the steps to clean both the inside and outside parts.
- Regular cleaning makes your water taste better. It also helps your dispenser last longer.
Step-by-Step Guide to Cleaning Your Water Dispenser with Hot and Cold
Following a detailed cleaning process ensures every part of your dispenser is free from contaminants. This guide breaks down the task into simple, manageable steps.
What You'll Need
You can gather most supplies right from your kitchen. You do not need expensive tools.
- Unscented household bleach or distilled white vinegar
- A bucket or large bowl
- Clean microfiber cloths or sponges
- A small scrub brush
- Warm, soapy water
- Rubber gloves and safety glasses
- Fresh bottled water for rinsing
Pro Tip 💡 You can also use commercial cleaning products. Some manufacturers, like Ideal Pure Water, recommend specific cleaners such as 'Pristines H2OK Water Cooler Cleaner'. You might also find a 'ReadyRefresh DIY Cleaning Kit' on Amazon for a convenient all-in-one solution.
Step 1: Preparation
Safety is your first priority. You must prepare your workspace and the unit before cleaning.
- Unplug the Dispenser: Always disconnect your water dispenser with hot and cold from the power outlet. This prevents any risk of electric shock.
- Remove the Bottle: Carefully lift the empty water bottle off the dispenser. Set it aside for recycling.
- Protect Yourself: Wear rubber gloves and safety glasses. This protects your skin and eyes from cleaning solutions like vinegar or bleach. A waterproof apron is also a good idea.
Step 2: Clean the Interior
Now you will clean the internal reservoir where mineral deposits and biofilm can form.
- Drain Remaining Water: Dispense any leftover water from both the hot and cold taps into a bucket until they run dry.
- Create Your Cleaning Solution: Mix a solution of one part white vinegar to one part hot water. Alternatively, use 1 tablespoon of unscented bleach per gallon of water.
- Wipe the Reservoir: Pour some of your solution onto a microfiber cloth. Thoroughly wipe the inside of the reservoir to loosen any grime.
- Fill and Wait: Pour the rest of your cleaning solution into the reservoir. Let the solution sit for at least 15-30 minutes. For tough mineral buildup, you can let a vinegar solution sit for up to an hour.
Step 3: Sanitize and Flush
This step pushes the cleaning solution through the internal tubing and spigots. It is a critical part of cleaning your water dispenser with hot and cold.
- Place a Bucket: Position a bucket under the spigots.
- Drain the Solution: Dispense the cleaning solution through both the hot and cold taps. Alternate between them to ensure both lines are fully sanitized.
- Empty the Bucket: Once the reservoir is empty, discard the cleaning solution safely down a drain.
Step 4: Rinse Thoroughly
You must remove all traces of the cleaning solution. Any leftover bleach or vinegar will affect the taste of your water.
- First Rinse: Fill the reservoir to the top with fresh, clean bottled water.
- Drain Completely: Drain all the rinse water through both the hot and cold taps into your bucket.
- Repeat: You should repeat this rinsing process at least two times. Continue rinsing until you can no longer smell any bleach or vinegar. A thorough rinse is key for a pure-tasting water dispenser with hot and cold.
Step 5: Clean External Parts
Do not forget the outside of the unit. Grime and bacteria can build up on spigots, levers, and the drip tray.
- Drip Tray: Remove the drip tray. Most trays slide or lift out easily. Wash it in your sink with warm, soapy water, then rinse and dry it completely. If your tray is not removable, wipe it clean with a cloth and your cleaning solution.
- Spigots and Levers: You can make a simple disinfectant spray. Mix ¼ cup of bleach and 2 tablespoons of laundry soap in a spray bottle, then fill it with water.
Safety First! ⚠️ When using a bleach spray, work in a well-ventilated area. Never mix bleach with other household cleaners. Spray the spigots and levers, then wipe them with a clean, damp cloth. Dispense a small amount of water to rinse the spouts internally.
- Exterior Surfaces: Use a damp microfiber cloth to wipe down the entire outside of the unit. For stainless steel surfaces, a dedicated stainless steel cleaner will remove smudges and restore shine.
Step 6: Reassemble and Final Wipe
You are almost done. The final step is putting everything back together and getting your dispenser ready for use.
- Reassemble Components: Return the clean drip tray to its slot. Reattach any baffles or lids inside the reservoir.
- Install New Bottle: Wipe the neck and shoulders of a new water bottle with a clean cloth. Place it securely onto the dispenser.
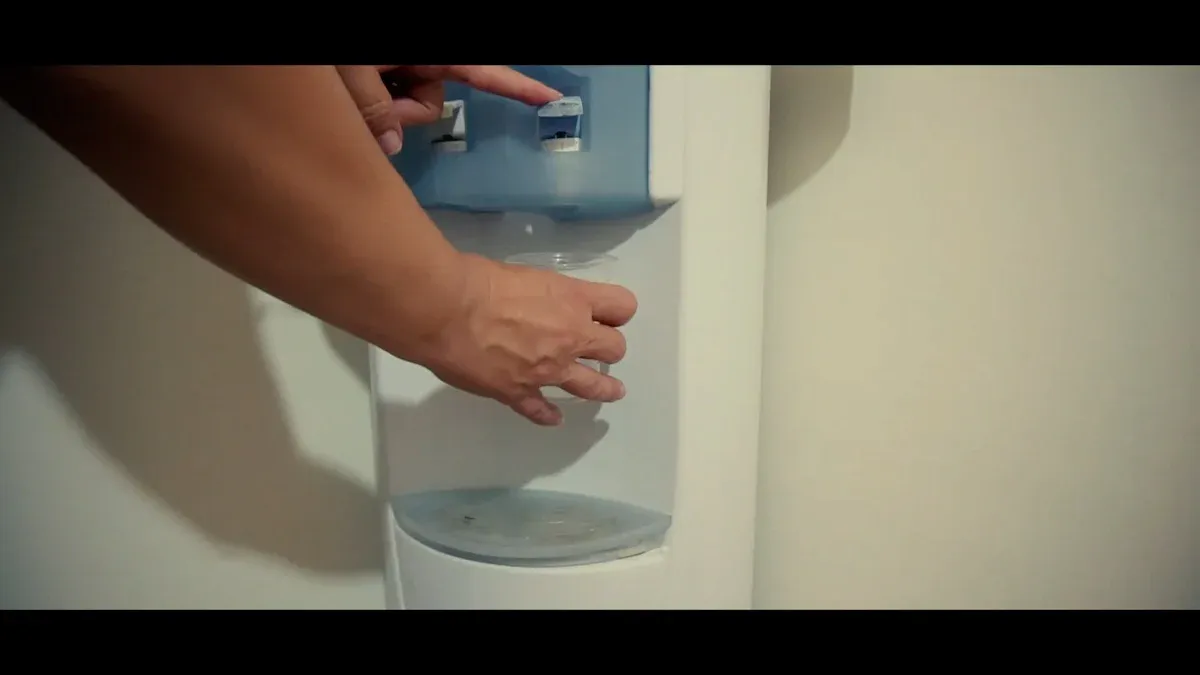
- Prime the Taps: Drain a cup of water from each tap. This ensures the lines are full and the system is flowing properly.
- Plug It In: You can now plug your water dispenser with hot and cold back into the wall. Allow about 25-30 minutes for the water to reach the correct hot and cold temperatures.
Maintenance Schedule and Quick Tips
Consistent care is the best way to guarantee fresh water. You can create a simple routine with a few daily habits and a scheduled deep clean. This prevents biofilm and keeps your dispenser in top condition.
How Often to Deep Clean
You should perform a deep clean every three to six months. The exact timing depends on several factors. Your cleaning frequency should be higher in certain situations.
- Usage Level: Offices or public spaces see high foot traffic. You should clean these dispensers every one to three months. A home water dispenser with hot and cold typically needs cleaning every six months.
- Environment: Bacteria grow faster in warm or humid areas. You may need to clean your unit more often in these conditions.
- Water Quality: The quality of your water source also affects how quickly mineral deposits form.
Daily and Weekly Habits
Small, regular actions make a big difference. You can prevent grime from building up with these simple habits. This makes your deep cleaning sessions much easier.
- Wipe Surfaces Daily: Use a clean, damp cloth to wipe down the exterior and spigots each day.
- Manage the Drip Tray: Empty the drip tray daily to prevent spills and standing water.
- Wash the Drip Tray Weekly: Each week, wash the drip tray with warm, soapy water. You can give it a quick rinse with vinegar to help sanitize it.
- Clean the Nozzles Weekly: The dispensing nozzles need special attention.
Weekly Nozzle Care 💧 Dip a small brush or cotton bud in white vinegar. Use it to gently scrub inside and around the nozzles. This simple step removes hidden grime and mineral buildup.
You ensure your water is always pure and safe with simple, regular care. This routine helps your dispenser last longer and prevents expensive breakdowns. Following this straightforward guide every 3-6 months gives you great-tasting water and peace of mind. ✅
FAQ
Can I use dish soap to clean the inside?
You should not use soap inside the reservoir. Soap leaves a residue that is difficult to rinse away. This residue will affect the taste of your water.
Why does my water taste bad after cleaning?
Your dispenser needs more rinsing. You must remove all traces of the cleaning solution. Run fresh water through the taps until you no longer smell vinegar or bleach.
Is it really necessary to clean my dispenser?
Yes, cleaning is very important. Bacteria and mineral deposits can build up inside the unit. Regular maintenance ensures your water remains pure, safe, and great-tasting. ✅