Your Guide to Cleaning a Restaurant Water Dispenser
An excellent water dispenser for restaurant offers clean, refreshing water. You must keep it that way. Daily cleaning prevents health code issues. You should wipe down all outside surfaces. Empty and clean the drip tray every day. This simple step satisfies customers and health inspectors.
Health Code Alert 🚨 Health inspectors often cite unclean beverage nozzles. Similar to soda fountains, water dispenser spouts can harbor bacteria if not cleaned regularly.
A deep, internal cleaning is also vital. You need to sanitize the entire system every three to six months. This process removes hidden bacteria and biofilm. It ensures your water always tastes fresh and pure.
Key Takeaways
- Clean your water dispenser every day. This stops germs and keeps customers happy.
- Deep clean your water dispenser every 3 to 6 months. This kills hidden bacteria and keeps water fresh.
- Follow a cleaning plan. This helps you keep the dispenser clean and safe for everyone.
Step-by-Step Guide to Sanitizing Your Water Dispenser
A deep clean goes beyond the surface. This guide walks you through the complete sanitization process. Following these steps ensures your water dispenser for restaurant is hygienic from the inside out.
1. Preparation and Disassembly
Safety and organization are your first priorities. A good setup makes the entire process smoother and safer for your staff.
- Power Down Safely: First, turn off the hot water function if your model has one. Then, unplug the dispenser from the electrical outlet.
- Remove the Water Bottle: Make sure the water bottle is empty before you try to lift it. This makes the unit much lighter and easier to handle.
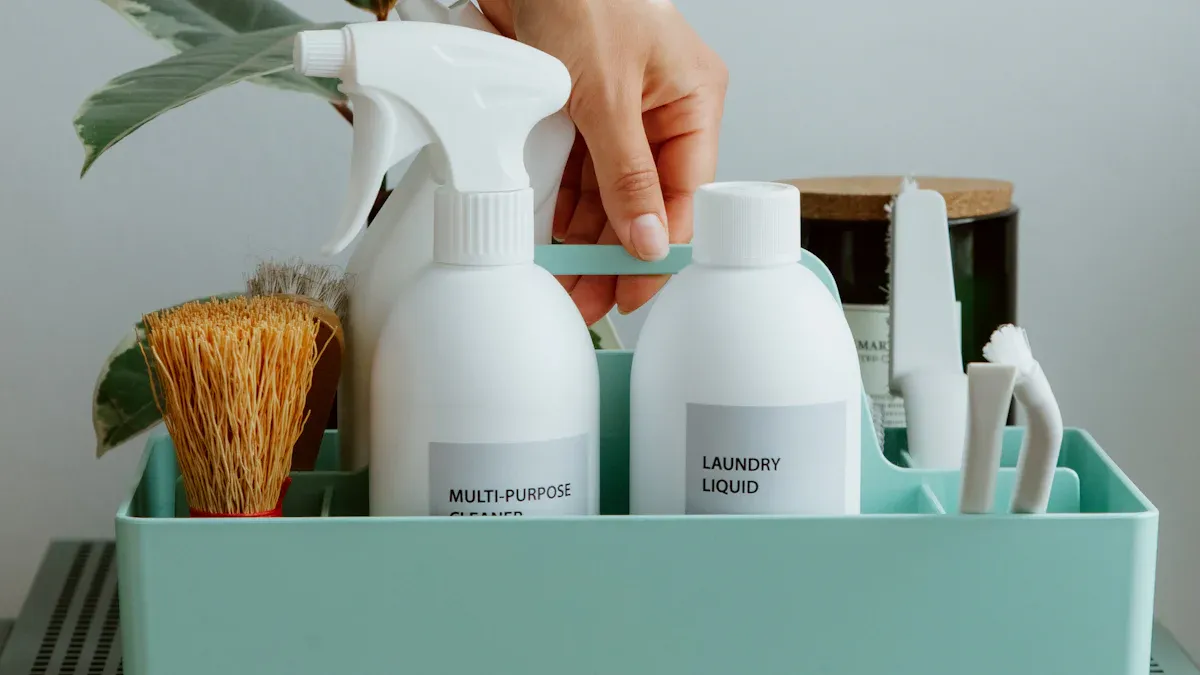
- Gather Your Supplies: Before you start, collect everything you need. This includes rubber gloves, eye protection, soft cloths, non-abrasive scrub brushes, and your cleaning solutions.
- Disassemble Removable Parts: Carefully take off any parts you can remove. This usually includes the drip tray, the spigots or faucets, and the baffle inside the reservoir. Place them in a clean sink or basin.
2. Cleaning Removable Parts
These components often have the most direct contact with water and hands. You must clean them thoroughly to remove grime and mineral buildup.
Start by washing the parts with warm, soapy water. For a more powerful clean on plastic, metal, or ceramic parts, you can use a professional detergent. Products like Alconox are designed to remove contaminants without leaving residue. They are a great replacement for harsh acids or solvents.
Pro Tip: Tackling Mineral Buildup 🧽 Hard water can leave white, crusty mineral deposits on your drip tray and spigots. To remove them, soak the parts in distilled white vinegar for 5-10 minutes. Use a soft brush to gently scrub away the softened buildup. For stainless steel parts, you can soak a paper towel in vinegar and wrap it around the stain.
After scrubbing, rinse all parts thoroughly with clean water.
3. Sanitizing the Internal Reservoir
The reservoir is where water is stored, making it a prime location for bacterial growth. Sanitizing it correctly is essential for water safety.
First, create your sanitizing solution. A common and effective option is a mixture of one tablespoon of unscented bleach per gallon of water.
Pour this solution into the internal reservoir, filling it completely. Now, you must let it sit. This is called contact time, and it is crucial for killing germs.
Science of Sanitizing 🔬 To be effective against pathogens like E. coli, a sanitizing solution needs to remain in contact with the surface for a specific duration. For some food-contact surfaces, regulations require a 99.999% reduction in bacteria within 30 seconds. For other solutions, like 0.6% hydrogen peroxide, a 15-minute contact time may be needed to eliminate certain organisms. Always follow the instructions for your chosen sanitizer.
Let the solution sit for at least 10-15 minutes to ensure proper disinfection.
4. Flushing and Rinsing the System
After sanitizing, you must completely remove the cleaning solution. Any leftover residue can affect the taste of the water and be unsafe for consumption.
Drain the sanitizing solution from the reservoir through the spigots into a bucket. Once empty, you need to flush the system.
- Rinse Thoroughly: Fill the reservoir with fresh, clean water and drain it completely through the spigots. You must repeat this process at least two times.
- Continue Until Clear: Keep flushing the system with fresh water until you can no longer smell any bleach or vinegar. A proper rinse of your water dispenser for restaurant is key to providing great-tasting water.
- Address Biofilm: Simple flushing removes loose particles but may not eliminate tough, sticky biofilm. For a deeper clean, you can perform a "chemical shock." This involves running a specialized shocking solution through the lines to break down and dislodge stubborn biofilm. Always flush thoroughly with warm, then cold, water after a shock treatment.
5. Cleaning the Exterior
The outside of the dispenser collects dust, fingerprints, and germs. Pay special attention to high-touch areas.
First, wipe down all exterior surfaces with a cloth and a neutral cleaner to remove dirt. For stainless steel models, use a cleaner made specifically for that surface, like CLR Spot-Free Stainless Steel. This prevents streaks and protects the finish. Avoid abrasive materials like steel wool, which can scratch the surface.
Next, disinfect the high-touch points. These include:
- Dispensing buttons
- Levers or paddles
- Any control panels
Apply a food-safe sanitizer or disinfectant to a clean cloth and wipe these areas. Let the surface stay visibly wet for the required contact time (usually 1-10 minutes) before it air-dries. Never spray cleaner directly onto electronic components.
6. Reassembly and Final Checks
You are almost done! Proper reassembly and a final check ensure everything works correctly and safely.
First, make sure every component is completely dry. Wipe parts with a microfiber towel and then let them air dry fully. Reassembling while parts are still damp can trap moisture and lead to mold growth.
Once everything is dry, reassemble the dispenser. Place the baffle, spigots, and drip tray back in their proper positions.
Finally, perform these functional checks:
- Install a New Water Bottle: Place a new, full water bottle on top of the unit.
- Plug In and Power On: Plug the dispenser back into the outlet and turn on the hot water switch if you have one.
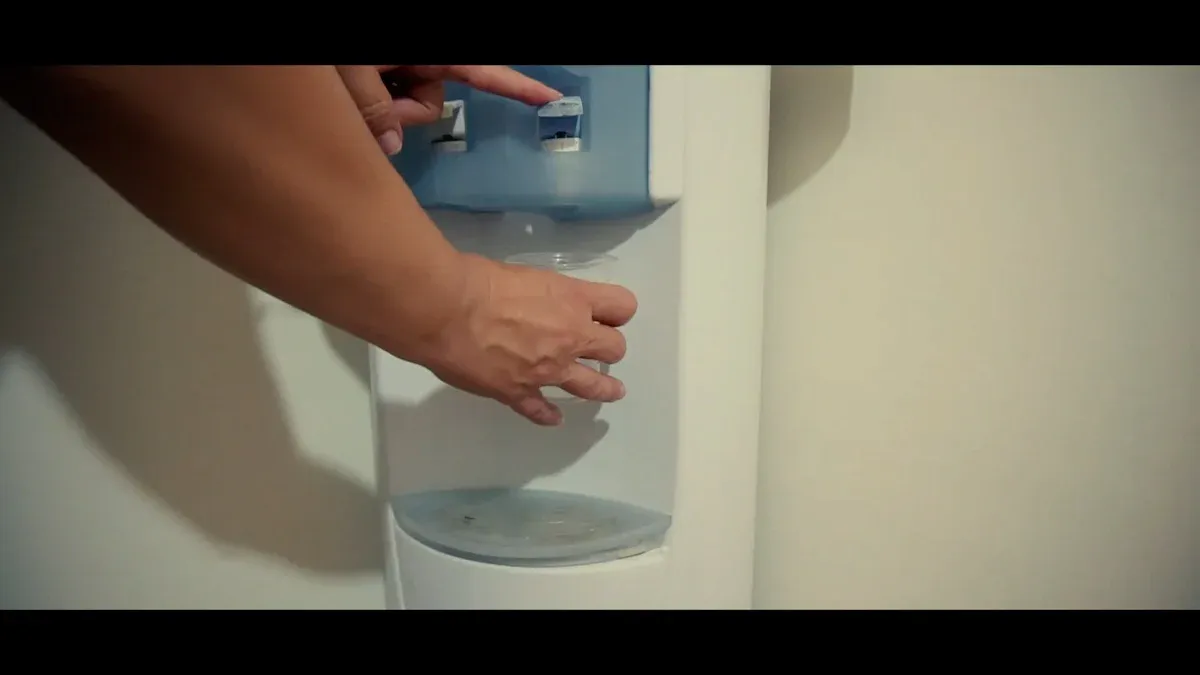
- Check Water Flow: Press each spigot to ensure water flows freely. A slow flow might mean the filter needs changing.
- Listen for Clicks: When you press a dispenser lever, you should hear a faint clicking sound. No click could indicate a faulty switch.
- Perform a Quality Test: Dispense a small amount of water. Look at it for any cloudiness. Smell it for any chemical odors. Finally, taste it to ensure it is fresh and pure, with no metallic or chemical flavors. For a more precise check, you can use a Total Dissolved Solids (TDS) meter to measure water purity.
A clean and fully functional water dispenser for restaurant shows your commitment to quality and customer safety.
Maintenance Schedule for Your Water Dispenser for Restaurant
Consistent maintenance keeps your dispenser in top condition. A regular schedule prevents major problems and ensures you always serve safe, clean water. You can follow this simple plan to stay on track.
Daily Maintenance Checklist
Daily tasks are quick but essential for hygiene and appearance. You should perform these checks at the end of every business day.
- Wipe Exterior Surfaces: Use a soft cloth dampened with a mild soap and warm water solution. Focus on high-touch areas like buttons and levers.
- Clean the Drip Tray: Remove the drip tray and wash it with warm, soapy water. A clean tray prevents overflow and bad odors.
- Check Spigots: Wipe the dispenser nozzles to remove any residue. This simple step is crucial for health code compliance.
Weekly Maintenance Tasks
Weekly checks help you spot issues before they become serious. These tasks go a little deeper than your daily wipe-down. You should sanitize the spigots and dispense area with a food-safe disinfectant. Rinse the area well afterward. It is also a good time to inspect for leaks. Look for any puddles, drips, or wet spots around the water line connections. Catching a small leak early can save you from costly water damage.
Maintenance Tip 🗓️ Set a recurring calendar reminder for your weekly tasks. This helps ensure your water dispenser for restaurant is never overlooked during busy periods.
When to Schedule Professional Service
Some problems require an expert. You should call a service technician if you notice any of these warning signs:
- Strange Noises: Buzzing or grinding sounds can point to a problem with the compressor or motor.
- Water Leaks: If you find puddles after checking connections, a professional can find and fix cracked parts or worn seals.
- Temperature Issues: Water that is not hot or cold enough may signal a faulty thermostat or refrigerant leak.
- Slow Water Flow: A sudden drop in pressure often means there is a clog or a failing part inside the water dispenser for restaurant.
You must combine daily upkeep with periodic deep cleaning for total hygiene. A consistent schedule protects your customers and your business's reputation from negative online reviews. Make this cleaning protocol a standard part of your restaurant's operating procedures.
Documenting each cleaning ensures safety and builds customer trust.
FAQ
How often should I sanitize my water dispenser?
You should perform a full internal sanitization every 3 to 6 months. This schedule prevents bacteria buildup and ensures your water tastes fresh and clean for customers.
Can I use vinegar to sanitize the reservoir?
No. You should use vinegar to remove mineral deposits. For sanitizing, you need an EPA-registered sanitizer or a bleach solution to effectively kill harmful bacteria and germs.
What if the water tastes bad after cleaning?
You may need to flush the system again with fresh water. A lingering chemical taste means the rinsing was not thorough enough. Repeat the flushing process. 💧