Keep Your Water Fresh How to Clean a Table Top Dispenser
An uncleaned table top water dispenser can become a breeding ground for harmful bacteria and mold. You should clean your dispenser every 3 to 6 months. This simple routine prevents bacteria buildup and keeps your water tasting fresh and pure.
Did You Know? A study found that over 76% of water dispenser bottles showed bacterial contamination. The plastic surfaces and internal lines in dispensers create ideal conditions for germs like E. coli and salmonella to grow, posing health risks.
To start, you will unplug the unit and drain all the water. Next, you will sanitize the internal reservoir using a simple cleaning solution. You will also scrub removable parts like the drip tray. Finally, you will flush the system thoroughly with fresh water to remove any cleaning residue.
Key Takeaways
- Clean your water dispenser every 3 to 6 months. This stops germs from growing and keeps your water tasting fresh.
- Always unplug the dispenser before cleaning. Use a mix of vinegar or bleach and water to clean the inside. Scrub all parts well.
- Rinse the dispenser many times with fresh water. This removes all cleaning solution. It makes sure your water tastes pure.
Preparation and Supplies

Proper preparation makes cleaning your water dispenser quick and effective. You will need a few common household items and the right cleaning solution to get the job done safely.
Gather Your Cleaning Tools
Before you start, collect a few soft cloths or sponges and a bucket. For the best results, you should use tools made specifically for water dispensers. Regular kitchen brushes are not designed for the narrow parts of the unit and can leave behind contaminants.
- Specialized Brushes: Use long, flexible brushes to scrub inside the reservoir and spigots.
- Cleaning Kits: Consider a multi-functional kit. These often include long-reach brushes, silicone scrapers for mineral deposits, and faucet swabs for hard-to-reach areas.
Choose Your Cleaning Solution
You can create a simple and effective sanitizing solution at home. Choose one of the following options:
- Vinegar Solution: Mix 1 tablespoon of distilled white vinegar with 1 gallon of water.
- Bleach Solution: Use unscented household bleach. Add 1 teaspoon of bleach to 1 liter of water. This solution effectively sanitizes the internal components.
Important Safety Precautions
Your safety is the top priority during cleaning. Always follow these essential precautions to avoid accidents.
Safety First! Before you do anything else, you must unplug the table top water dispenser from the electrical outlet. Cleaning with water and electricity is a dangerous combination.
Protect yourself from cleaning solutions by wearing rubber gloves and safety goggles to prevent splashes. You should also work in a well-ventilated area. Open a window or turn on an exhaust fan to ensure fresh air circulates, especially when you use a bleach solution.
Step-by-Step Guide to Clean Your Table Top Water Dispenser
Follow these five steps to thoroughly clean and sanitize your appliance. This process ensures your water is always safe, fresh, and free of contaminants.
Step 1: Unplug and Drain the Unit
Your first action is to ensure safety. Unplug the table top water dispenser from the wall outlet. This prevents any risk of electrical shock. If your unit has a hot water function, turn it off and wait at least one hour. The water inside needs to cool down completely before you proceed.
Next, you will drain all the water from the unit.
- Lift the empty water bottle off the top of the dispenser.
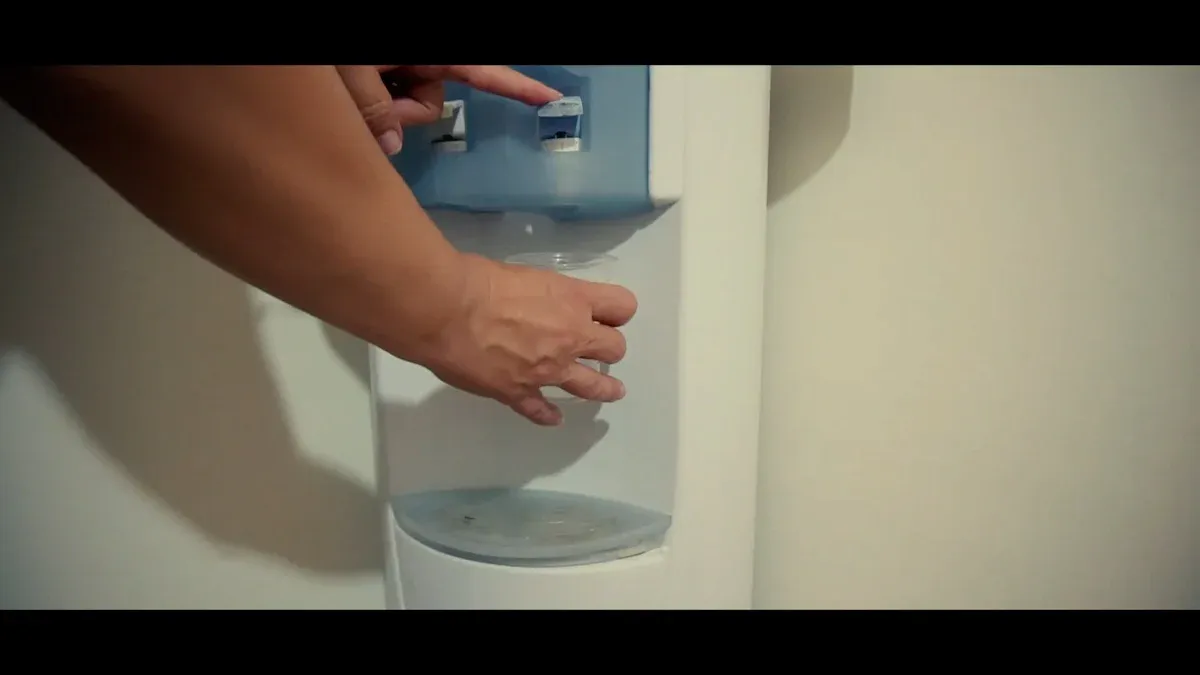
- Place a bucket under the spigots. Press the cold and hot water taps until water stops flowing.
- Locate the drain plug, which is usually on the back of the unit.
- Carefully remove the plug and let any remaining water drain into your bucket. Once empty, secure the drain plug back in place.
Pro Tip: Every table top water dispenser is slightly different. Always check your manufacturer's user manual for specific instructions on draining your model.
Step 2: Clean All Removable Parts
Now you can focus on the smaller components. These parts often trap moisture and can develop grime or mineral buildup. Gently remove the following pieces from your dispenser:
- The Drip Tray: This tray catches spills and can be a prime spot for mold.
- The Baffle: This plastic separator sits inside the reservoir.
- The Water Guard: This is the piece that punctures the water bottle cap.
Take these parts to your sink. Wash them with warm, soapy water or use a cloth dipped in your chosen cleaning solution. For stubborn buildup on the drip tray, you can create a paste with baking soda and water. Scrub gently, rinse all parts thoroughly with fresh water, and set them on a clean towel to air dry completely.
Step 3: Sanitize the Internal Reservoir
Sanitizing the reservoir is the most important step for killing germs. Pour your prepared vinegar or bleach solution directly into the top of the unit where the water bottle sits. Fill the reservoir until it is about two-thirds full.
Use a long-handled brush to gently scrub the inside walls of the reservoir. Swirl the solution around inside the tank. This action helps the cleaning fluid coat all the internal surfaces and dislodge any hidden particles. Let the solution sit inside the reservoir for 5 to 15 minutes. This waiting period gives the solution enough time to effectively neutralize bacteria.
Step 4: Flush the System Completely
You must remove all traces of the cleaning solution to ensure your water tastes pure. Place your bucket back under the spigots. Drain the entire cleaning solution by pressing the cold and hot water taps. Running the solution through the spigots helps clean them from the inside out.
After the reservoir is empty, you need to rinse it.
- Fill the reservoir with at least one gallon of fresh, clean water.
- Drain this water completely through both spigots.
- Repeat this rinsing process at least one more time.
Continue flushing the system with fresh water until you can no longer smell any vinegar or bleach. This step is crucial for great-tasting water.
Step 5: Wipe the Exterior and Reassemble
Your final step is to clean the outside and put everything back together. Dip a clean microfiber cloth in mild, soapy water or your diluted vinegar solution. Wring out the cloth so it is damp, not dripping, and wipe down the entire exterior of the table top water dispenser.
Once all the removable parts you washed earlier are completely dry, you can reassemble your unit.
- Place the baffle back inside the reservoir.
- Re-install the water guard.
- Slide the clean drip tray back into position.
Load a new, full water bottle onto the dispenser. Plug the unit back into the electrical outlet. Before you take a drink, dispense a few cups of water to release any trapped air. Check around the unit for any drips or leaks to ensure all connections are secure. Now you can enjoy fresh, clean water from your newly sanitized appliance.
You now have the steps to keep your water dispenser in top condition. Regular cleaning is a simple habit that ensures your water is always healthy and tastes great. This maintenance prevents mineral buildup, which helps your appliance run efficiently and last for many years.
Your Reward for Regular Cleaning 🏆
- Consistent water temperature
- No strange tastes or odors
- Longer appliance lifespan
Enjoy the confidence that comes from knowing every glass of water you drink is fresh and pure.
FAQ
How often should I clean my water dispenser?
You should clean your dispenser every 3 to 6 months. This routine prevents bacteria buildup. It also ensures your water always tastes fresh and pure.
Can I use dish soap inside the reservoir?
You should not use dish soap inside the reservoir. Soap residue is very difficult to rinse out completely. It can leave a soapy taste in your water.
Why does my water taste funny?
A strange taste often means your dispenser needs cleaning. Bacteria or mineral buildup can affect the water's flavor. Regular cleaning usually solves this common problem.