Your 2026 Guide to a Spotless Spring Water Dispenser
You keep your water tasting fresh by cleaning your spring water dispenser every 3 to 6 months. Without regular cleaning, units can develop biofilms. This slimy substance protects harmful bacteria like Pseudomonas and E. coli.
Note: This contamination affects your water's taste and can pose serious health risks.
A simple sanitization process ensures your water remains pure.
Key Takeaways
- Clean your water dispenser every 3 to 6 months. This stops harmful germs from growing.
- Gather simple items like cloths, gloves, and a bucket. You can use vinegar or bleach for cleaning.
- Follow seven steps for a deep clean. Unplug the unit, clean inside, and then flush it well.
What You'll Need and When to Clean
You can gather a few simple items before you begin cleaning. Proper timing ensures your spring water dispenser stays in top condition.
Essential Cleaning Supplies
You likely have most of these supplies at home. For a complete clean, you will need:
- Clean cloths or sponges
- Nitrile gloves
- A bucket for draining water
You can also make your own effective cleaning solutions. A mixture of one cup of distilled white vinegar and three cups of hot water works well for cleaning the reservoir. For sanitizing, you can use a solution of ½ teaspoon of household bleach per four cups of water.
Important Tip 💡 You should never use bleach on water cooler systems that have a hot water dispenser.
Alternatively, you can purchase a commercial cleaning kit. Many kits, like those from ReadyRefresh, include items such as biodegradable hydrogen peroxide, a scour pad, and gloves for a convenient all-in-one option.
Your 2026 Maintenance Schedule
Regular maintenance prevents buildup and keeps your water fresh. You should follow a consistent schedule for the best results. High-traffic areas may require more frequent cleaning.
| Frequency | Task |
|---|---|
| Weekly | Wipe down taps and high-touch areas. Empty and clean the drip tray. |
| Monthly | Drain any old water and flush the system with fresh water. |
| Quarterly | Perform a full deep clean and sanitization of the entire unit. |
You must clean your dispenser immediately if you notice any warning signs. These signs indicate potential contamination. Look for unpleasant tastes, cloudy water, slow water flow, or visible slime inside the unit.
How to Deep Clean Your Spring Water Dispenser
Now you are ready for the deep clean. This detailed process will leave your spring water dispenser sanitized and ready to provide fresh-tasting water. Follow these seven steps for a spotless unit.
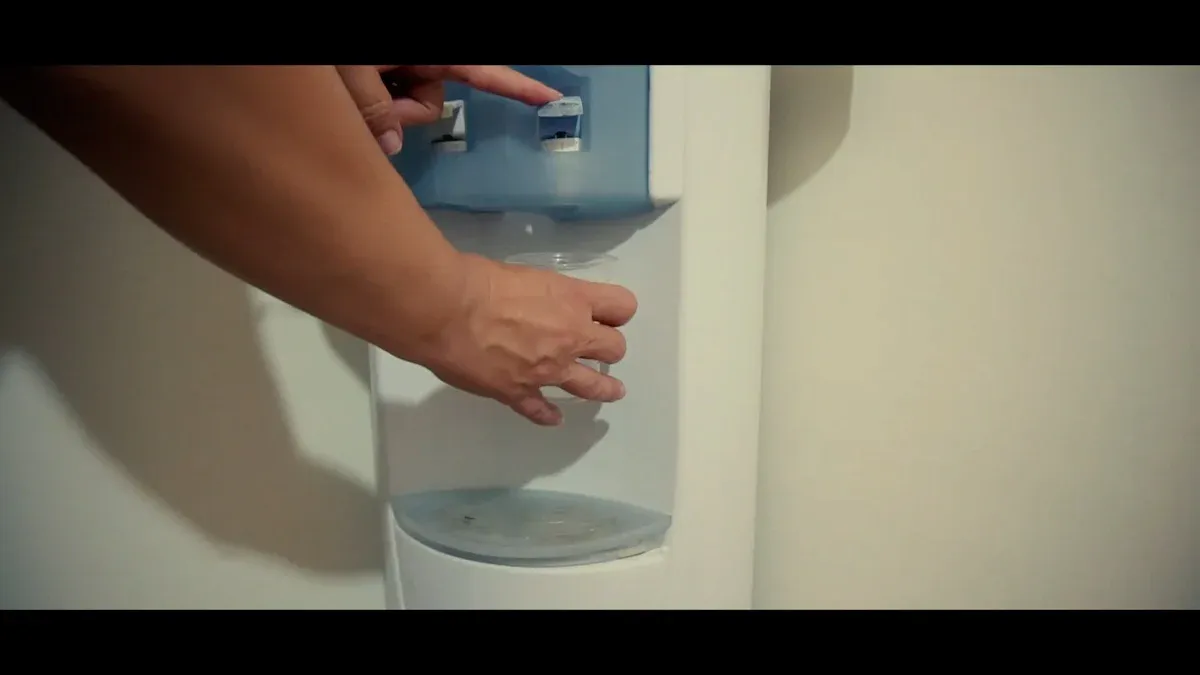
Step 1: Unplug and Drain the Unit
Safety is your first priority. You must disconnect the dispenser from power before you start cleaning. This prevents any electrical hazards.
Safety First! ⚠️ Before you begin, always check your manufacturer's user manual. It has specific instructions for your model.
Follow these safety precautions:
- Unplug the water cooler from the electrical outlet.
- Allow the hot water reservoir to cool down completely. This can take an hour or more.
- Remove the empty water bottle from the top of the unit.
- Place a bucket under the spigots. Drain all remaining water from both the hot and cold taps.
Step 2: Choose and Prepare Your Cleaning Solution
You have two main options for a cleaning solution. You can use a simple homemade mixture or a commercial cleaner. For a DIY sanitizer, you can use regular, unscented household bleach.
Use this table to mix the correct amount of bleach and water. You should not use scented, color-safe, or bleaches with added cleaners.
| Volume of Water | Amount of 6% Bleach to Add | Amount of 8.25% Bleach to Add |
|---|---|---|
| 1 gallon | 8 drops | 6 drops |
| 2 gallons | 16 drops (1/4 tsp) | 12 drops (1/8 tsp) |
| 4 gallons | 1/3 teaspoon | 1/4 teaspoon |
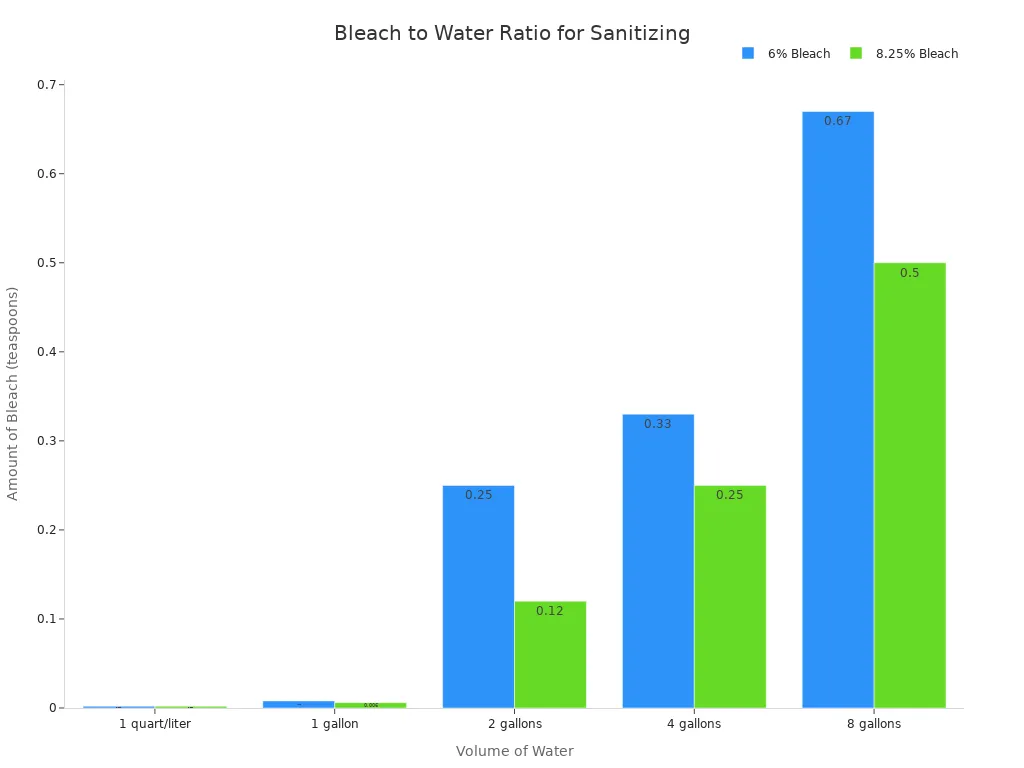
If you prefer a non-bleach option, a solution of one part distilled white vinegar to three parts hot water works well for general cleaning.
Step 3: Sanitize the Internal Reservoir
This step eliminates any biofilm or bacteria inside the unit.
- Pour your chosen cleaning solution into the internal reservoir. Fill it completely.
- Use a long-handled, flexible brush to scrub the inside walls of the reservoir. Brushes with nylon bristles are effective and will not scratch the surface.
- Let the solution sit inside the reservoir. You should allow it to soak for at least 10 minutes. For a deeper sanitization with a bleach solution, you can let it sit for 12-24 hours.
- After soaking, drain a small amount of the solution through both the hot and cold spigots. This cleans the internal lines.
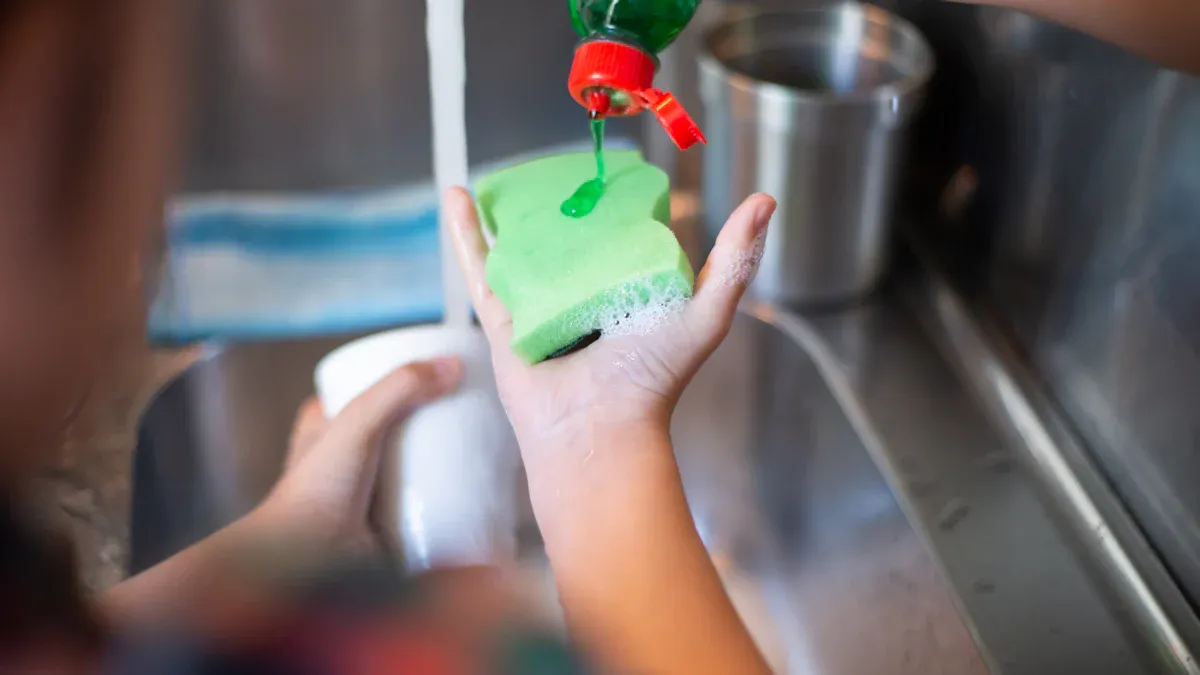
Step 4: Clean the Drip Tray and Removable Parts
Many parts of your spring water dispenser are removable for easy cleaning. This usually includes the drip tray, spigots, and the baffle inside the reservoir.
- Remove the drip tray and any other detachable parts.
- You can soak these components in warm, soapy water for about 10 minutes.
- Alternatively, you can soak the drip tray in a solution of equal parts white vinegar and water for 30-60 minutes to dissolve mineral deposits.
- Use a soft brush or sponge to scrub away any residue.
- Rinse all parts thoroughly with clean water.
- Set them on a clean towel to air dry completely.
Step 5: Flush the System Thoroughly
You must remove all traces of the cleaning solution. Any leftover cleaner can affect your water's taste and safety.
- Drain the remaining cleaning solution from the reservoir through the spigots.
- Fill the reservoir completely with fresh, clean water.
- Drain all the fresh water through both the hot and cold taps.
- Repeat this flushing process at least two more times.
- After the final flush, smell the inside of the reservoir and the spigots. If you detect any scent of bleach or vinegar, you need to perform another rinse cycle.
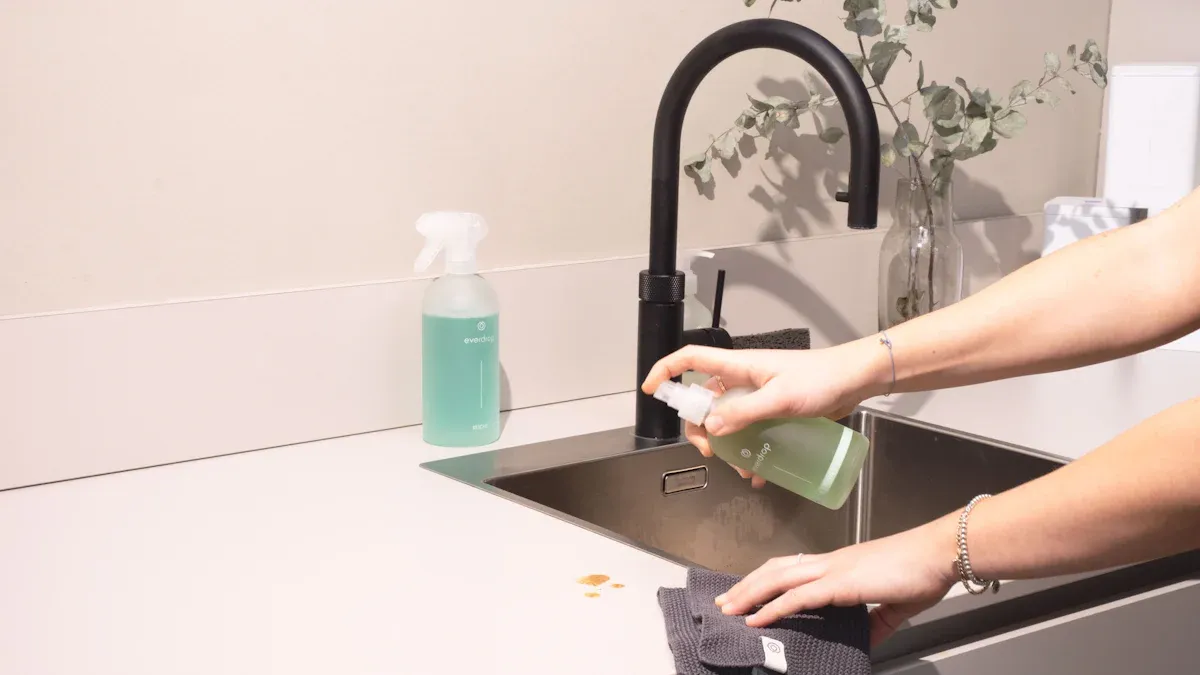
Step 6: Wipe Down the Exterior
A clean exterior completes the process. You should pay close attention to high-touch areas.
- Use a soft, damp microfiber cloth to wipe down the outside of the unit. You can use a mild soap if needed.
- Avoid abrasive cleaners or sponges. These can damage the dispenser's finish.
- Use a food-safe disinfectant wipe or spray on the dispenser buttons and spigot levers. These areas collect the most germs.
- Wipe the spigots again with a clean, wet cloth to remove any disinfectant residue.
Step 7: Reassemble and Do a Final Check
Your final step is putting everything back together. You want to ensure your dispenser is ready for use.
- Make sure all removable parts are completely dry before reassembling them.
- Reattach the drip tray, spigots, and any other components. Consult your user manual if you are unsure how they fit.
- Prepare your new water bottle. Wipe the neck and shoulder of the bottle with a clean cloth.
- Place the new bottle onto the dispenser. You should see bubbles rise as the reservoir fills.
- Plug the unit back into the electrical outlet.
- Check for any leaks around the base or spigots. Dispense a small amount of water from each tap to ensure everything works correctly.
You guarantee your dispenser remains spotless by following this simple quarterly routine. You will consistently enjoy fresh, safe, and great-tasting water all year. Regular maintenance is the key to a long-lasting and hygienic spring water dispenser, extending its lifespan and improving water taste.
FAQ
How often should I clean my water dispenser?
You should perform a deep clean every 3 to 6 months. High-use dispensers may need more frequent cleaning. This routine keeps your water fresh and safe.
Can I use soap to clean the inside reservoir?
You should not use soap inside the reservoir. Soap residue is difficult to rinse out completely. It can also affect your water's taste.
What if my water tastes bad after cleaning?
A bad taste usually means you did not rinse the unit enough. You should flush the system with fresh water several more times to remove any leftover cleaner.