How to Maintain Your Glass Water Dispenser for Fresh Water
An excellent glass water dispenser with stand is a centerpiece in any kitchen, providing easy access to refreshing water. However, without regular cleaning, it can become a breeding ground for bacteria and mold. This buildup can affect your water's taste and pose health risks. Keeping your dispenser clean is a simple routine that ensures every glass of water is fresh and pure.
Did You Know? 🧐 Uncleaned dispensers can harbor "concerning levels" of yeast and mold. Studies show these contaminants can cause digestive issues and respiratory irritation, highlighting the need for periodic disinfection.
Before you start, gather your supplies. You will need:
- Mild dish soap
- White vinegar
- A soft cloth or sponge
- A bottle brush
- A lint-free towel
Key Takeaways
- Clean your glass water dispenser often. This stops germs and mold from growing. It keeps your water fresh and safe to drink.
- Use mild soap for the glass body. Use vinegar for the spigot. Rinse all parts very well to remove soap and vinegar.
- Dry all parts completely before putting them back together. This stops mold from growing. It helps your dispenser last longer.
The Step-by-Step Cleaning Process
Following a consistent cleaning routine is the best way to guarantee fresh, pure water. This process is simple and ensures your dispenser remains in top condition.
Disassemble and Empty the Dispenser
First, you need to take the dispenser apart. Carefully lift the glass body off its base if you have a glass water dispenser with stand. Pour out any remaining water. Next, unscrew the spigot from the dispenser body. Most spigots have a nut on the inside that you can turn by hand. Place the spigot, its washers, and the lid to the side for separate cleaning.
Wash the Glass Body with Soapy Water
Now, you will wash the main glass container. Fill your sink with warm water. Experts suggest a wash temperature around 130°F (55°C) is ideal for effectively cleaning glass.
- Add a small amount of mild liquid dish soap to the water.
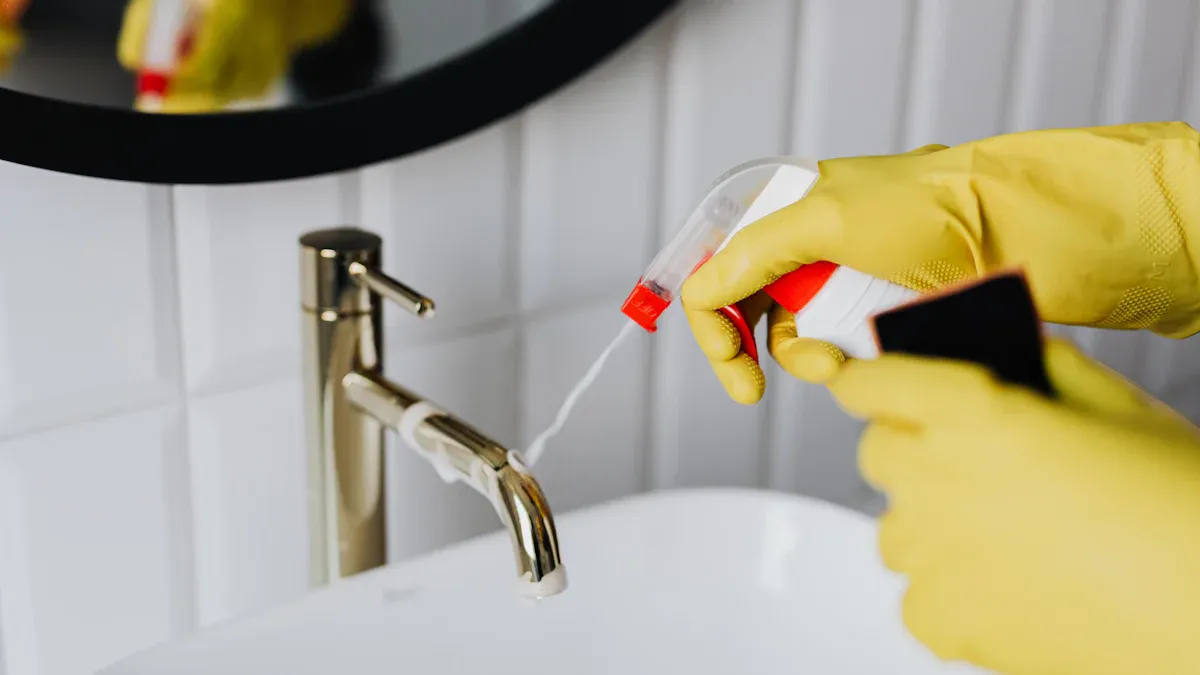
- Avoid harsh chemical cleaners. They can leave behind harmful residues or damage the glass.
- Use a soft sponge or cloth to wash the inside and outside of the glass body.
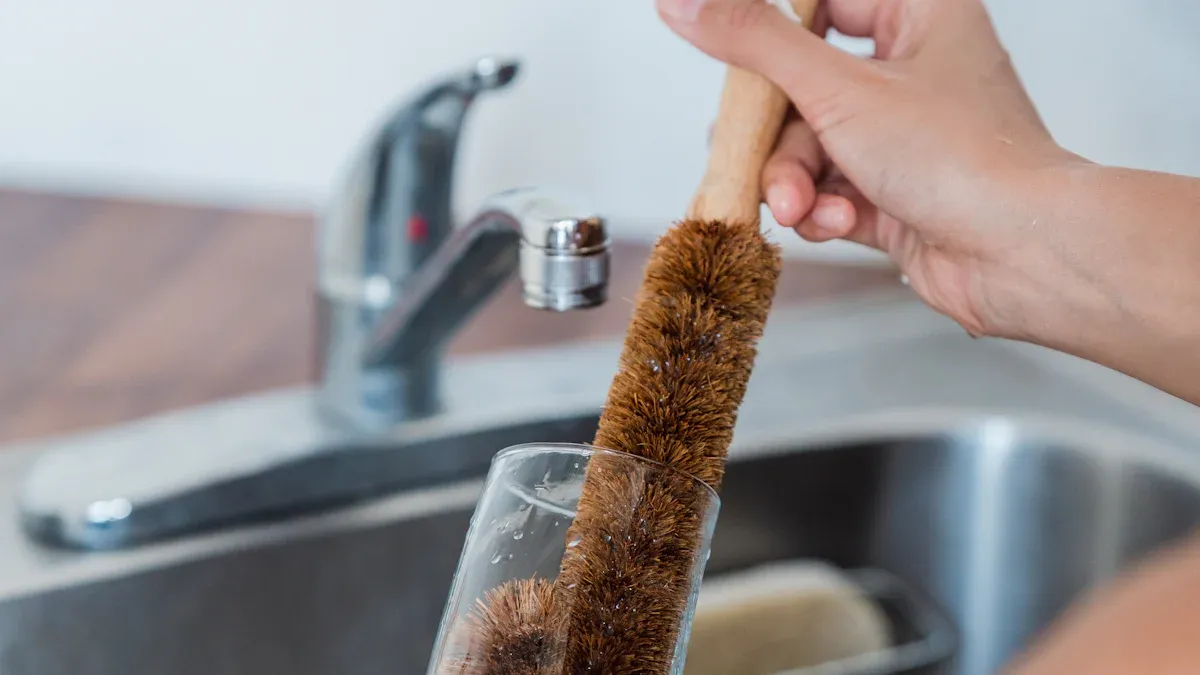
- Use a long bottle brush to scrub the bottom and hard-to-reach areas inside the dispenser.
This gentle washing removes any initial film or buildup without scratching the glass.
Deep Clean the Spigot with Vinegar
The spigot requires special attention because it has small, internal parts where buildup can hide. White vinegar is an excellent natural disinfectant for this job.
Cleaning Tip 💡 Create a powerful cleaning solution by mixing one part white vinegar with one part warm water. This 1:1 ratio is perfect for breaking down mineral deposits and sanitizing the spigot parts.
Submerge the disassembled spigot, nut, and washers in the vinegar solution. Let them soak for at least 15 minutes. After soaking, use a small brush or a pipe cleaner to scrub inside the spigot channel and around the threads. This step removes any stubborn residue that could affect water flow or taste.
Rinse All Parts Thoroughly
Rinsing is a critical final step. You must remove all traces of soap and vinegar to protect your dispenser and your health. Use warm water between 140-160°F (about 65°C) for the most effective rinse.
Proper rinsing prevents several problems:
- Soap Residue: Leftover soap can harden over time. This buildup can clog the spigot and make it difficult to use.
- Vinegar Damage: Lingering vinegar is acidic. It can slowly break down the rubber gaskets and seals in your spigot, leading to cracks and costly leaks.
If you have hard water, you may notice chalky white spots on the glass after it dries. These mineral deposits are harmless but can make your dispenser look cloudy. To prevent this, consider doing a final rinse with filtered water.
Drying and Maintenance for Lasting Freshness
Properly drying and maintaining your dispenser is just as important as washing it. These final steps lock in the freshness and extend the life of your dispenser.
Hand-Dry and Air-Dry All Components
You must dry every part completely before reassembling. Moisture creates a perfect environment for mold and bacteria to grow back.
- Use a clean, lint-free towel to hand-dry the outside of the glass body and the lid. This action prevents water spots from forming.
- Let the inside of the glass body air-dry completely. You can place it upside down on a drying rack to allow for maximum air circulation.
- Carefully dry the spigot and its small parts with a towel. Ensure no water is left inside the channel or threads.
Pro Tip for Crystal-Clear Glass ✨ If you have hard water, you might still see chalky mineral spots after drying. You can prevent this by applying a nanotechnology sealant to the glass. This coating creates a barrier that stops minerals from sticking to the surface, making future cleaning much easier.
How Often to Clean Your Dispenser
Your cleaning schedule depends on your water source and how often you use the dispenser. A good routine prevents buildup before it becomes a problem. For daily use, you should aim to clean your dispenser every one to two weeks. If you use filtered or distilled water, you might extend this to every three to four weeks.
However, you should clean your dispenser immediately if you notice any warning signs.
- A musty smell or an "off" taste in the water
- Visible mold spots or slimy film inside the dispenser
- White, chalky buildup (limescale) on the glass or spigot
- A slow water flow, which often points to mineral clogs in the spigot
The type of water you use directly impacts cleaning frequency. Tap water often contains minerals like calcium and magnesium. This "hard water" leads to limescale buildup, which can affect taste and clog your spigot. You will need to descale your dispenser more often if you use hard water.
Store It Properly Between Uses
If you do not plan to use your dispenser for a while, proper storage is key. Storing it correctly prevents dust, debris, and musty odors. First, make sure every component is perfectly dry. Humidity is a major concern because it encourages mold growth, which can damage your dispenser. Always choose a cool, dry storage location like a pantry or cabinet, away from any moisture.
When storing your glass water dispenser with stand, you have a choice for the lid.
- Option 1: Store the lid separately. This guarantees air can circulate but you might misplace the lid.
- Option 2: Place the lid on the dispenser without tightening it. This keeps all the parts together while still allowing air to flow in and out, preventing stale smells from developing.
Following these drying and maintenance tips will keep your water tasting fresh and your dispenser looking beautiful for years to come.
Assembling Your Clean Glass Water Dispenser with Stand

You are now ready to reassemble your clean dispenser. This final stage ensures a secure, leak-free setup so you can enjoy fresh water without worry.
Reassemble the Spigot and Lid
Properly reattaching the spigot is essential for a watertight seal. You should hand-tighten the parts to avoid damaging the glass or gaskets. Using tools like pliers can cause cracks.
For a secure seal, follow these steps:
- Place one washer on the spigot's threaded end.
- Insert the spigot through the hole from the outside of the dispenser.
- Place the second washer on the threads inside the dispenser.
- Screw the nut onto the spigot from the inside and hand-tighten until it is snug.
Helpful Tip 🧐 If your dispenser has a small chip around the spigot hole, a proper seal is still possible. The washers will create a seal as long as the chip does not extend beyond the washer's edge.
Once the spigot is secure, you can place the clean, dry lid back on top of your glass water dispenser with stand.
Place on the Stand and Fill
With the spigot attached, it is time to fill your dispenser. First, place your empty glass water dispenser with stand on a sturdy and level surface. This prevents it from tipping over, especially when full.
Before you fill it completely, you should perform a quick leak check.
- Fill the dispenser with a small amount of water, just enough to cover the spigot's inner nut.
- Let it sit for a few minutes.
- Watch closely for any drips around the spigot on the outside.
- If you see a small leak, give the inside nut a tiny 1/8-turn to tighten it.
After you confirm there are no leaks, you can fill the dispenser with fresh, cool water. Your dispenser is now clean, assembled, and ready to provide delicious, pure water.
You now have the keys to ensuring fresh, great-tasting water from your glass dispenser. Consistent cleaning and thorough drying prevent harmful buildup. This simple routine also extends your dispenser's life, helping it provide pure water for years.
By following these steps, you guarantee every glass is safe and enjoyable to drink.
FAQ
Can I use lemon juice instead of vinegar? 🍋
Yes, you can use lemon juice. Its natural acid works like vinegar. It effectively cleans mineral buildup and helps sanitize your dispenser parts, leaving a fresh scent behind.
Is it safe to put the glass body in the dishwasher?
You should check the manufacturer's instructions first. Many glass dispensers are not dishwasher-safe. Hand-washing is the safest method to prevent accidental cracks or damage from high heat.
Why does my water taste funny after cleaning?
A funny taste usually means you left soap or vinegar residue behind. You must rinse every part thoroughly with warm water to remove any lingering cleaning solution.