How to Clean Your Cold Water Dispenser at Home
You must first unplug your dispenser and completely drain all the water. Prepare a simple cleaning solution using either unscented bleach and water or distilled white vinegar and water.
Note: Plan to clean your cold water dispenser for home every 3 to 6 months. This simple step ensures you always have fresh, safe drinking water.
Key Takeaways
- Clean your water dispenser every 3 to 6 months. This keeps your drinking water fresh and safe.
- Use bleach or vinegar solutions to clean the inside. Always rinse the dispenser many times after cleaning.
- Regular cleaning stops bad tastes and smells. It also helps your dispenser last longer.
Step-by-Step Guide to Cleaning Your Cold Water Dispenser for Home

Following these steps will make cleaning your water dispenser a simple and straightforward task. You can ensure your water is always fresh and clean.
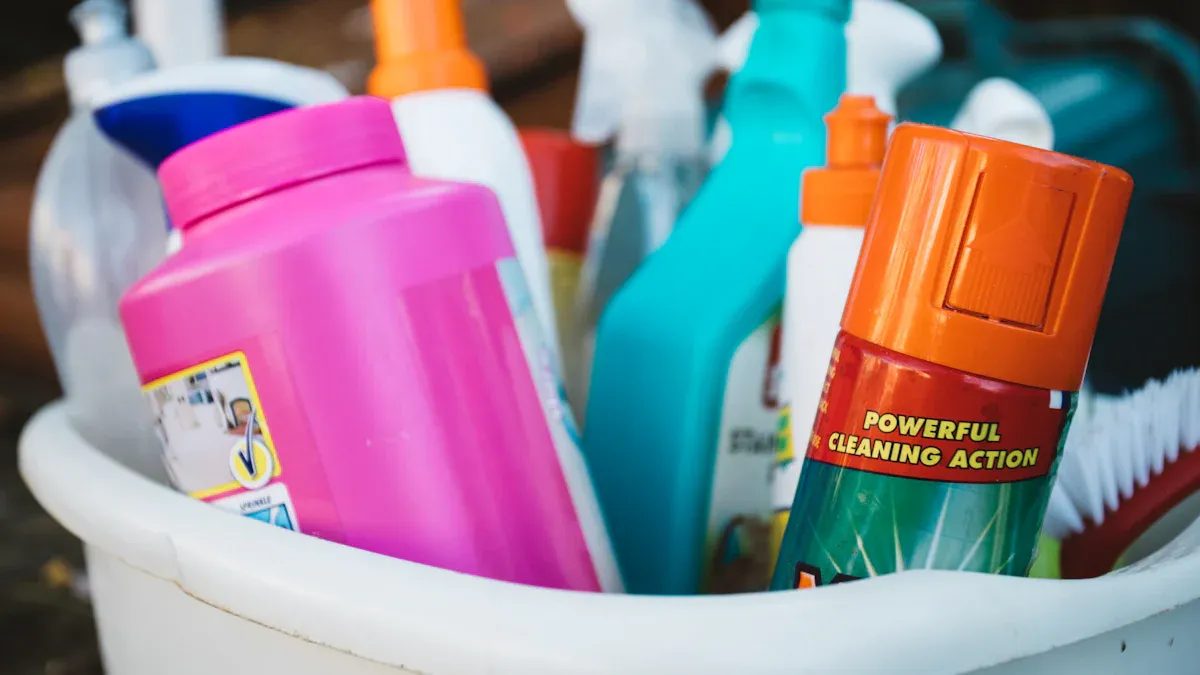
Gather Your Supplies
First, you need to collect all your cleaning materials. Having everything ready makes the process much smoother. You will likely have most of these items at home.
- Unscented household bleach or distilled white vinegar
- Soft, clean cloths or sponges (microfiber works well)
- A bucket for draining water
- Protective gloves
- Long-handled brushes for hard-to-reach areas
Pro Tip 💡 You can also find specialized cleaning kits. The Holikme Long Handle Bottle & Tube Brush Set includes brushes of different sizes to clean every part of your dispenser. Some companies, like ReadyRefresh, offer DIY kits with items like a scour pad and food-grade hydrogen peroxide.
Prepare the Dispenser
You must prepare your dispenser before you start cleaning. This step prevents any electrical shock and makes cleaning easier.
- Unplug the Unit. Safety is the top priority. Disconnect your cold water dispenser for home from the power outlet.
- Remove the Water Bottle. Lift the empty or partially used water bottle off the top of the dispenser.
- Drain the Reservoir. Place a bucket under the spigots. Press both the cold and hot water taps to drain all remaining water from the internal lines and tanks.
Mix Your Cleaning Solution
You have a choice between two effective, simple cleaning solutions. You can also explore dispensers with built-in cleaning technology.
Choose one of the following DIY solutions:
| Cleaning Agent | Water Ratio |
|---|---|
| Unscented Bleach | 4 teaspoons of bleach per quart of water. |
| Distilled Vinegar | 1 part vinegar to 3 parts warm water. |
Some modern water dispensers offer advanced cleaning features. For example, certain models use UV sanitization or ozone cleaning to kill bacteria automatically, reducing your manual cleaning effort.
Clean the Reservoir and Internal Parts
Now you will clean the inside of the dispenser. This is where bacteria and biofilm can grow if not cleaned regularly.
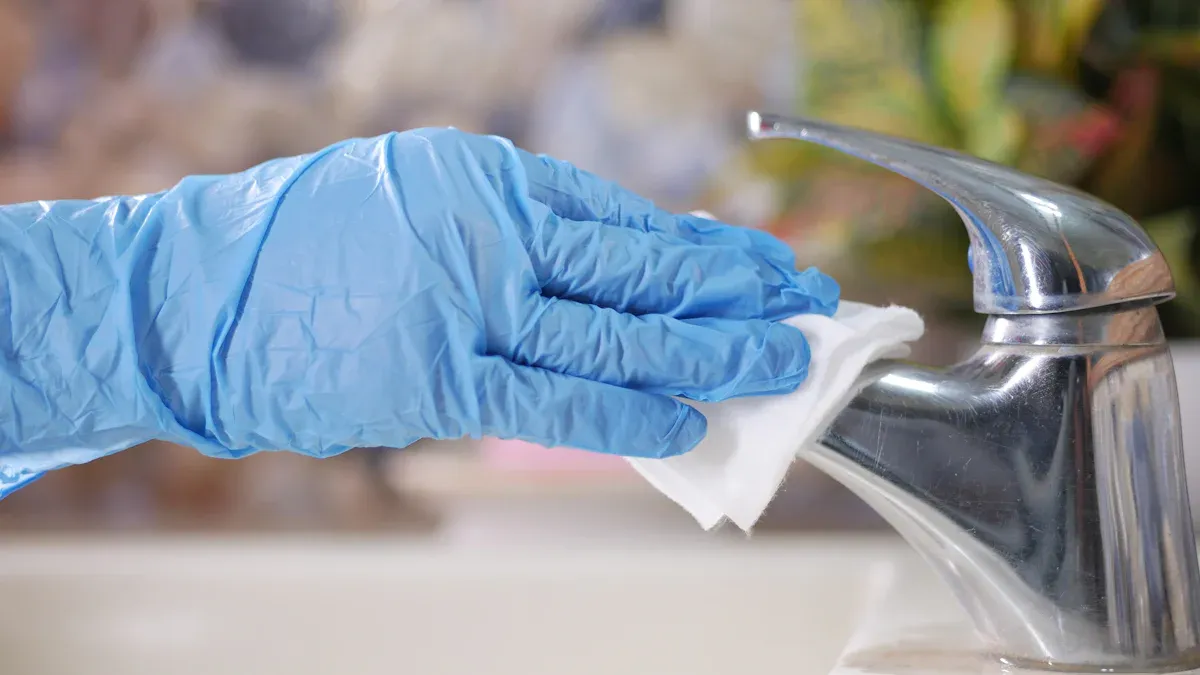
- Put on your protective gloves.
- Pour your chosen cleaning solution (bleach or vinegar) directly into the dispenser's reservoir.
- Let the solution sit for about 15 minutes. This gives it time to sanitize the surfaces.
- Place your bucket under the spigots again. Drain about half of the solution by alternating between the hot and cold taps. This action flushes and cleans the internal water lines.
- Use a long-handled brush to gently scrub the inside walls of the reservoir. The soft bristles will remove any buildup without scratching the plastic.
Wash Removable Components
Many parts of your cold water dispenser for home are removable for easy cleaning. You should wash these parts separately.
Common removable parts include:
- The drip tray
- The baffle (a plastic divider inside the reservoir)
- Spouts or nozzles
- The water guard (the part that pierces the bottle cap)
You can wash these components in your sink with warm, soapy water. Use a soft cloth to wipe the spigots and drip tray thoroughly. For some models, these parts are even dishwasher-safe. Check your user manual to see if your dispenser has a dishwasher-safe removable reservoir or drip tray.
Rinse, Reassemble, and Refill
The final step is to rinse everything completely and put your dispenser back together. A thorough rinse is crucial to remove any leftover cleaning solution.
- Drain the rest of the cleaning solution from the reservoir through the spigots.
- Fill the reservoir with fresh, clean water. Drain it completely through the spigots.
- Repeat the rinsing process two to three more times. This ensures no bleach or vinegar taste remains in your water.
- Dry all parts with a clean cloth. Reattach the baffle, water guard, and drip tray.
- Place a new water bottle on top of the dispenser.
- Plug the unit back into the wall. Dispense a glass of water from each tap to make sure everything works correctly.
Regular Maintenance Tips
Keeping your cold water dispenser for home clean between deep cleanings is simple. Regular upkeep ensures your water always tastes fresh and helps your appliance last longer. You can prevent unexpected breakdowns and save money on future repairs.
Weekly Upkeep
You should perform a few quick tasks each week to prevent grime and bacteria from building up. These simple habits make a big difference.
- Wipe Down Surfaces: Use a soft, damp cloth to wipe the exterior of the dispenser. Pay close attention to the spigots and buttons, as frequent hand contact can transfer germs.
- Clean the Drip Tray: This part can quickly grow mold if neglected. Remove the drip tray and wash it in your sink with warm, soapy water. A clean tray prevents odors and keeps the area tidy.
Quick Tip 💧 If you notice spills or fingerprints during the week, wipe them away immediately. This daily care prevents buildup and keeps your dispenser looking its best.
Monthly Checks
Once a month, take a few minutes to inspect your dispenser more closely. These checks help you spot problems before they become serious. Neglecting your dispenser can lead to mineral buildup and mold growth, which can affect water quality.
Look for these signs that your dispenser may need a deep clean sooner than planned:
- Strange Taste or Odor: If your water tastes metallic or musty, it is time to clean the unit.
- Slow Water Flow: A weak stream of water often points to mineral buildup blocking the internal lines.
- Visible Grime: Check for any white mineral deposits (limescale) around the spigots or visible slime inside the reservoir.
Catching these issues early ensures your water remains safe and pleasant to drink.
You should clean your cold water dispenser for home every 3 to 6 months. This simple routine removes mineral buildup that causes bad tastes. Following these steps ensures your water is always fresh, hygienic, and safe for your family to drink, supporting their overall health and hydration.
FAQ
Can I use soap to clean the inside of my dispenser?
You should avoid using dish soap inside the reservoir. It can leave a residue and affect your water's taste. Stick to the recommended vinegar or bleach solutions for sanitizing.
How often should I really clean my water dispenser?
You should perform a deep clean every 3 to 6 months. This schedule prevents bacteria and mineral buildup. It ensures your water stays fresh and safe to drink.
What if my water tastes like vinegar or bleach after cleaning?
A lingering taste means you need more rinsing. Fill and drain the reservoir with fresh water several more times. Repeat this process until the taste disappears completely.
Remember 💡 A thorough rinse is the most important step for great-tasting water after you finish cleaning.