Hot and Cold Water Dispenser Cleaning Made Easy

You can clean your cold hot water dispenser in about 30 minutes. This simple task is very important for your health.
Did You Know? 🧐 Studies found that over 62% of office and home water coolers contained high levels of bacteria, likely from a lack of regular cleaning.
Gather these basic household supplies before you begin:
- White vinegar or unscented household bleach
- A bucket
- Clean cloths or sponges
- Rubber gloves
- A long-handled brush (optional)
Key Takeaways
- Clean your water dispenser regularly to keep your water safe and tasting fresh. This prevents germs and mineral buildup.
- Use white vinegar or a bleach solution to clean the inside of your dispenser. Always rinse it well with fresh water afterward.
- Perform a quick clean weekly and a deep clean every 3-6 months. This helps your dispenser last longer and keeps your water healthy.
A Simple Guide to Cleaning Your Cold Hot Water Dispenser
Follow these six simple steps to get your dispenser sparkling clean and your water tasting fresh. This process ensures your machine runs efficiently and safely.
Step 1: Preparation and Draining
First, you need to prepare your workspace. Unplug the cold hot water dispenser from the wall outlet for safety. Remove the empty water bottle. Place a bucket under the spigots and drain any remaining water from both the cold and hot taps. Some models have a drain plug on the back; you can use this to empty the internal tanks completely.
Step 2: Mix Your Cleaning Solution
You have two excellent options for a cleaning solution. Choose the one that works best for you.
Vinegar Solution (Natural Choice) 🌱 For a natural cleaning agent, you can use white vinegar. Mix 1 cup of distilled white vinegar with 3 cups of hot water. This ratio creates an effective and safe solution for your dispenser.
Bleach Solution (For Sanitizing) 🧼 For a deeper sanitization, you can use unscented household bleach. The correct mixture is one tablespoon of bleach for every gallon of cool water. This dilution effectively disinfects against common bacteria like E. coli and Salmonella. It also rinses away completely.
Step 3: Clean the Internal Reservoir
Pour your chosen cleaning solution into the top of the dispenser, filling the internal reservoir. Let the solution sit for about 10 minutes. This waiting period helps break down mineral deposits and biofilm, which is a slimy layer of bacteria that can build up inside.
For a very thorough clean, you can use a long-handled brush to scrub the inside of the reservoir.
- Gently scrub the walls of the tank.
- This manual scrubbing helps remove stubborn biofilm.
- A good scrub ensures your cold hot water dispenser is truly clean.
Step 4: Wash All Removable Parts
While the solution works inside the machine, you can clean the parts you removed. Most dispensers have a few common removable components.
- The Drip Tray: This part slides or lifts out. It often collects spills and can get dirty quickly.
- The Baffle: This is a plastic divider inside the reservoir. You can usually lift it straight out.
- The No-Spill Top: This is the piece that punctures the water bottle cap. You can typically twist it to remove it.
Wash these parts in your sink with warm, soapy water. Use a sponge or cloth to scrub away any grime. Rinse them well and set them aside to air dry on a clean towel.
Step 5: Drain, Flush, and Rinse
Now it is time to drain the cleaning solution from your cold hot water dispenser.
- Place your bucket under the spigots.
- Drain the entire cleaning solution through both the cold and hot taps.
- Fill the reservoir with fresh, clean water.
- Drain this rinse water completely through both taps.
- Repeat the rinsing process two or three more times. This step is very important. It removes any leftover vinegar or bleach taste.
Step 6: Reassemble and Final Wipe-Down
Your cleaning process is almost complete. You just need to put everything back together.
- Make sure all removable parts, like the drip tray and baffle, are completely dry.
- Securely reattach all components. Follow your manufacturer's instructions if you are unsure.
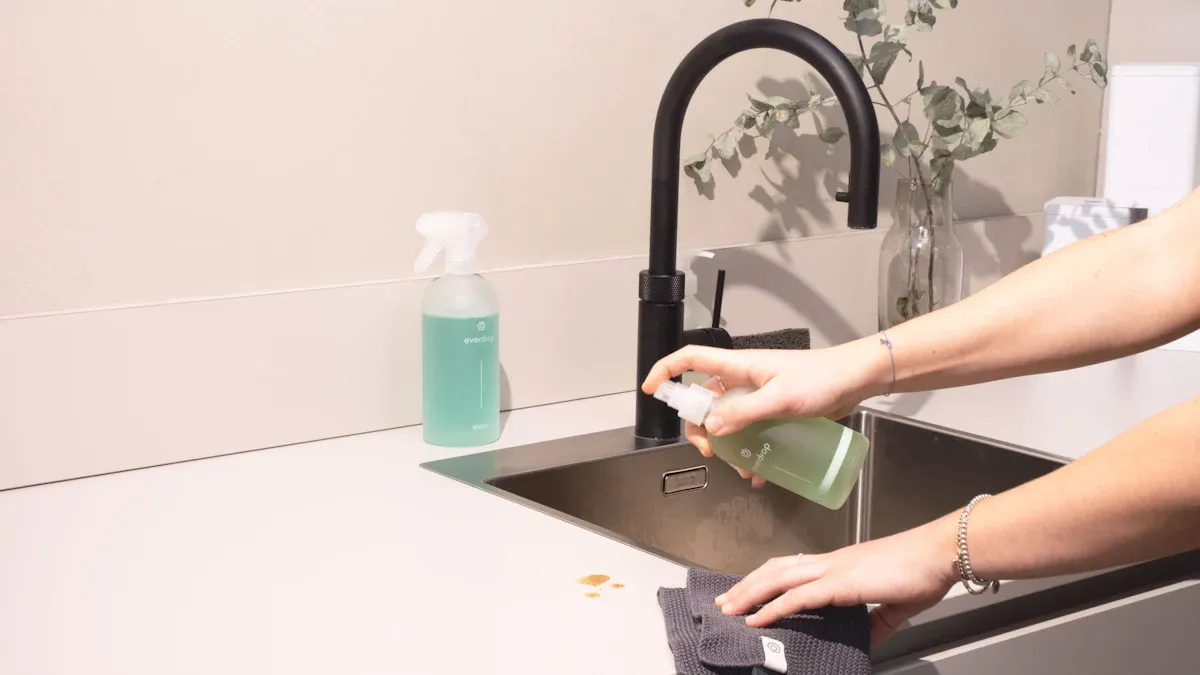
- Use a damp cloth to wipe down the entire exterior of the dispenser. Pay extra attention to the spigots and buttons.
- Place a new water bottle on top, plug the unit back in, and enjoy your fresh, clean water!
How Often Should You Clean Your Dispenser?
Regular cleaning keeps your water safe and tasting great. You can maintain your dispenser with a simple weekly routine and a periodic deep clean.
Weekly Maintenance
You should perform a quick cleaning every week to prevent germs from building up. This simple habit takes only a few minutes.
- Wipe down the exterior surfaces and spigots with a clean, damp cloth.
- Remove the drip tray. Wash it with warm, soapy water to remove any grime.
- Dry the drip tray completely before putting it back. This step prevents mold growth.
Quick Tip 💡 You can wipe the drip tray daily with a food-safe disinfectant. This practice stops grime and biofilm from forming between weekly cleanings.
Deep Cleaning Every 3-6 Months
You should perform a deep clean every 3 to 6 months. This process follows the six steps outlined earlier. A home cold hot water dispenser usually fits this schedule. However, dispensers in busy offices may need cleaning more often, sometimes monthly.
You might need to clean your dispenser sooner if you notice certain signs.
- Changes in Water: The water has a musty or metallic taste or smell.
- Slow Water Flow: The water comes out slower than usual.
- Visible Grime: You see mold spots, slime near the nozzle, or white mineral deposits.
Neglecting deep cleaning allows biofilm to form inside the machine. This can cause blockages, damage the system, and shorten the life of your dispenser. Regular cleaning is the best way to protect your health and your appliance.
Regular cleaning is the key to fresh and safe water. This quick process protects your health from harmful bacteria. You remove the biofilm and mineral deposits that cause musty tastes. This simple habit stops contaminants like Pseudomonas aeruginosa from growing inside your machine, ensuring every glass is a healthy one.
Your Health is Worth It! 💪 A few minutes of cleaning every few months guarantees safe, great-tasting water for your family.
FAQ
Can I use dish soap inside the dispenser?
You should not use dish soap inside the reservoir. It can leave a soapy taste. This taste is very difficult to rinse out completely. Stick to vinegar or bleach.
What if my water still tastes bad after cleaning?
A bad taste might mean you need to flush the system again. Run more fresh water through the taps. An old water bottle can also cause a bad taste.