From Film to Fabric How DTF Transfers Work
Direct-to-Film (DTF) printing creates graphics on a special dtf transfer film. The process uses a powdered adhesive applied to the ink. A heat press then bonds the design onto fabric, creating a durable, full-color graphic. The global DTF transfer printing industry is projected to grow at a CAGR of 8.6%, reaching $627.8 million by 2030.
Key Takeaways
- DTF printing makes designs on a special film. It uses a powder that sticks to the ink. A heat press then puts the design onto fabric.
- The DTF process has five main steps. These steps are designing, printing, adding powder, curing, and pressing onto fabric. Each step helps make a strong, colorful design.
- DTF transfers work on many types of fabric. They last for over 50 washes. This makes DTF a good choice for custom clothes.
The Step-by-Step DTF Transfer Process
The magic of DTF printing unfolds through a precise, multi-stage process. Each step builds upon the last, transforming a digital file into a vibrant, durable graphic bonded to fabric. Understanding this workflow reveals how DTF achieves its impressive results.
Step 1: Design and Print
The process begins with a digital design. Creators prepare their artwork using graphic design software. For optimal results, the design file should meet specific technical standards. A resolution of 300 DPI (Dots Per Inch) is the industry standard, ensuring that final prints are crisp, clear, and detailed. This high resolution produces smooth color transitions and prevents pixelation, especially when designs are printed at their actual size.
Pro Tip: While 150 DPI is a minimum for large graphics viewed from a distance, 300 DPI is essential for detailed logos and text that require sharpness.
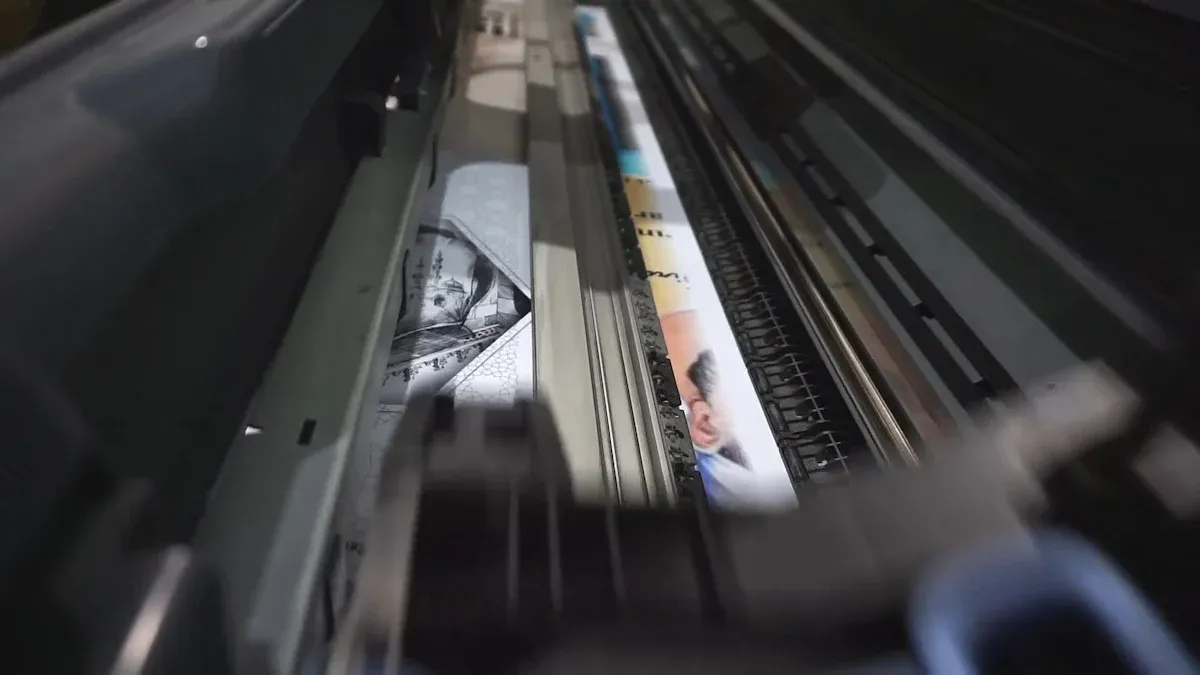
The finalized design is then sent to a specialized DTF printer using Raster Image Processor (RIP) software. This software correctly processes the colors and prints a white underbase layer. The printer lays down the specialized pigment inks onto a sheet of dtf transfer film. Common file formats compatible with most RIP software include:
- PNG
- TIFF
- PSD
Step 2: Apply Adhesive Powder
Immediately after printing, while the ink is still wet, the printed film moves to the next stage: adhesive application. The film is coated with a hot-melt adhesive powder. This fine, granular polymer is the key to bonding the design to the fabric. The powder sticks only to the wet ink, leaving the non-printed areas of the film clean.
The chemical composition of this powder is typically a thermoplastic polymer. The most common types are Thermoplastic Polyurethane (TPU) and Ethylene-vinyl acetate (EVA).
| Adhesive Type | Composition | Melting Point |
|---|---|---|
| Polyurethane (TPU) | Thermoplastic Polyurethane | 90–110°C (194–230°F) |
| Ethylene (EVA) | Ethylene-vinyl acetate | 100–130°C (212–266°F) |
The powder's particle size, measured in microns (µm), also affects the final result. Different sizes offer a trade-off between hand feel and durability.
| Feature | Fine Powder (0-80µm) | Medium Powder (80-200µm) | Coarse Powder (150-250µm) |
|---|---|---|---|
| Best For | Fine details, small text | General use, most designs | Heavy-duty fabrics, logos |
| Hand Feel | Softest, most flexible | Soft, good flexibility | Thickest, stiffest |
| Durability | Good | Excellent | Maximum |
Step 3: Cure the Ink and Adhesive
Next, the powdered film passes through a curing unit. Heat melts the adhesive powder, which then bonds with the underlying ink layer. This step transforms the loose powder into a smooth, solid adhesive sheet that covers the entire design. The curing process typically occurs in a specialized oven or under a heat press hovering just above the film.
Proper curing is critical for a successful transfer. Visual cues indicate when the process is complete. A properly cured transfer will have a distinctive "orange-peel" texture. The individual powder specks will no longer be visible. Instead, the design will be covered by a uniform, slightly glossy white layer.
| Curing Method | Temperature Range (Celsius) |
|---|---|
| Curing Oven | 100-110°C |
| Heat Press | 110-120°C |
Step 4: Press onto Fabric
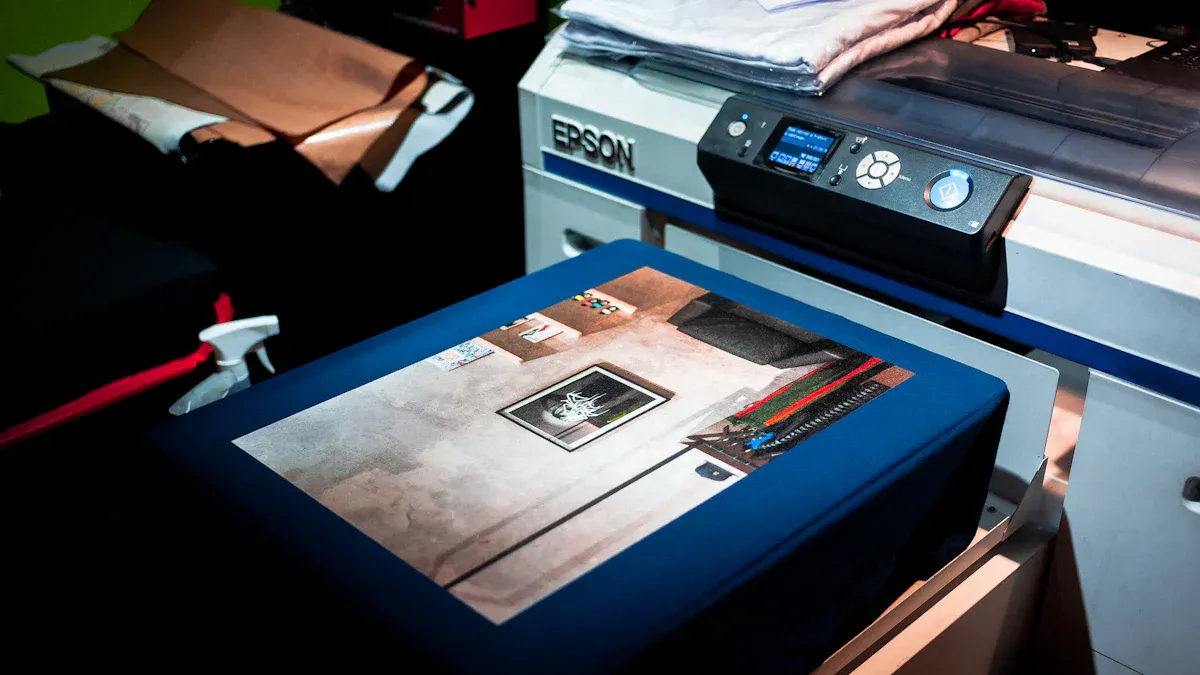
With the transfer cured, it is now ready for application. The operator places the garment on a heat press and often pre-presses it for a few seconds to remove moisture and wrinkles. The cured dtf transfer film is then positioned on the fabric, design-side down.
The heat press applies a specific combination of heat, pressure, and time to activate the adhesive. These settings vary significantly depending on the fabric type to prevent scorching and ensure a strong bond. For cotton, higher temperatures are used. For heat-sensitive materials like polyester, lower temperatures and shorter press times are essential.
Typical Settings for Cotton:
- Temperature: 320°F to 350°F
- Pressure: Medium to Firm
- Time: 12 to 15 seconds
Typical Settings for Polyester:
- Temperature: 270°F to 280°F
- Pressure: Medium to Firm
- Time: 7 to 10 seconds
Step 5: Cold Peel the Film
After the heat press cycle is complete, the garment is removed and set aside to cool down completely. This step is known as a "cold peel." The cooling period allows the melted adhesive to solidify and form a permanent bond with the fabric fibers. This process is crucial for achieving maximum durability and detail retention. A complete cooling ensures the ink and adhesive set properly, resulting in sharper edges and a longer-lasting graphic.
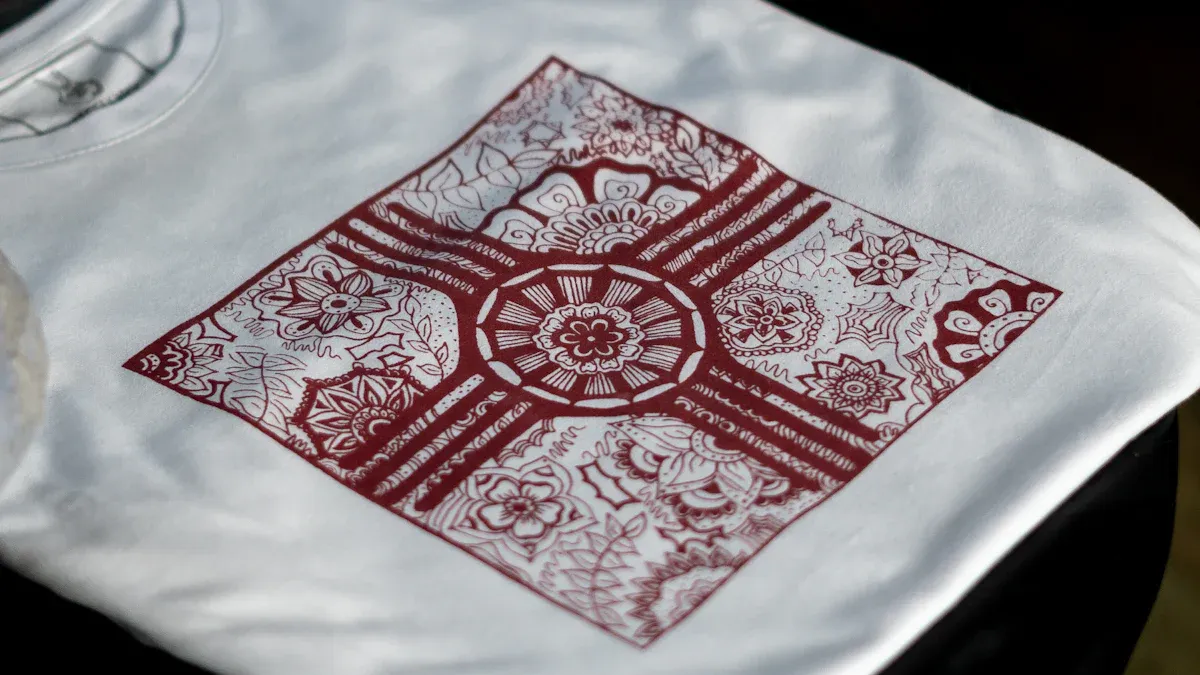
Once the transfer is cool to the touch, an operator can peel away the film. The film should release smoothly, leaving the entire design adhered to the garment. Peeling the film while it is still warm can cause the design to tear or lift partially, ruining the product. This final step reveals a vibrant, flexible, and durable graphic ready for wear.
Key Components That Make DTF Transfers Possible
The success of DTF printing relies on four essential components working in harmony. Each element, from the ink to the heat press, plays a specific role. Understanding these parts reveals the technical precision behind every vibrant and durable DTF transfer.
The Specialized Inks
DTF printers use specialized pigment inks designed for adhesion and durability. The ink's viscosity is critical. Ink that is too thick can clog the printhead nozzles. White ink is particularly prone to this issue due to its heavier composition. High-quality inks also offer excellent wash durability, with premium brands engineering their formulas to resist color bleeding.
| Ink Brand | Wash Durability Rating |
|---|---|
| DuPont Artistri | 60+ wash cycles |
| Kodak DTF Inks | 50+ washes |
| STS Inks | 40+ cycles |
The Hot-Melt Adhesive Powder
This fine polymer powder acts as the bonding agent. After printing, the powder sticks to the wet ink. It melts during the curing stage, creating a uniform adhesive layer. Most powders are made from Thermoplastic Polyurethane (TPU), a material known for its elasticity. This property allows the final graphic to stretch with the fabric, preventing cracks. Different powders, such as white and black, serve unique purposes for various production goals.
The Role of DTF Transfer Film
The dtf transfer film is the carrier medium for the ink and adhesive. It features a special release coating that allows the design to separate cleanly from the film after heat pressing. This ensures a sharp, precise transfer. Films come in different types to suit various needs.
Note: Double-sided matte films offer superior ink absorption and prevent slippage during printing, making them ideal for high-volume or complex jobs. A single-sided dtf transfer film is a cost-effective choice for general use.
The Heat Press
The heat press is the final tool in the process. It applies controlled heat and pressure to bond the transfer to the fabric. Different press styles offer unique advantages.
- Swing-away presses provide even pressure, which is crucial for thicker items.
- Clamshell presses are more compact and budget-friendly.
Uneven pressure can cause incomplete adhesion and ruin the final product. Using a protective Teflon sheet over the transfer can prevent ink from sticking to the press's hot platen.
Direct-to-Film technology creates a self-contained, adhesive-backed graphic on a transfer film. This process enables application on diverse materials, from cotton to leather and silk. The method produces vibrant, cost-effective graphics engineered to endure over 50 wash cycles. These advantages establish DTF as a leading choice for custom apparel decoration.
FAQ
What is the difference between DTF and DTG?
DTF prints designs onto a film for transfer to many fabric types. DTG (Direct-to-Garment) prints directly onto cotton-based textiles. DTF provides greater material versatility.
How many washes can a DTF transfer withstand?
A high-quality DTF transfer endures over 50 wash cycles. Correct application and garment care are essential for achieving maximum durability and color retention.
What types of fabric work with DTF?
DTF transfers bond to a vast array of materials. This includes cotton, polyester, leather, nylon, and fabric blends, offering superior flexibility for custom apparel projects.
See Also
Leading Precoating Materials for Advanced Filtration Systems: 2025 Insights
Automatic UV Coaters: Essential Technology for High-Volume Printing Operations
Demystifying Sterile Filter Devices: How They Operate Effectively
WT20 Thoriated Tungsten Electrodes: Enhancing TIG Welding Performance Significantly
Optimized Steel Processing for Heat Exchangers: Consistent Performance Guaranteed