Your Complete 2026 Guide to Water Dispenser Cleaning and Maintenance

You can deep clean your water dispenser in just 30-45 minutes. You will need a few simple supplies like vinegar, soft cloths, and a brush. This regular maintenance keeps your water fresh and safe. It ensures even the best hot cold water dispenser provides pure, great-tasting water for everyone to enjoy.
Key Takeaways
- Clean your water dispenser every 3 to 6 months. This keeps your water safe and tasting good.
- Use vinegar or a special cleaner for the inside. Always rinse it many times to remove all cleaner.
- Regular cleaning makes your dispenser last longer. It also helps you avoid bad smells or tastes in your water.
The 7-Step Deep Cleaning Process

Following these seven steps will help you thoroughly clean your water dispenser. This process removes harmful buildup and ensures your water is always pure and refreshing.
Step 1: Gather Your Supplies
You should first collect all necessary cleaning items. Having everything ready makes the process smooth and efficient. Many manufacturers, like Culligan and ReadyRefresh, recommend a specific set of tools for the job.
Your cleaning kit should include:
- Rubber or nitrile gloves
- Lint-free cloths or paper towels
- A long-handled scrub brush
- A bucket or large container
- Your chosen cleaning solution (see Step 3)
Pro Tip: A dedicated 'DIY Water Cooler Cleaning Kit' often contains pre-measured solutions, scouring pads, and safety gloves. These kits offer a convenient, all-in-one option.
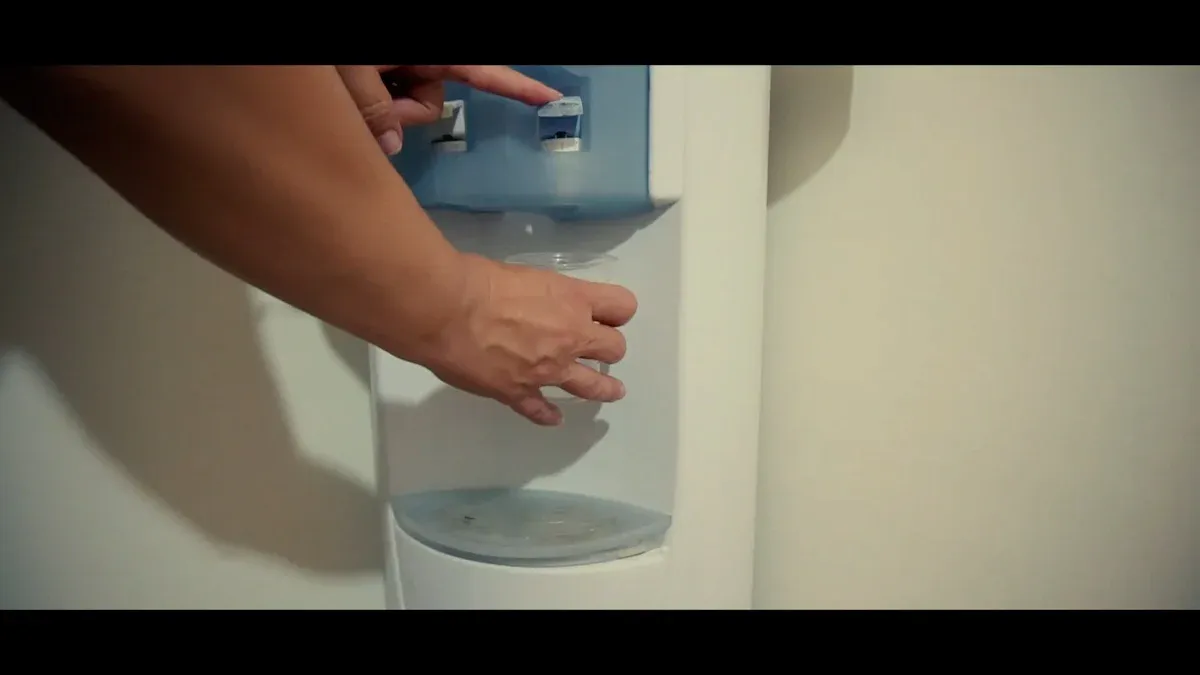
Step 2: Prepare the Dispenser
Safety is your top priority before you begin cleaning. You must disconnect the dispenser from its power source. This simple action prevents any risk of electrical shock. If you have a hot and cold model, let the unit cool down to room temperature.
- Unplug the water dispenser from the wall outlet.
- Remove the empty water bottle.
- Drain any remaining water from the spigots into a bucket.
- Put on your rubber gloves to protect your hands.
Important Safety Note Never submerge the main body of the dispenser in water. This can cause serious electrical damage. Also, avoid using bleach on any system with a hot water tank, as it can damage the internal components.
Step 3: Mix the Cleaning Solution
You have a few options for your cleaning solution. A homemade mixture of vinegar or bleach works well. You can also purchase commercial cleaners designed specifically for water dispensers.
| Solution Type | Mixing Instructions |
|---|---|
| Unscented Bleach | Mix 1 teaspoon of bleach with 1 gallon of water. |
| White Vinegar | Mix 1 part white vinegar with 3 parts water. |
| Commercial Cleaner | Follow the instructions on the product label. |
Many companies offer biodegradable, food-grade cleaning solutions. These are excellent alternatives if you prefer not to use bleach or vinegar.
Step 4: Clean the Interior Reservoir
The internal reservoir is where bacteria and biofilm can form. Biofilms create a protective layer for harmful microorganisms. This layer can harbor pathogens like Legionella, E. coli, and Pseudomonas aeruginosa. An uncleaned dispenser can also grow various molds and yeasts, including Aspergillus, Penicillium, and Rhodotorula species.
- Pour your cleaning solution into the dispenser's reservoir.
- Use your long-handled brush to scrub the inside walls thoroughly. This action breaks up any visible biofilm or mineral deposits.
- Let the solution sit for the recommended time to sanitize the surface.
- Bleach Solution: Let it stand for 3-5 minutes.
- Vinegar Solution: Let it stand for at least 10 minutes.
- Drain a small amount of the solution through the spigots to clean the lines.
Step 5: Wash Removable Parts
While the solution sanitizes the reservoir, you can clean all the removable components. This usually includes the drip tray, the spigots, and the baffle (a plastic part inside the reservoir).
- Carefully remove these parts from the dispenser.
- Wash them in a sink with warm, soapy water.
- Use a small brush or cloth to scrub away any grime.
- Rinse them thoroughly with clean water.
Some models, including the best hot cold water dispenser units, may have a removable reservoir or other parts that are dishwasher safe. Always check your user manual for specific instructions.
Step 6: Drain, Flush, and Rinse
You must now completely remove the cleaning solution from the dispenser. Any leftover residue can affect the taste of your water and may be harmful.
- Drain the entire cleaning solution from the reservoir through the spigots.
- Fill the reservoir with fresh, clean bottled water.
- Drain this water completely through the spigots to rinse the system.
- Repeat the rinsing process 2-3 more times. This ensures you have flushed out all traces of the cleaner.
How do you know it's fully rinsed? Check for lingering odors or any foam in the water as it drains. If you notice either, you should perform another rinse cycle.
Step 7: Reassemble and Final Wipe
Properly drying every component is the final key to a successful cleaning. Any remaining moisture can create a breeding ground for new mold and bacteria.
- Allow all removable parts to air dry completely on a clean towel.
- Use a fresh, dry, lint-free cloth to wipe the inside of the reservoir.
- Once everything is completely dry, reassemble the dispenser.
- Wipe down the exterior of the unit with a damp cloth.
- Place a new water bottle on top, plug the dispenser in, and enjoy fresh, clean water.
Your Water Dispenser Maintenance Guide
Consistent maintenance keeps your water dispenser in top condition. A few simple habits prevent buildup and ensure every glass of water is pure and safe.
Weekly Maintenance Checklist
You should perform quick cleanings every week. Neglected drip trays can grow mold and bacteria. These germs can spread and contaminate your water. Regular wiping prevents this problem and protects your health.
- Daily: Use a food-safe wipe to clean the spigots and buttons.
- Weekly: Remove the drip tray. Wash it with warm, soapy water, then rinse and dry it completely before putting it back.
How Often to Deep Clean
You should deep clean your water dispenser every three to six months. High-traffic offices or homes may need to clean their units more often. This applies to both bottled water and mains-fed dispensers.
Watch for Warning Signs! 🚨 You need to clean your dispenser immediately if you notice these issues:
- A musty smell or funky taste in the water
- Slow water flow from the spigots
- Visible slime, mold, or white mineral buildup
Pro Tips for the Best Hot Cold Water Dispenser
Hot water tanks can develop mineral buildup, especially in areas with hard water. This buildup can reduce efficiency and affect your unit's lifespan. Following these tips will help you maintain the best hot cold water dispenser.
- Flush the Tank: Periodically drain the hot water tank. This simple step removes loose sediment before it can harden on the heating element.
- Use Quality Water: Using purified or filtered water reduces the mineral content from the start. This is a great preventative step for any of the best hot cold water dispenser models.
- Choose Smart Features: Some of the best hot cold water dispenser units have low-density heating elements. These designs reduce scale buildup and extend the life of your appliance.
You ensure your dispenser's health, safety, and longevity with consistent cleaning. This guide helps you provide clean, safe drinking water for your family or office. Proper care extends a unit's life to 7-10 years, saving you significant money compared to buying bottled water.
Stay on Track! 🗓️ Set a calendar reminder for your next deep clean in 3-6 months.
FAQ
Can I use dish soap to clean the inside?
You should avoid using dish soap inside the reservoir. It can leave a soapy residue and affect your water's taste. Stick to vinegar or a specified cleaning solution for the interior.
Why does my water still taste bad after cleaning?
A lingering taste often means you need another rinse cycle. You should flush the system with fresh water until all cleaner odor is gone. An old water bottle can also cause taste issues.
How do I clean a bottom-loading water dispenser?
You clean a bottom-loading dispenser similarly. Unplug the unit and remove the bottle. You will also need to clean the probe and water lines with your solution, following the same rinsing steps.