Never Patch Drywall Cracks Again with Fiberglass Joint Tape
Are you tired of watching the same drywall crack reappear? You can achieve a permanent fix. The solution combines a setting-type joint compound, or "hot mud," with a strong Fiberglass Drywall Joint Tape.
Pro Tip: Using a premium product like FIBERGLASS MAX Tape provides the reinforcement needed for a repair that truly lasts.
This guide gives you the exact steps to create a professional-grade repair. Follow these instructions for a flawless wall that stays crack-free for good.
Key Takeaways
- Use fiberglass tape and hot mud for a permanent drywall crack repair.
- Fiberglass tape is stronger than paper tape. It resists mold and moisture.
- Prepare the crack by cutting a V-groove. This helps the mud bond better.
- Apply self-adhesive fiberglass tape over the crack. Then, cover it with hot mud.
- Sand, prime, and paint the repaired area. This makes the repair invisible.
Why Fiberglass Tape Beats Paper Tape and Spackle
When you choose your repair materials, you are deciding between a temporary patch and a permanent solution. Fiberglass tape offers distinct advantages over traditional paper tape and simple spackling that ensure your repair lasts. Understanding these benefits will show you why it is the professional's choice for durability and efficiency.
Superior Strength Resists Future Cracks
A repair is only as strong as its foundation. Paper tape simply sits on top of joint compound, but fiberglass tape’s open-weave design allows the compound to flow completely through it. This process creates a single, unified mass that bonds directly with the drywall itself. You get a much stronger joint because the tape becomes part of the wall, eliminating the bubbles and blisters that often weaken paper tape repairs.
The material differences speak for themselves:
| Feature | Fiberglass Drywall Tape | Paper Drywall Tape |
|---|---|---|
| Tensile Strength | Stronger in ultimate load | Not as strong as fiberglass |
| Elasticity | More elastic | Nonelastic |
| Bonding | Compound penetrates for a unified bond | Compound sits underneath |
This superior bond and material strength provide the reinforcement needed to resist the stress that causes cracks to reappear.
Immune to Mold and Moisture Damage
Paper is an organic material that can absorb moisture and feed mold. Fiberglass, however, is inorganic and waterproof. It will not rot, soften, or grow mold, even in damp environments.
This is why professionals frequently use a quality Fiberglass Drywall Joint Tape for repairs in moisture-prone areas like bathrooms, basements, and kitchens. Some premium tapes even earn a perfect score of "10" on the ASTM D3273 mold resistance test, the industry standard for interior building materials.
Self-Adhesive for Faster, Easier Application
Fiberglass tape simplifies your project from the very first step. It features a light adhesive backing, allowing you to stick it directly over the crack without any prep work. This eliminates the tricky and often messy step of applying a preliminary bed of mud, which is required to hold paper tape in place. You simply press the tape on, cut it to length, and you are immediately ready to apply your first coat of compound. This feature saves time and makes achieving a clean result much easier.
Your Shopping List: Tools and Materials for a Perfect Patch
Gathering the correct supplies is the first step toward a successful, permanent repair. You will need a specific combination of materials and tools to ensure the fiberglass tape bonds correctly and the finish is seamless. This list covers everything required for a professional-grade result.
Materials You'll Need
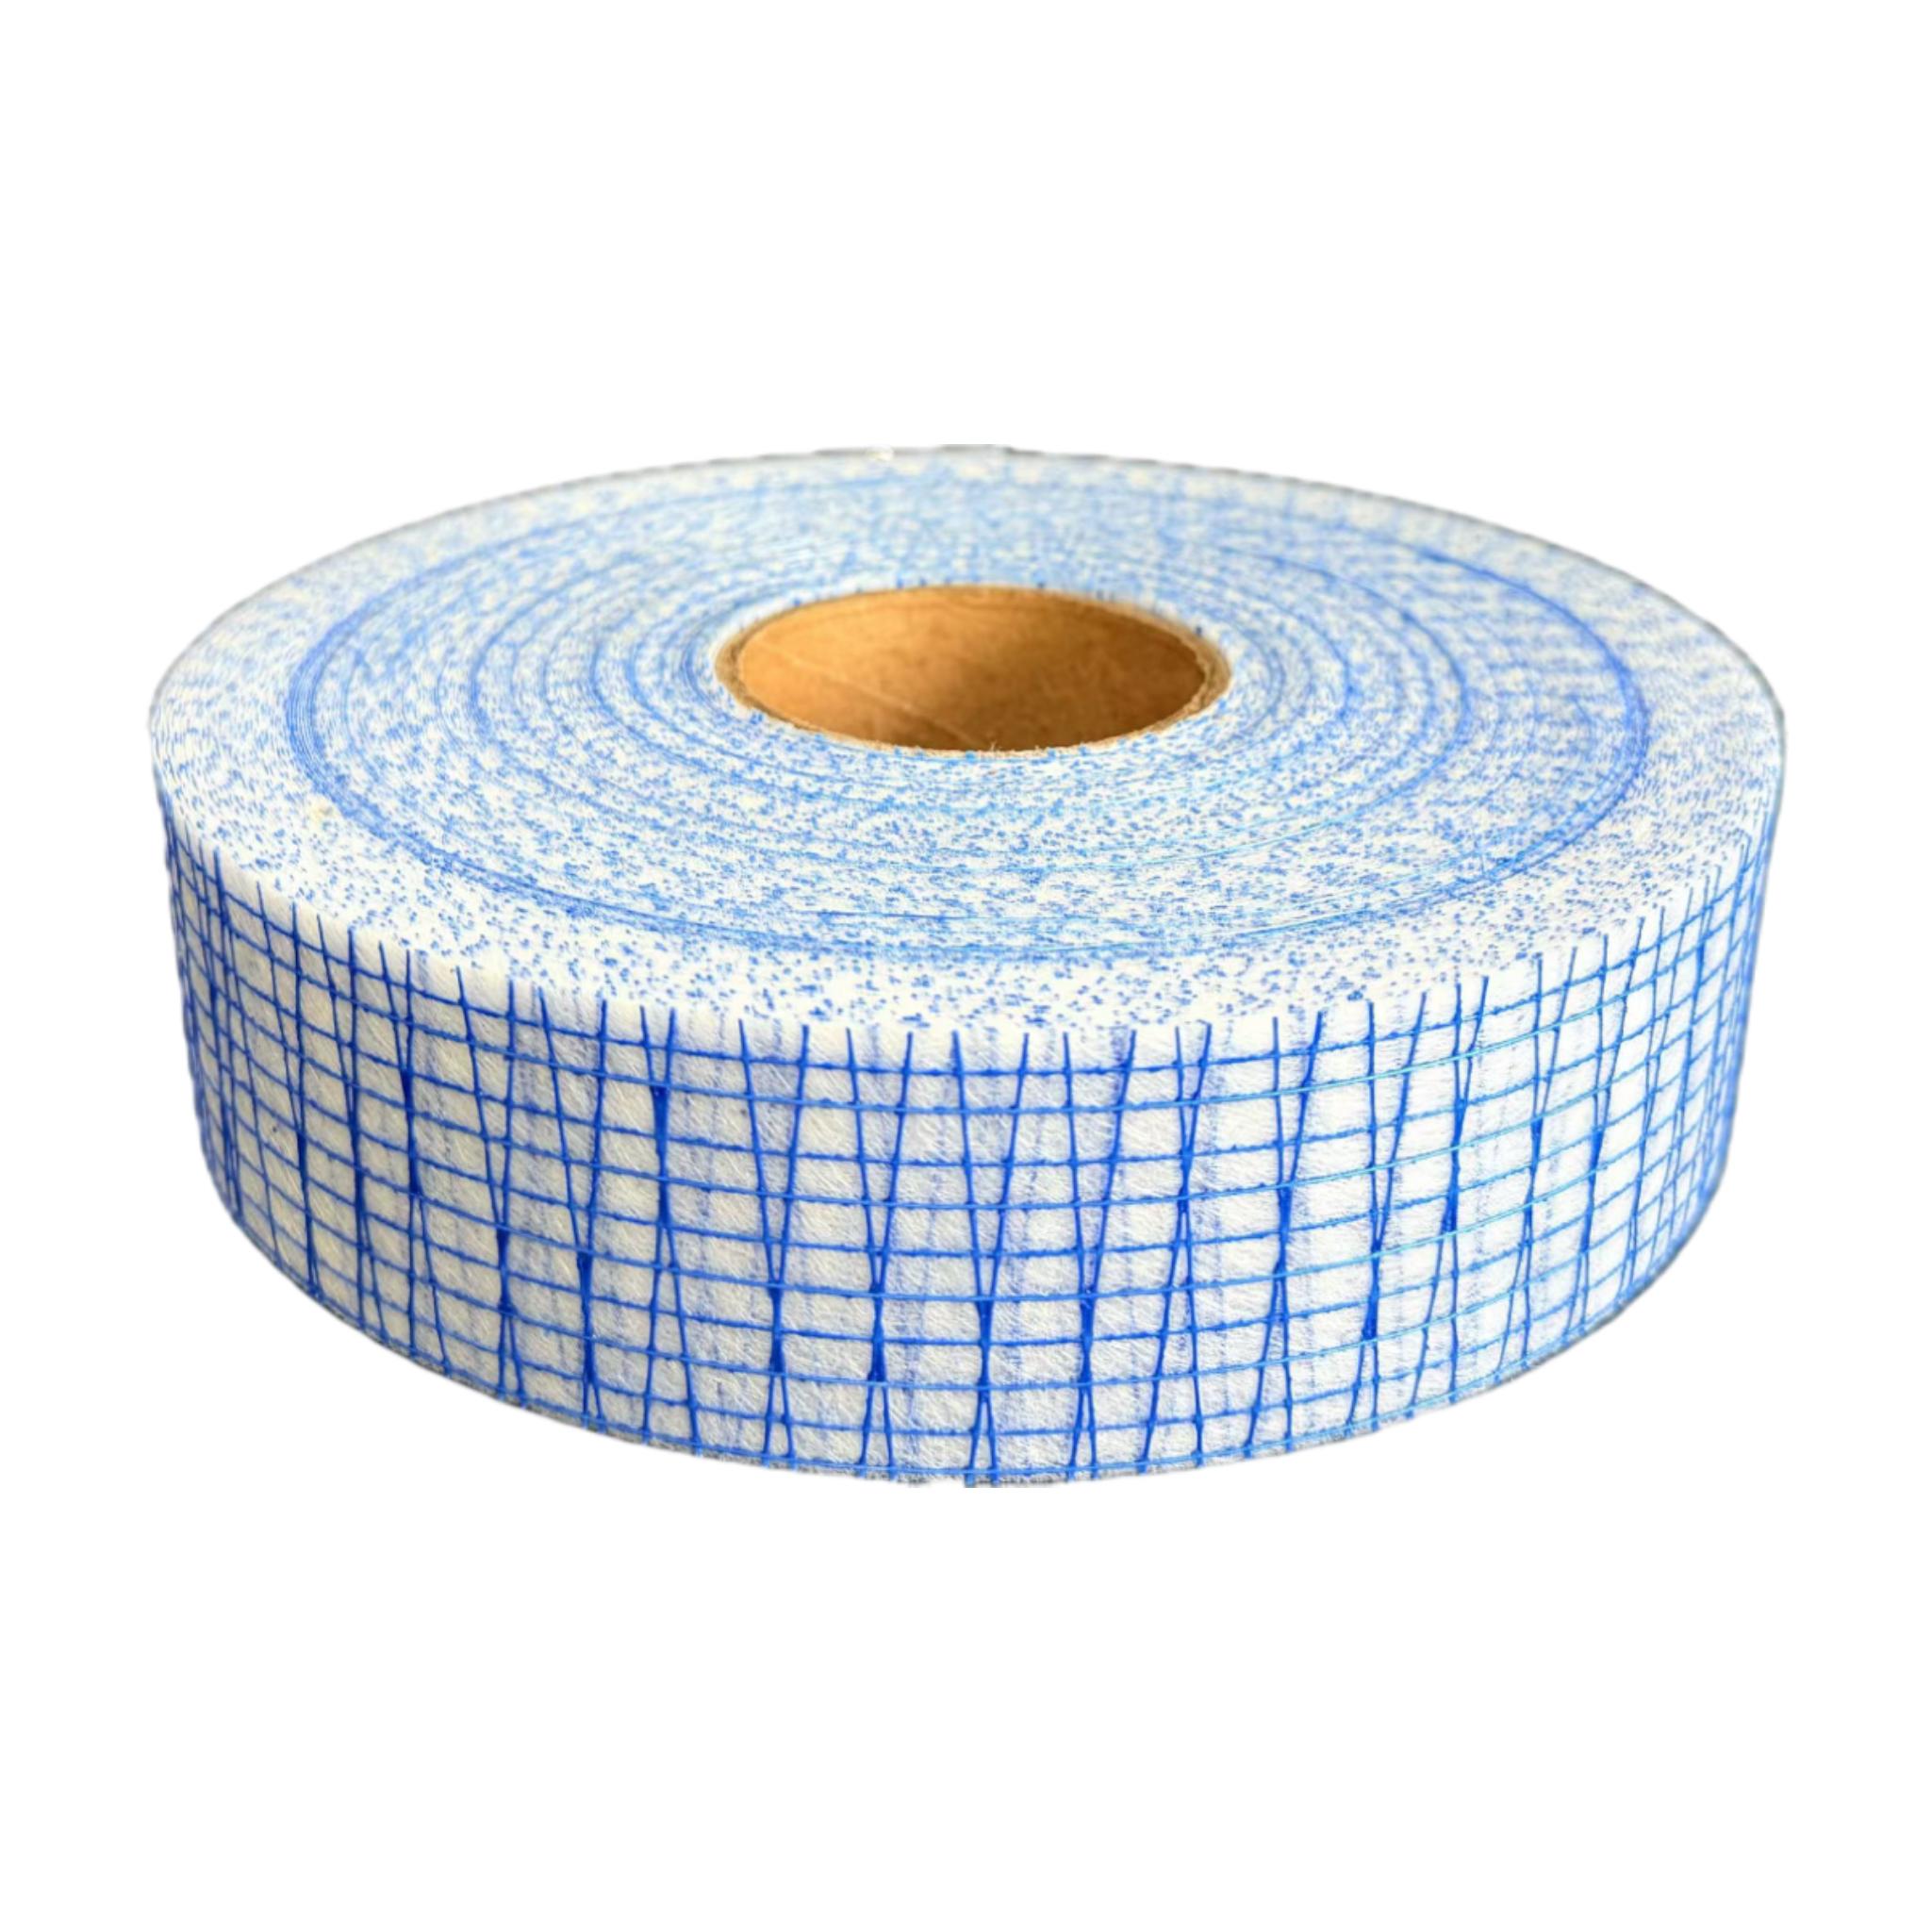
- Fiberglass Drywall Joint Tape: The hero of your repair. A premium, reinforced tape like RUIFIBER FIBERGLASS MAX provides the necessary strength. Its self-adhesive backing simplifies the application process.
- Setting-Type Joint Compound (Hot Mud): This is crucial. Unlike pre-mixed compound, hot mud chemically hardens for a stronger bond. It is essential for locking fiberglass tape in place. You will choose a product based on its set time.
| Hot Mud Type | Setting Time (minutes) | Notes |
|---|---|---|
| Quick Set Drywall Mud | 5, 20, 45, 90 | Actual working time is often less than the listed time. |
| USG SHEETROCK® EZ-Sand | Varies (quick set) | A popular choice among professionals. |
| Durabond® | Varies (quick set) | Known for its extreme hardness and durability. |
Hot mud is the right choice for this job. It provides a stronger base coat to prevent cracks and is required when using mesh tape for a secure bond.
- All-Purpose Joint Compound (Optional): For the final skim coat. It is easier to sand than hot mud, giving you a smoother finish.
- Drywall Primer: You must prime the repaired area before painting to ensure the paint color and sheen match the rest of the wall.
- Paint: To match your existing wall color.
Tools for the Job
- Drywall Knives: You will need a 6-inch knife for applying the mud and a 10-inch or 12-inch knife for feathering the final coats.
- Mud Pan: A metal pan holds your hot mud while you work.
- Utility Knife: For cutting the tape and preparing the crack.
- Sanding Sponge or Block: A medium-grit (120-150) sponge is perfect for smoothing the final surface without damaging it.
- Safety Gear: Always wear safety glasses and a dust mask, especially when mixing mud and sanding.
- Mixing Tools: A small bucket for water and a paddle mixer or sturdy stick to mix your hot mud.
How to Use Fiberglass Drywall Joint Tape: A 5-Step Guide
Now you have your tools and materials ready. This section provides the exact techniques for a permanent repair. Follow these five steps carefully to transform that persistent crack into a seamless, invisible part of your wall.
Step 1: Prepare the Crack for Repair
Proper preparation creates a solid foundation for your patch. You must give the joint compound a stable area to bond with the drywall. A simple hairline crack does not provide enough surface area for a strong repair.
- Create a V-Groove: Take your utility knife and carefully cut a V-shaped groove along the entire length of the crack. The groove should be about 1/8 to 1/4 inch wide at the surface. This step removes any loose drywall and creates a channel for the compound to fill.
- Remove Debris: Use a shop vacuum or a damp cloth to clean all dust and loose material from the groove and the surrounding area. A clean surface is essential for proper adhesion of both the tape and the mud.
Why this works: The V-groove allows the hot mud to penetrate deeper into the wall. This creates a much stronger mechanical bond, preventing the old crack from reappearing through your new repair.
Step 2: Apply the Self-Adhesive Tape
The self-adhesive nature of fiberglass tape makes this step quick and straightforward. Unlike paper tape, you do not need to apply a preliminary layer of mud.
Start at one end of the crack. Center your Fiberglass Drywall Joint Tape directly over the V-groove you created. Press the tape down firmly as you unroll it, ensuring it makes solid contact with the drywall surface along the entire length of the repair. When you reach the end, cut the tape cleanly with your utility knife.
Run your 6-inch drywall knife flat over the tape with firm pressure. This action fully activates the adhesive and removes any air pockets, guaranteeing the tape lies perfectly flat against the wall.
Step 3: Lock it in with the First Coat of Hot Mud
This first coat is the most critical. Its purpose is not to hide the tape but to lock it into place and create a super-strong base. You will use your setting-type compound, or "hot mud," for this step.
- Mix Your Mud: Prepare a small batch of hot mud in your mud pan. You want a consistency similar to thick peanut butter. Remember, you have limited working time before it hardens.
- Apply the Mud: Load your 6-inch drywall knife with mud. Apply it over the tape using firm, even pressure. Your goal is to force the compound through the open mesh of the tape and completely fill the V-groove underneath.
- Smooth the Surface: Once the tape is filled, make another pass with your knife held at a slight angle. This will remove excess mud and leave a thin, smooth layer over the tape. Do not worry about building up the surface yet. You should still be able to see the mesh pattern of the tape through the thin layer of mud.
Let this coat harden completely according to the manufacturer's instructions. Do not try to sand hot mud at this stage.
Step 4: Build and Feather the Finishing Coats
After your first coat of hot mud has hardened, you can begin building the surface. The goal of these next coats is to create a wide, thin layer of compound that makes the repair invisible. You will use your wider 10-inch or 12-inch drywall knife for this process. For these finishing coats, you can switch to an all-purpose joint compound, which is easier to sand.
Apply a thin second coat of compound over the repair. Extend this coat a few inches beyond the edges of the first coat. Hold your knife at a low angle and pull it smoothly across the surface. Immediately make a second pass to remove any excess compound. This technique is called "feathering." It creates a tapered edge that blends into the wall.
Mastering the Feathering Technique Feathering is the key to an invisible patch. Apply pressure to the outer edge of your drywall knife while leaving the inner edge (closest to the repair's center) almost floating. This action presses the mud thinly at the edges, making it disappear into the surrounding wall surface.
Allow the second coat to dry completely. For the third and final coat, apply another very thin layer. This coat should be even wider than the second one. A wide, well-feathered repair is much harder to detect after painting.
- Your second coat should extend the repair area to about 12-16 inches wide.
- Your final coat should bring the total width to approximately 20-24 inches for a truly seamless blend.
Let this final coat dry for at least 24 hours before moving on to the next step.
Step 5: Sand, Prime, and Paint for a Flawless Finish
You are now on the final stage of your repair. Careful work here will ensure the crack vanishes completely, leaving a perfect surface for paint. This is where your professional-grade repair using Fiberglass Drywall Joint Tape truly becomes invisible.
First, you will sand the dried compound. Use a medium-grit (120-150) sanding sponge. Apply light, even pressure and sand in a circular motion. Your goal is to smooth out any ridges or imperfections. Run your hand over the area. It should feel perfectly smooth and level with the surrounding wall. If you feel any bumps or edges, continue sanding lightly until they disappear.
If your wall has a texture, you must replicate it to make the patch blend in.
- Apply a small amount of spray-on texture or thinned joint compound to the repaired area.
- Practice on a scrap piece of cardboard first to match the texture pattern and thickness.
- Once the new texture is dry, you can lightly sand it down with a hand sander to match the height of the existing wall texture.
- Feather the edges of the new texture into the old texture to create a seamless transition.
Next, you must prime the repair. This step is not optional. New joint compound is very porous and will absorb paint differently than the rest of your wall, a problem called "flashing." Priming seals the patch and creates a uniform surface. A high-quality polyvinyl acetate (PVA) drywall primer is designed specifically for this purpose. It creates a synthetic film that seals the porous mud and ensures your paint adheres properly. For the best results, look for a 100% acrylic primer-sealer, which eliminates any chance of the repair showing through your final paint coat.
Finally, you can paint. Apply one or two coats of your matching wall paint over the primed area. Feather the paint at the edges to blend it into the rest of the wall. Once dry, step back and admire your work. You have not just patched a crack; you have created a permanent, invisible repair.
Pro Tips for a Seamless Drywall Repair
Elevating your repair from good to flawless requires mastering a few key professional techniques. These tips focus on the critical details of mixing, applying, and finishing your compound. Paying attention here ensures your patch truly disappears into the wall.
Mixing Hot Mud to the Right Consistency
Properly mixed hot mud is the foundation of a strong repair. Your goal is a smooth, lump-free consistency similar to creamy peanut butter.
- Water First, Then Powder: Always add your powder to the water, not the other way around. This simple step prevents dry clumps from forming at the bottom of your pan.
- Avoid Over-Mixing: Vigorously over-mixing the compound can actually make it set faster, reducing your working time.
- Keep it Clean: Use a clean mixing pan and knife for every batch. Contamination from even a small amount of already-setting mud will accelerate the hardening of your new batch.
Mastering the Feathering Technique
Feathering creates the invisible transition between your patch and the wall. This technique is essential for reinforcing seams against stress cracks that form from structural movement. You will use progressively wider knives to achieve this.
To feather an edge, hold your 10-inch or 12-inch knife at a steep angle. Apply firm pressure only on the outer edge of the knife as you pull it across the compound. This action squishes the mud into a paper-thin layer that blends seamlessly with the surrounding drywall. Using wider knives for each coat allows you to spread the compound over a larger area, creating a gradual slope that is undetectable after painting.
Choosing the Right Sanding Grit
Selecting the correct sandpaper grit is crucial for achieving a perfectly smooth surface without damaging your work. Using the wrong grit can create scratches or take too long to smooth the area.
| Sanding Stage | Recommended Grit | Purpose |
|---|---|---|
| Initial Smoothing | 120-150 Grit | Levels minor ridges and imperfections without being too aggressive. |
| Final Finish | 180-220 Grit | Polishes the surface to a paint-ready smoothness. |
Always use a light touch when sanding. Your goal is to smooth the compound, not remove it. After a final pass with a fine-grit paper, your wall will be ready for primer.
You have now completed a professional-grade repair. You used the superior strength of fiberglass tape and the solid bond of setting-type compound. This is not just a temporary patch; it is a permanent fix. The high-strength, moisture-resistant materials ensure your repair will last, saving you future time and frustration. Enjoy your flawless, crack-free wall, fixed for good. ✅
FAQ
Can I use pre-mixed compound with fiberglass tape?
You should use setting-type compound (hot mud) for the first coat. It hardens chemically, creating a stronger bond that locks the tape. Pre-mixed mud lacks the initial strength required for a permanent repair with fiberglass tape.
Is fiberglass tape necessary for a small hairline crack?
Yes, for a permanent fix. A hairline crack will likely reappear without reinforcement. A premium tape like RUIFIBER FIBERGLASS MAX provides the structural strength to resist movement and prevent the crack from returning, regardless of its initial size.
Why can I still see the tape mesh after the first coat?
This is normal and indicates a proper application. The first coat's job is to fill the mesh and bond to the wall. Your subsequent, wider coats of compound will completely hide the tape and create a smooth, invisible surface.
Can I use fiberglass tape on inside corners?
While possible, professionals often prefer paper tape or a paper-faced corner bead for sharp inside corners. These products create a crisper line more easily. Fiberglass tape excels on flat surfaces and stress cracks where its strength is most effective.
See Also
Fortifying Doors and Hinges Against Wildfire and Flood Damage
Silicone Sealant: The Unsung Hero of Modern Home Construction
Achieving Flawless Tie Bolt Installation for Concrete Structures
Mastering Pass Partition Plate Welding: Expert Tips for 2025
Simple Maintenance Routines to Avoid Dumbwaiter Elevator Failures