Never Under-Water Again With This DIY Plant Watering System
You can ensure your plants get consistent water with a simple DIY water dispenser for plants. Inconsistent watering harms plants. Too much water causes root rot, while too little stops nutrient absorption. This solution is perfect for your vacations or busy schedule, keeping your plants happy and healthy.
A homemade water dispenser for plants offers you peace of mind and helps your green friends thrive. 🪴
Key Takeaways
- You can make a simple plant waterer using a plastic bottle. Poke a small hole in the cap. Fill the bottle with water. Turn it upside down into the soil. Water will drip out slowly.
- A cotton wick system moves water from a jar to your plant. Use a cotton rope or fabric. Put one end in water and the other in the plant's soil. Water will travel up the wick to the plant.
- Always test your watering system before you need it. This helps you check for leaks. You can also adjust how much water your plant gets. Water your plants well before setting up the system.
Create a Simple Water Dispenser for Plants at Home
You can easily build a reliable watering system with items you already have. These methods are simple, effective, and perfect for keeping your plants hydrated. Let's explore two popular options for creating your own water dispenser for plants.
Method 1: The Recycled Bottle Dripper
This method turns a simple plastic bottle into a slow-release irrigator. It is an excellent way to provide a steady water supply directly to your plant's roots.
What You'll Need:
- A clean 16oz to 2-liter plastic bottle with its cap
- A nail or a small drill bit
- A candle and lighter (or a drill)
- An oven mitt for safety
- Scissors or a sharp knife
Step-by-Step Instructions:
- First, take the cap off the plastic bottle.
- Carefully heat a nail in a candle flame using an oven mitt to protect your hand.
- Once the nail is hot, poke one small hole in the center of the bottle cap.
- Fill the bottle completely with water. You can also add liquid fertilizer if needed.
- Screw the cap back onto the bottle.
- Turn the bottle upside down and push the cap end about one to two inches into the soil near your plant. The water will slowly drip out, keeping the soil moist.
A 2-liter bottle can keep a medium-sized plant watered for a couple of days, even in the sun. This simple water dispenser for plants ensures your plant roots get constant moisture.
Pro Tip: Adjust the Flow Rate 💧 You can control how fast the water drips. For a slower drip, tighten the cap. For a faster flow, loosen it slightly. You can also poke a tiny hole in the bottom of the bottle (which is now facing up) to increase airflow and speed up the dripping.
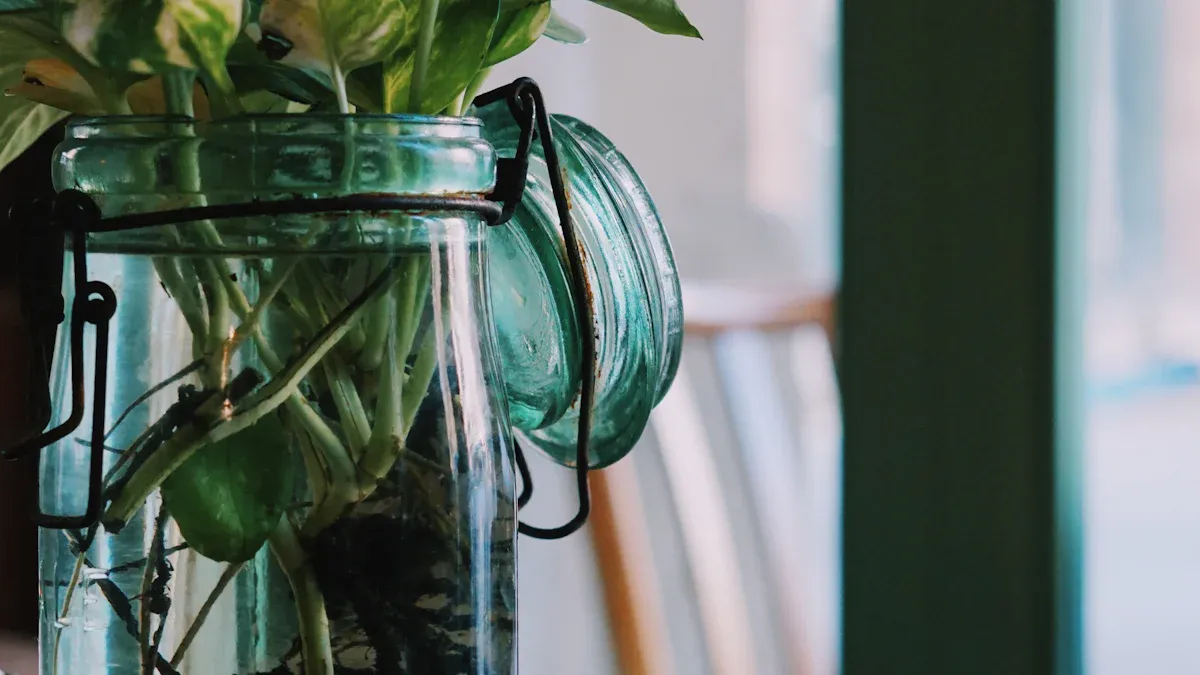
Method 2: The Classic Cotton Wick System
This clever system uses a piece of string or fabric to pull water from a reservoir to your plant's soil. It works through a scientific principle called capillary action.
How Capillary Action Works Capillary action is the movement of water through narrow spaces. Water molecules like to stick to each other (cohesion) and to other surfaces (adhesion). In a wick, the water adheres to the fibers and pulls other water molecules along with it, moving water from your reservoir to the dry soil of your plant, even against gravity.
What You'll Need:
- A water reservoir (a jar, vase, or bucket)
- Wicking material (see options below)
- Scissors
Choosing Your Wick Material You have many options for wicking material. Strips from an old 100% cotton t-shirt work well. However, synthetic fibers are often more durable and resist rot.
- Nylon rope is an excellent choice because it absorbs water very well.
- Polyester or polyethylene materials are also great for wicking.
- Avoid polypropylene rope, as it repels water.
Step-by-Step Instructions:
- Cut a piece of your wicking material. It should be long enough to reach from the bottom of your water reservoir to a few inches into your plant's soil.
- Thoroughly soak the entire wick in water. A wet wick starts the process immediately.
- Gently push one end of the wick about two to three inches deep into your plant's soil, making sure it is near the roots.
- Place the other end of the wick into your water reservoir. Make sure this end reaches the bottom of the container.
- Fill the reservoir with water.
- Position the water reservoir so it is slightly elevated above the plant pot. This helps gravity assist the wicking process.
This setup creates an automatic water dispenser for plants that gives your plant a drink whenever it gets thirsty.
Important Considerations: The size of your pot and the type of plant determine your needs. A larger pot or a thirsty plant like a fern may require two or three wicks for adequate watering. Always make sure the wick has good contact with both the soil and the water.
More Tips and Tricks for Perfect Plant Hydration
Beyond building a system, a few extra steps can guarantee your plants stay perfectly hydrated. These tips will help you prepare your plants and optimize your setup for the best results.
Method 3: The Short-Term Plant Bath
This method is a simple and effective solution for short trips. You give your plants a deep drink from the bottom up.
- First, find a bathtub or a large, shallow tray.
- Place a towel on the bottom to protect the surface.
- Fill the tub or tray with a few inches of water.
- Set your potted plants inside, ensuring they have drainage holes.
The soil will soak up water through the drainage holes. This process can take a few hours. You can remove the plants once the topsoil feels moist. This simple setup can keep your plants happy for up to two weeks.
A Word of Caution ⚠️ Never leave plants sitting in water for too long. Constant water exposure suffocates the roots, which need oxygen to survive. This can lead to fatal root rot.
Always Test Your System First
You should always test your new water dispenser for plants before you rely on it. Set up your system a few days before you leave. This trial run lets you check for any leaks. You can also adjust the water flow to match your plant's specific needs, ensuring it gets just the right amount of moisture.
Water Thoroughly Before You Set It Up
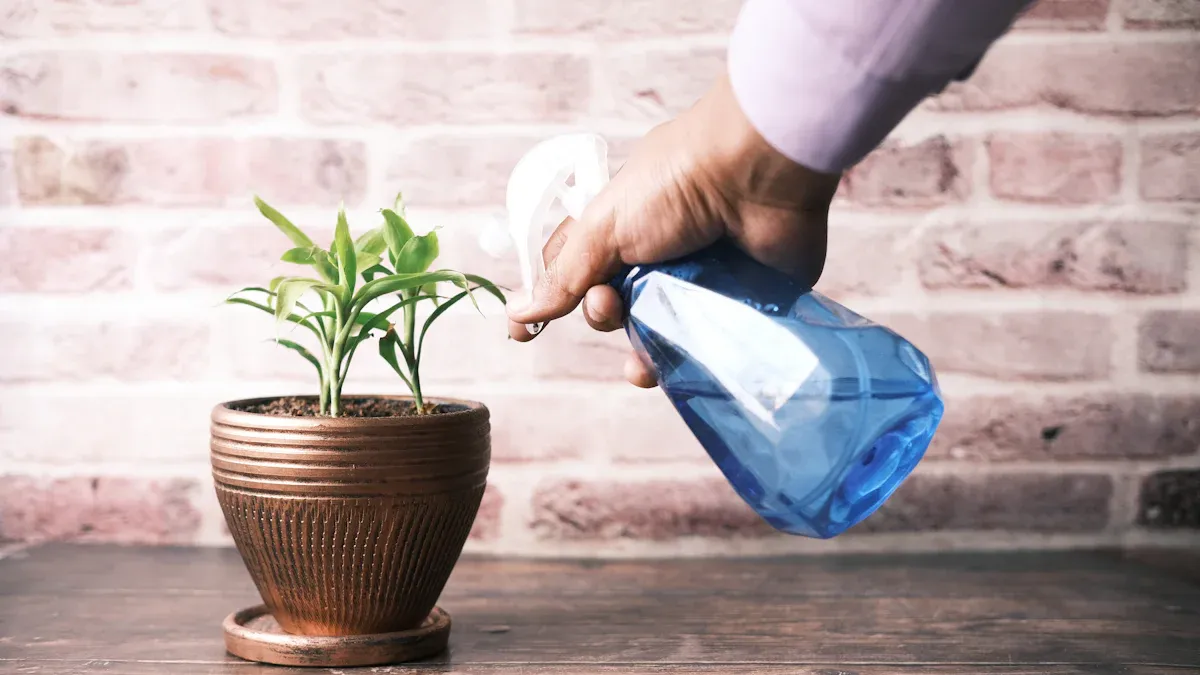
Always give your plants a good, deep watering before you activate your DIY system. Starting with moist soil helps the system maintain a consistent hydration level. A pre-watered plant is less stressed. This also helps your homemade water dispenser for plants work more efficiently from the start.
Move Plants Away from Direct Sun
Direct sunlight makes plants use more water. The sun powers photosynthesis and causes water to evaporate from the leaves in a process called transpiration. You can help your plants conserve water by moving them. Place them in a spot with indirect or low light while you are away. This simple change reduces their water needs significantly.
You can build a simple, budget-friendly watering system for your plants. Experiment with these methods to find the perfect fit for your indoor or outdoor pots. Many gardeners find these systems are a game-changer, helping plants flourish and giving you total peace of mind. 🪴
FAQ
Do these systems work for all plants?
Most houseplants benefit from these systems. You should adjust the water flow for plants like succulents. They prefer drier soil and need less water to stay healthy.
How long will a DIY system water my plants?
A 2-liter bottle can last several days. The duration depends on your reservoir size and flow rate. You should always test your specific setup before leaving.
Can a wick system cause mold?
Yes, mold can grow on natural wicks. You can prevent this by using synthetic materials like nylon rope. These materials resist rot and last much longer.