DIY vs Pro Repair Which is Best for Your Water Dispenser

You can often fix water dispenser problems yourself. Simple issues include bad-tasting water or a slow flow. Consumer data highlights other frequent complaints.
| Complaint | Percentage of Consumers Reporting |
|---|---|
| No water (or ice) coming out of dispenser | 17% |
| Water leaking | 6% |
However, complex electrical or internal system failures require a professional's expertise for a safe and effective solution.
Key Takeaways
- You can fix simple water dispenser problems yourself. These include bad-tasting water, slow water flow, or small leaks from the spigot.
- Always call a professional for complex issues. These include problems with heating or cooling, the unit not turning on, or major leaks from inside the unit.
- Consider safety, cost, and your warranty before starting any repair. Some repairs are dangerous or can void your warranty.
How to Fix Water Dispenser Problems Yourself
You can handle many common water dispenser issues with a little time and effort. These simple DIY repairs save you money and get your dispenser back in working order quickly. Let's walk through how to fix some of the most frequent problems.
Water Tastes Bad or Has an Odor
If your water has a strange taste or smell, a thorough cleaning is usually the solution. Over time, biofilm or mineral buildup can affect water quality. Regular cleaning every six months keeps your water tasting fresh.
Before You Begin: Always unplug your dispenser and let the hot water tank cool down completely before you start cleaning.
Here are the items you will need:
- A bucket
- White vinegar
- Clean rubber gloves
- A microfiber cloth
Cleaning Your Water Dispenser:
- Prepare the Solution: Mix a solution of one part white vinegar to one part water.
- Empty the Dispenser: Remove the water bottle. Drain any remaining water from the reservoirs into your bucket.
- Clean Components: Remove the water guard and drip tray. Wipe them, the spigots, and the area around the bottle holder with your cleaning solution on a microfiber cloth.
- Disinfect the Reservoirs: Pour the cleaning solution into the top reservoir. Let it sit for about 15 minutes.
- Flush the System: Place your bucket under the spigots. Drain the cleaning solution through both the hot and cold taps to clean the lines.
- Rinse Thoroughly: Fill the reservoir with fresh water and drain it through the spigots. Repeat this rinsing process two or three times until you no longer smell or taste any vinegar.
Another cause of bad-tasting water is an old filter. Most dispensers use activated carbon filters to remove chlorine and other contaminants that cause unpleasant tastes. If you have a bottleless dispenser with an advanced system, it might use reverse osmosis (RO) to remove even more impurities. Check your user manual and replace the filter cartridge as recommended, typically every six months.
Water is Dispensing Slowly
A slow trickle of water is frustrating, but you can often fix this issue yourself. The problem is usually a blockage somewhere in the system.
Here are the most common causes and how to address them:
- Clogged Water Filter: This is the number one reason for slow water flow. Over time, the filter collects contaminants and gets clogged. Replacing the filter cartridge usually solves the problem instantly.
- Airlock in the Lines: Air can sometimes get trapped in the water lines, creating a blockage. Try removing the water bottle and then pressing both dispenser taps for about a minute to purge the air. Reinstalling the bottle should restore normal flow.
- Frozen Water Line: If your dispenser is part of a refrigerator, the water line inside the door can freeze if the freezer temperature is set too low (below 0°F). You can thaw the line by gently warming it with a hairdryer on a low setting. Adjust your freezer's temperature to around 10°F to prevent it from happening again.
- Low Water Pressure: Your dispenser's inlet valve needs at least 20 psi of water pressure to work correctly. If the flow is slow from all faucets in your home, the issue might be with your main water supply.
If you try these steps and still have issues, you may need to fix water dispenser components like the inlet valve, which can be a more complex job.
Minor Leaks from the Spigot
A constantly dripping spigot is annoying and wastes water. This problem is almost always caused by a worn-out washer or gasket inside the tap assembly. You can easily fix water dispenser leaks of this kind with a new washer.
How to Replace a Spigot Washer:
- Shut Off the Water: Unplug the dispenser and turn off the water supply valve connected to it.
- Remove the Spigot: Use a wrench to carefully loosen the nut holding the spigot to the dispenser body. Once loose, you can unscrew it by hand.
- Replace the Gasket: Pull the old gasket (a small rubber ring) off the spigot. It may look cracked or flattened. Slide a new rubber washer into its place.
- Clean the Parts: Use a cloth to wipe down the spigot and the area around the opening on the dispenser.
- Reinstall the Spigot: Screw the spigot back into place and use the wrench to gently tighten the nut. Do not overtighten it.
- Check for Leaks: Turn the water supply back on, plug in the unit, and check that the drip has stopped.
When You Must Call a Professional
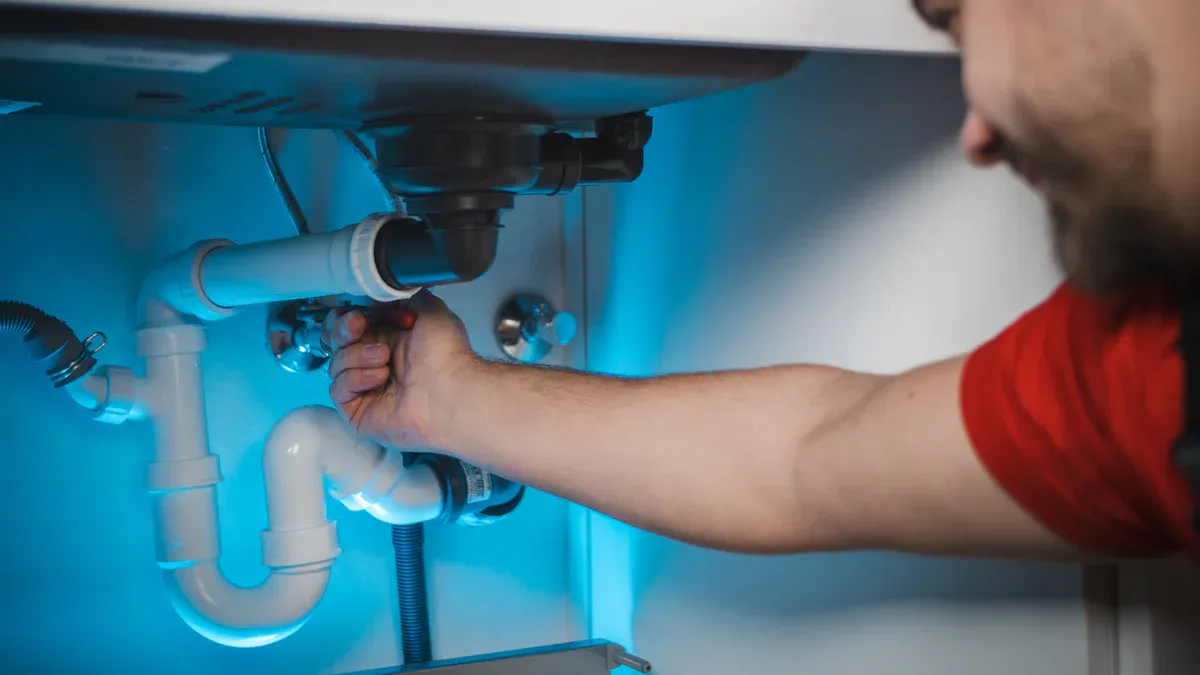
Some dispenser problems go beyond a simple fix. These issues often involve complex electrical components, the sealed refrigeration system, or major internal parts. You should call a professional for these repairs. Attempting to fix them yourself can be dangerous and may cause more damage to your unit.
Dispenser is Not Cooling or Heating
Your dispenser's ability to provide hot or cold water depends on a complex system. When it stops working, the problem is usually internal. A professional technician can safely diagnose the root cause.
Common reasons for cooling or heating failure include:
- Electrical Issues: The unit might not be getting proper power, or an internal switch could be off.
- Dust on Vents: A buildup of dust can make the cooling system work too hard and eventually fail.
- Cooling System Malfunction: The problem may lie within the sealed refrigeration system, which contains refrigerant gas.
A faulty thermostat is another frequent culprit. You might notice water freezing in the reservoir or a block of ice stopping the water flow. A technician has the tools to test this part correctly.
How a Pro Tests a Thermostat ⚙️ A technician uses a meter to check the thermostat's function. They test the temperature range where it opens and closes. A faulty thermostat might stay closed too long and cause freezing. A professional can identify this and replace the part safely.
The Unit Will Not Turn On
A dispenser that will not power on can be frustrating. You can perform a few basic checks first.
- Make sure the power cord is plugged in firmly.
- Confirm the power switch on the unit is in the 'ON' position.
- Test the wall outlet with another appliance, like a lamp, to ensure it works.
- Check if your dispenser has a reset button and press it.
If these steps do not solve the problem, you need an expert. A professional will inspect the unit for more serious electrical faults. They check the power cord for hidden damage like frayed wires. They also open the unit to look for loose internal wiring or a blown fuse. It is unsafe for you to perform these checks without proper training.
Significant Leaking from Inside the Unit
A puddle of water forming under your dispenser signals a serious internal leak. This is different from a simple dripping spigot. The water is likely coming from a failed internal component. You should unplug the unit and call for service immediately to prevent water damage and electrical hazards.
The most common sources of internal leaks are:
- A cracked filter cartridge or housing
- A loose or broken internal connector tube
- A faulty part inside the front panel assembly
A technician can take the dispenser apart to find the exact source of the leak. They have the right replacement parts to make a secure repair. Trying to fix water dispenser leaks of this type yourself can be difficult without the right knowledge.
Loud or Unusual Noises
Your water dispenser should operate quietly. You might hear a soft hum from the compressor or the sound of water filling the tanks. However, loud or strange noises are a red flag. Sounds like grinding, repeated clicking, or a very loud humming often point to a failing compressor. The compressor is the heart of the cooling system. It is a sealed unit that you cannot repair yourself. Only a certified technician can diagnose and replace a failing compressor. Ignoring these sounds can lead to a complete system breakdown.
Key Factors to Consider Before You Start
Before you grab your tools, you should weigh a few key factors. This will help you decide if a DIY repair is the right choice or if you need to call a professional.
Cost: Parts and Tools vs. Professional Fees
You can save money on simple repairs. However, you must compare the cost of parts against a professional's fee. A technician's visit includes a service fee, which is often between $50 and $200. Their hourly labor rate can add another $100 to $250 per hour.
Compare this to the cost of DIY parts. Some common replacement parts are affordable.
| Part | Average Price |
|---|---|
| Standard Drip Tray | $17.50 - $41.50 |
| Basic Spigot | $21.50 - $36.00 |
For simple fixes, DIY is cheaper. For complex jobs, a professional fee prevents you from buying the wrong parts or causing more damage.
Safety: Electrical and Refrigerant Risks
Your safety is the most important factor. Water dispensers combine water and electricity, which is a dangerous mix. You should never work on internal wiring without proper training. The cooling system also contains refrigerant gas.
⚠️ Health Warning: Refrigerant Exposure Inhaling refrigerant can cause serious health problems. Symptoms range from dizziness and skin irritation to breathing difficulty and irregular heartbeat. A leak in the sealed system requires a certified technician to handle it safely.
Complexity: External Fix vs. Internal Disassembly
You should consider the repair's difficulty. Fixing an external part, like a spigot, is usually straightforward. Problems that require you to take the unit apart are much more complex. Accessing internal components like the compressor, fan, or some filters often requires disassembly. If the repair involves opening the main housing of the dispenser, it is best to call a professional.
Warranty: Is Your Dispenser Still Covered?
You should check your warranty before starting any repair. Many actions can void your manufacturer's warranty.
- Attempting a DIY repair.
- Using a repair service not authorized by the manufacturer.
- Using parts that are not genuine or compatible.
Check your warranty status first. You can find the serial number on a tag on your unit. Some manufacturers, like InSinkErator, use the serial number to show the manufacturing date. You can then check the user manual or the company's website to see if your dispenser is still covered. A repair by an unauthorized person could cancel your coverage for future issues.
Final Decision Checklist: DIY or Pro?
Making the right choice is simple when you know what to look for. This checklist helps you decide whether to handle the repair yourself or call a service technician.
Choose DIY If...
You can likely handle the repair yourself if the problem is minor and external.
- The water tastes or smells a little off and the unit just needs a good cleaning.
- Water is dispensing slowly and you suspect a clogged filter or an airlock.
- The spigot has a small, steady drip that a new washer can fix.
- The repair does not require you to open the main body of the dispenser.
Choose a Pro If...
You should call a professional when you notice more serious symptoms. These often point to internal problems that are unsafe or too complex for a DIY fix.
- You hear strange noises. Loud buzzing, grinding, or knocking sounds can signal a failing part like the compressor or fan.
- The unit has a significant leak. Water pooling under the dispenser suggests a cracked internal tank or a loose tube.
- You have temperature troubles. If the water is not getting hot or cold, the issue is likely internal. This usually means a problem with the compressor, a refrigerant leak, or a broken thermostat.
- The water flow is very weak. After you change the filter, a slow flow might point to mineral buildup deep inside the lines or a faulty water inlet valve.
- The water has a strong, unpleasant taste. A bad taste that cleaning does not solve could mean mold growth inside the tank or an expired filter in a hard-to-reach spot.
You can often fix water dispenser problems like slow flow or bad taste yourself. However, you should always call a professional for internal, electrical, or temperature-related issues. Making the right choice helps your unit run safely and can extend its life to the typical 5-10 year average.
FAQ
How often should you clean your water dispenser?
You should clean your dispenser every six months. Regular cleaning prevents biofilm buildup. This simple step keeps your water tasting fresh and pure.
Can you use bleach to clean your dispenser?
No, you should not use bleach. It can damage internal parts and leave a harmful residue. Stick to a simple solution of white vinegar and water for safe cleaning.
Why is my new water bottle leaking? 💧
A new bottle may leak if it has a hairline crack. You should also check the dispenser's probe for damage. A faulty probe can prevent a proper seal.