Vacation-Proof Your Plants with a DIY Water Dispenser
Enjoy your trip knowing your plants are healthy and hydrated. You can prevent common vacation plant problems, like underwatering, with simple household items. A DIY plant water dispenser gives steady moisture, protecting plants from missed waterings. You can create this simple system in just a few minutes. 🪴
Key Takeaways
- Make a simple plant water dispenser from a plastic bottle. Punch small holes in the cap. Fill the bottle with water. Push it upside down into the soil. This gives your plant water slowly.
- Set up a water wicking system for steady moisture. Use a special cord. Put one end in the plant's soil. Put the other end in a water container. The plant will drink water as it needs.
- Always test your watering system before you leave. This makes sure your plants get the right amount of water. You can enjoy your vacation without worry.
How to Make a DIY Plant Water Dispenser with a Bottle
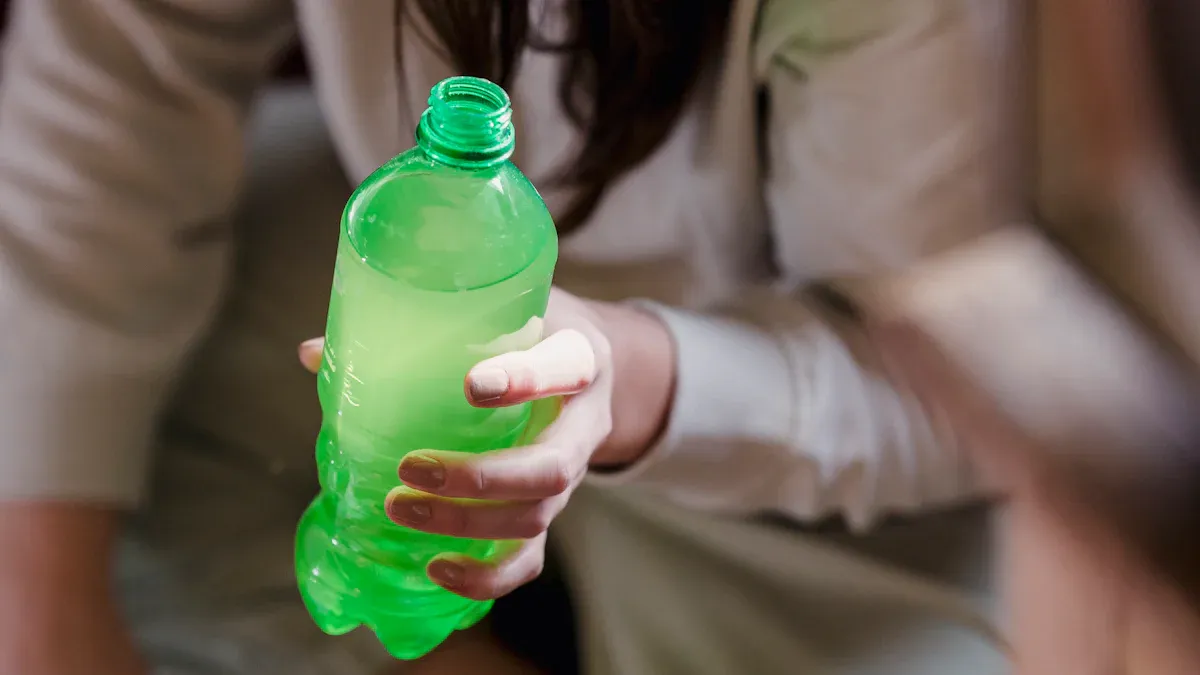
This classic method uses a plastic bottle to create a slow-drip system. It delivers moisture directly to the roots, which minimizes water waste. You can easily turn a spare bottle into a helpful plant water dispenser.
What You'll Need
- An empty plastic bottle with its cap (any size works)
- A hammer and a small nail
- Water
Step-by-Step Instructions
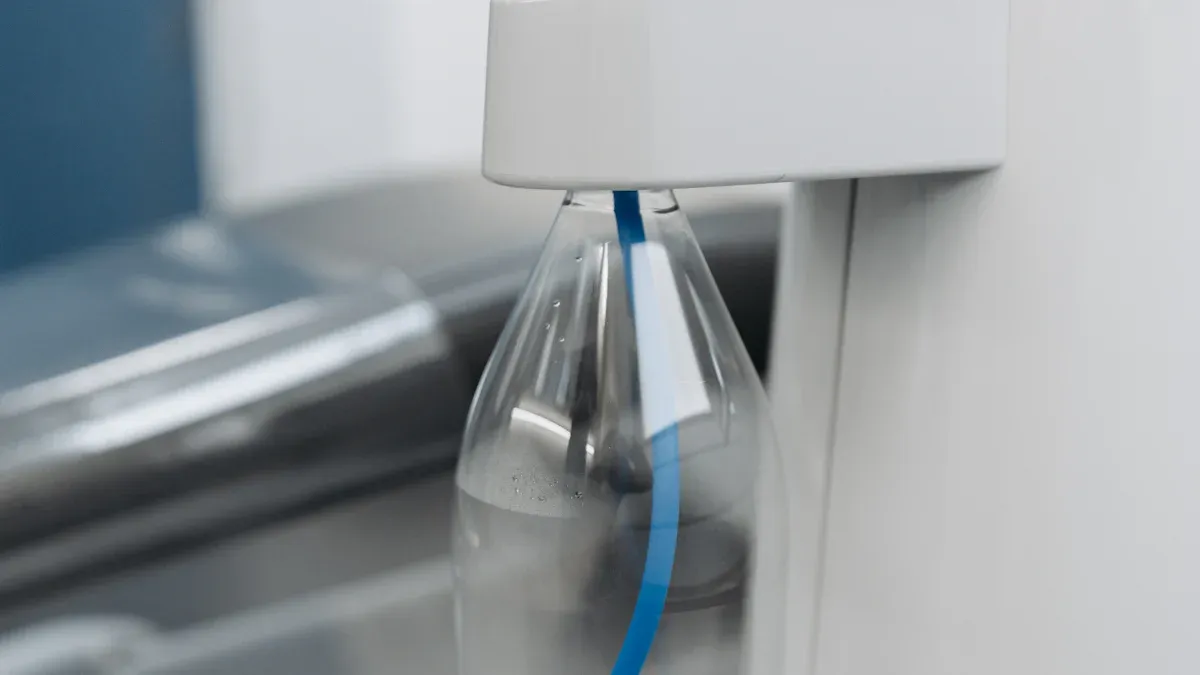
- Take the bottle cap. Use the hammer and nail to carefully punch one or two small holes into the top of the cap.
- Fill the plastic bottle completely with water. Screw the cap back on tightly.
- Turn the bottle upside down. Quickly push the neck of the bottle a few inches into the soil near the center of your plant. Burying it slightly ensures the water reaches the roots.
- You should see small air bubbles slowly rise in the bottle. This shows your plant water dispenser is working correctly. Air enters through one hole while water drips out from the other.
Pro Tip: The size of the holes controls the water flow. Smaller holes create a slower, more gradual drip. Test your system for a day to ensure the flow rate is right for your plant.
Best For
This simple plant water dispenser is highly effective for a variety of situations. Use it for plants in hard-to-reach hanging pots or for those with crowded roots, like spider plants. It is also great for seedlings and succulents that need targeted watering without disturbing the soil.
How to Set Up a Water Wicking System
A water wicking system is a fantastic, low-effort way to give your plants a steady drink. This method works using capillary action. The wick draws water upward against gravity, much like a paper towel absorbs a spill. Your plant then takes exactly the amount of water it needs directly from the moist soil.
What You'll Need
- A water-absorbent cord or fabric strip (nylon rope, polyester, or microfiber strips work best)
- A glass, jar, or vase to hold water
- Water
Step-by-Step Instructions
- Cut a piece of your wicking material. Make it long enough to reach from the bottom of your water container to a few inches inside your plant's soil.
- Gently push one end of the wick several inches into the soil, making sure it is near the plant's root ball.
- Place the other end of the wick into your water container. Fill the container with water.
- Position the water container slightly below the base of the plant pot. This placement is important. It ensures water travels up to the plant and prevents it from siphoning back out.
Note: The thickness of your wick affects the watering rate. A thicker material, like a strip of polyester fabric, will generally carry more water to your plant than a thin string.
Best For
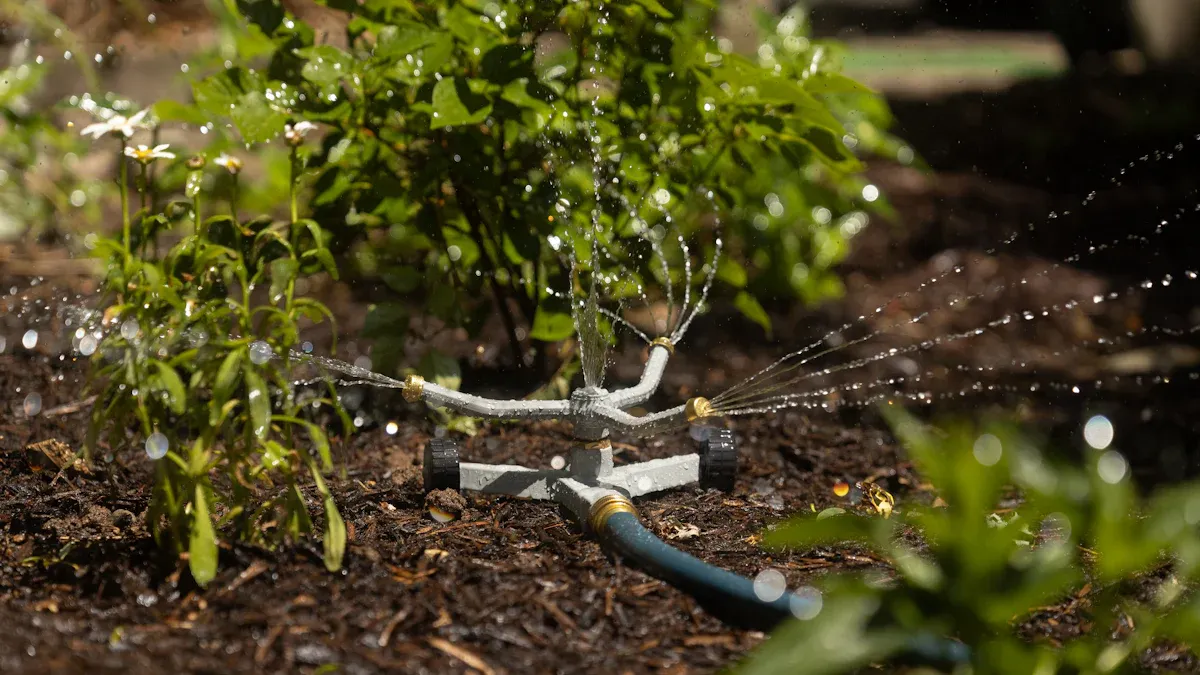
This plant water dispenser is perfect for plants that love consistent moisture. It works wonderfully for thirsty tropicals, such as ferns and peace lilies, as well as many vegetables like tomatoes and peppers. You can use this technique for a wide range of pot sizes, from small indoor herbs to larger outdoor container gardens. It is not recommended for succulents or other plants that need their soil to dry out completely between waterings.
You can easily reuse plastic bottles to create a low-cost plant water dispenser. These projects offer a simple way to keep plants hydrated. Consider your pot size and soil type to select the best method for your plant's needs. You can even try other fun projects like building a DIY plant terrarium.
Final Check: Always test your system for a day or two before you leave. This ensures the water flow is just right for a worry-free vacation! 🌴
FAQ
How long will my DIY waterer last?
The duration depends on your bottle size and the number of holes. A 1-liter bottle can last 5-7 days. Always test your setup before you leave.
Can I use a glass bottle for the drip system?
Yes, you can use a glass bottle. However, making holes in a metal cap is much easier and safer than trying to modify the glass bottle itself.
What if my plant gets too much water?
If the soil seems too wet, your system is too fast. You can use a smaller wick for the wicking method. For the bottle method, use fewer or smaller holes.