Desk Water Dispenser Setup and Cleaning Made Easy
Quick Start Tip: You can prepare your new desk water dispenser in minutes. First, wash the removable tank and taps with warm, soapy water. Next, rinse all parts thoroughly to remove any soap. Finally, fill the tank with fresh, purified water, place it on the base, and plug it in.
Key Takeaways
- Set up your new water dispenser carefully. First, wash all parts with warm, soapy water. Then, fill the tank with clean water. Finally, plug it in and flush the taps to prime the system.
- Clean your water dispenser every 4 to 6 weeks. This stops mineral buildup and bacteria. Use a mix of vinegar and water to clean the tank and lines. Then, rinse everything well.
- Regular cleaning keeps your water fresh. It also helps your dispenser last longer. Staying hydrated is good for your health and brain.
Your First-Time Setup in 4 Simple Steps
Setting up your new desk water dispenser is an exciting moment. You are just a few steps away from having instant access to refreshing water. Following these instructions carefully will guarantee a smooth start and great-tasting water.
Step 1: Unbox and Inspect Your Parts
First, open the box and carefully take out all the components. You should lay everything on a clean, flat surface. Check your user manual to identify each part.
Your dispenser typically includes:
- The main dispenser base unit
- A removable water tank or bottle
- One or more taps or spigots
- A drip tray to catch spills
- The power cord
Inspect each piece for any signs of damage that might have occurred during shipping. Make sure you have all the parts listed in the manual before you proceed.
Step 2: The All-Important First Wash
Next, you need to wash the parts that will touch your drinking water. This step is crucial for hygiene. It removes any dust or residues from the manufacturing process.
Use warm water and a mild dish soap to clean the water tank, taps, and drip tray. Gently scrub all surfaces. Then, rinse every part thoroughly with clean water. You want to remove all soap residue. Any leftover soap can affect the taste of your water.
Pro Tip: Avoid using harsh chemicals or abrasive scrubbers. These can scratch the plastic and create places for bacteria to hide. A soft cloth or sponge works best.
Step 3: Assemble and Fill with Water
Now you can put your clean dispenser together. Attach the taps to the base unit as shown in your manual. Place the drip tray into its designated slot.
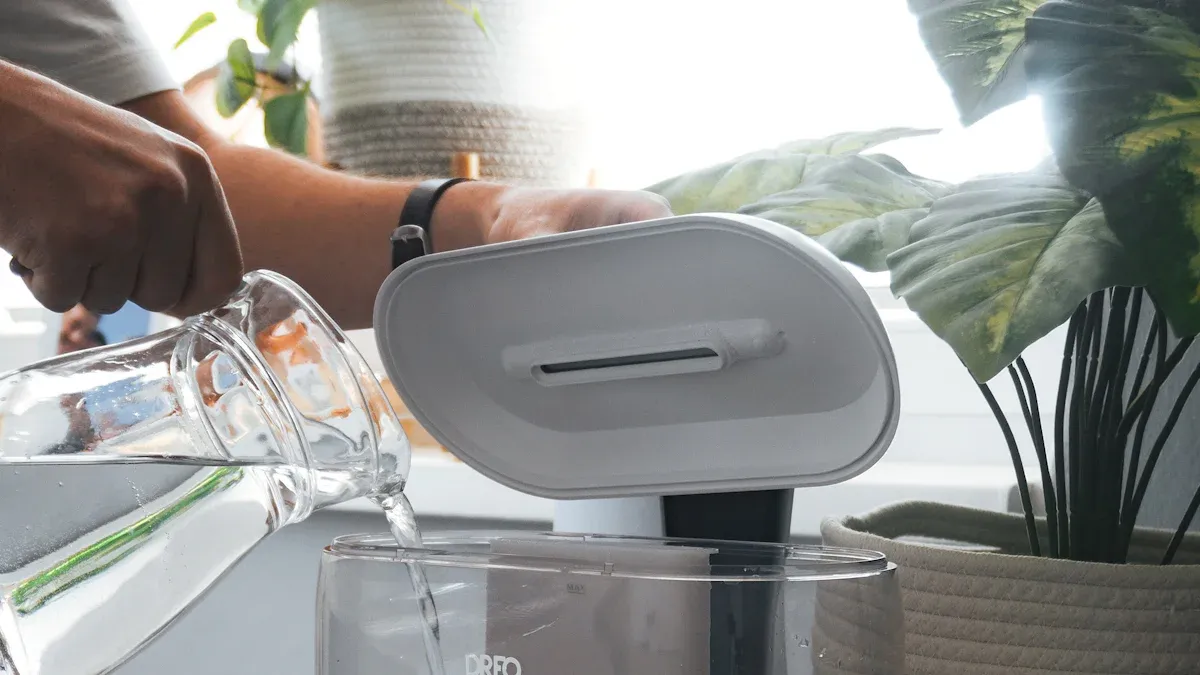
Fill the water tank with fresh, purified, or filtered water. Avoid using tap water if it has a high mineral content, as this can cause buildup inside the unit over time. Securely place the filled tank onto the base of the desk water dispenser. Ensure it sits firmly and creates a proper seal.
Step 4: Power On and Let It Prime
Priming is the final and most important step. It prepares the internal system for use. This process fills the internal reservoirs and removes trapped air.
Why is priming so important?
- Prevents Damage: It ensures the hot water tank is full before the heater turns on. This prevents the element from overheating, a problem known as "dry firing."
- Improves Taste: Priming flushes out any "new appliance" taste from the internal tubing.
- Ensures Smooth Flow: It removes air pockets that can cause sputtering or block water flow.
Follow this priming sequence for the best results:
- Position the Unit: Place your assembled dispenser in its final location on your desk.
- Wait for Tanks to Fill: After placing the water tank on the base, wait a few minutes. You might hear gurgling sounds as water flows into the internal hot and cold reservoirs.
- Plug It In: Once the gurgling stops, plug the power cord into a wall outlet. Do not turn on the heating or cooling switches yet.
- Flush the Taps: Press each tap (hot and cold) and let about four cups of water run through each one. This action pushes out any remaining air and sanitizes the lines.
- Activate Functions: Now, you can flip the switches to turn on the heating and cooling functions. Your dispenser will take some time to reach the target temperatures.
Once primed, your desk water dispenser is ready to provide you with clean, delicious water right at your fingertips.
How to Clean Your Desk Water Dispenser

Regular cleaning keeps your water tasting fresh and pure. You should clean your dispenser every 4 to 6 weeks. This routine prevents mineral buildup and stops bacteria from growing. Following these six steps makes the process simple and effective.
Step 1: Unplug and Drain the Unit
Your safety comes first. You must unplug the dispenser from the wall outlet before you start cleaning. This action prevents any electrical accidents.
Next, you need to drain all the water from the unit.
- Lift the water tank or bottle off the base. Pour out any water left inside.
- Place a cup or bowl under each tap.
- Press the taps to drain the water from the internal reservoirs. Keep pressing until the water stops flowing.
Step 2: Prepare Your Cleaning Solution
You can make a simple and effective cleaning solution at home. Harsh chemicals like bleach can damage your dispenser and leave a harmful residue. You should use a gentler option instead.
Safe Cleaning Options 🧼
- Vinegar Solution: Mix one part white vinegar with three parts warm water. Vinegar is a natural disinfectant that works well to remove mineral deposits.
- Citric Acid: You can also buy food-grade citric acid powders designed for cleaning water coolers and coffee makers. Follow the package directions for the correct mixture.
Choose one solution to prepare for the next step.
Step 3: Clean the Tank and Water Lines
This step sanitizes the parts you cannot see. You will clean the internal tubing and reservoirs.
Pour your chosen cleaning solution into the water tank. Place the tank back onto the dispenser base. Let the solution sit for about 15-20 minutes. This time allows the solution to dissolve mineral buildup. After waiting, run the solution through the system. Press each tap and dispense about two cups of the solution through each one. This action flushes and cleans the water lines.
Step 4: Scrub and Wipe Down Surfaces
While the solution works inside, you can clean the other parts. Remove the water tank and drip tray. Use a soft sponge or cloth with warm, soapy water to scrub them. Pay special attention to corners where grime can hide.
Cleaning Tip: Use a small bottle brush or an old toothbrush to clean the inside of the taps and other hard-to-reach areas.
Wipe down the entire exterior of your desk water dispenser. A damp cloth removes dust and any spills, keeping your appliance looking new.
Step 5: Rinse Thoroughly to Remove Residue
You must remove all traces of the cleaning solution. Any leftover vinegar will affect the taste of your water.
First, rinse the water tank several times with clean water. Fill it with fresh, purified water and place it back on the base. Now, flush the entire system. Dispense water from each tap until you have emptied the tank at least twice. You can smell the water to check for any vinegar scent. If you still smell vinegar, rinse the system one more time.
Step 6: Reassemble, Refill, and Restart
Your dispenser is now clean and sanitized. You can put all the parts back together.
- Place the clean drip tray back into its slot.
- Fill the water tank with fresh, purified water.
- Set the tank securely on the base.
- Plug the power cord back into the outlet.
Turn on the heating and cooling switches if your model has them. Your dispenser will need some time to get the water to the right temperature. Now you can enjoy clean, refreshing water again.
You now have the steps to ensure your desk water dispenser provides fresh, great-tasting water. A consistent cleaning routine every 4-6 weeks is your best tool against buildup. Staying hydrated offers amazing benefits.
Hydration Power-Ups 💪
- It boosts your physical performance.
- It sharpens your brain function and mood.
- It helps prevent and treat headaches.
Enjoy the convenience of clean, accessible water right at your desk.
FAQ
How often should I clean my dispenser?
You should clean your desk water dispenser every 4 to 6 weeks. This regular cleaning prevents mineral buildup. It also stops bacteria from growing inside the unit.
Can I use regular tap water in my dispenser?
You can use tap water. However, purified or filtered water is a better choice. It prevents mineral deposits. This keeps your dispenser working well and your water tasting fresh.
Why is the water flowing so slowly?
Slow water flow often means there is trapped air in the lines. You can fix this by priming the unit again. Run water through each tap to push the air out.