The Essential Guide to Ion Water Dispenser Hygiene
You must maintain your ion water dispenser. This prevents biofilm buildup. It also stops mineral scaling on the electrodes. These issues can harm your water quality. Proper cleaning keeps the water's ionization effective. Your water will taste pure and refreshing. Regular care protects your health and your machine.
Key Takeaways
- Clean your ion water dispenser often. This stops bad stuff from growing and keeps your water tasting good.
- Look for signs like bad taste, slime, or slow water flow. These tell you it is time to clean your dispenser.
- Use the right cleaning stuff like citric acid. Do not use harsh chemicals. This keeps your machine safe and working well.
Signs Your Ion Water Dispenser Needs Cleaning
Your senses and your machine will often tell you when it's time for a cleaning. You should pay attention to these signals to keep your water pure and your dispenser working correctly.
Changes in Water Taste or Odor
You might notice your water tastes stale, metallic, or just "off." This change often points to contamination. Uncleaned dispensers can become breeding grounds for various bacteria. These contaminants can affect the water's flavor and smell.
- Pseudomonas aeruginosa
- Stenotrophomonas maltophilia
- Coliform bacteria
Visible Slime or Mineral Buildup
You should look inside your dispenser's water tank and around the spouts. Biofilm is a key sign of contamination.
- Biofilm often appears as slime.
- It has a slick and slippery texture.
- Matured biofilms can look like hardened gel-like substances. You may also see white, chalky deposits. This is mineral scale from your water source.
Reduced Water Flow
Is your water pouring slower than usual? Mineral buildup can physically obstruct the flow of water. These deposits create blockages in the water lines or the dispenser nozzle. This obstruction prevents the proper dispensing of water from your ion water dispenser. A slow stream is a clear indicator that descaling is overdue.
Unit Error Indicators
Many modern dispensers have built-in warning systems. Your unit might display an error code or a blinking light. For example, some models show a '2 Red LEDs Solid' error code. This light indicates the internal filter needs replacement. Always check your user manual to understand what your machine's specific error codes mean.
Note: Ignoring these signs can lead to poor water quality and may damage the sensitive components of your machine over time.
Your Essential Cleaning Schedule
Consistency is the key to maintaining your ion water dispenser. You can protect your health and your machine with a simple routine. Following a regular schedule prevents harmful buildup and ensures every glass of water is pure.
Daily Wipe-Down
You should perform a quick wipe-down every day. This simple habit takes less than a minute. It prevents the accumulation of dust and germs on high-touch surfaces.
- Use a soft, damp cloth to wipe the spouts, buttons, and drip tray.
- Dry all surfaces completely with a clean towel.
- This action keeps the exterior of your unit looking its best.
Weekly Flush
A weekly flush helps keep the internal water lines clean. This process pushes out any stagnant water. It introduces fresh water into the system.
Tip 💡: Simply dispense and discard about one liter of water from the dispenser each week. This quick flush is especially important if you do not use your dispenser every day.
Monthly Deep Clean
You need to perform a deep clean once a month. This thorough cleaning removes early-stage biofilm and keeps your dispenser sanitized. You should also perform this clean if the dispenser has not been used for a few weeks.
- Turn off your dispenser. Unplug it from the power source for safety.
- Drain all remaining water from the internal reservoir through the taps.
- Clean the unit's outside surfaces. Use warm, soapy water on areas like the taps and buttons. Dry these surfaces thoroughly.
- Remove the drip tray. Wash it in warm, soapy water with a small brush, then rinse and dry it completely.
- Refresh the system by draining five liters of fresh water through the unit.
- Plug your unit back in and switch it on.
Bi-Annual Descaling
Descaling is a critical process you must perform to remove mineral buildup. Hard water, which is high in calcium and magnesium, causes scale to form faster. This scale can clog your machine and affect its performance. The frequency of descaling depends heavily on your local water hardness.
- Hard Water Areas: You may need to descale your machine every 1 to 2 months.
- Soft Water Areas: You might only need to descale every 6 months.
- General Rule: A deep descaling every 3 to 6 months is a good practice to maintain your machine.
Note: Consider installing a pre-filter or a water softener if you live in a region with very hard water. This can significantly reduce your maintenance needs and protect your investment.
Recommended Cleaning Agents
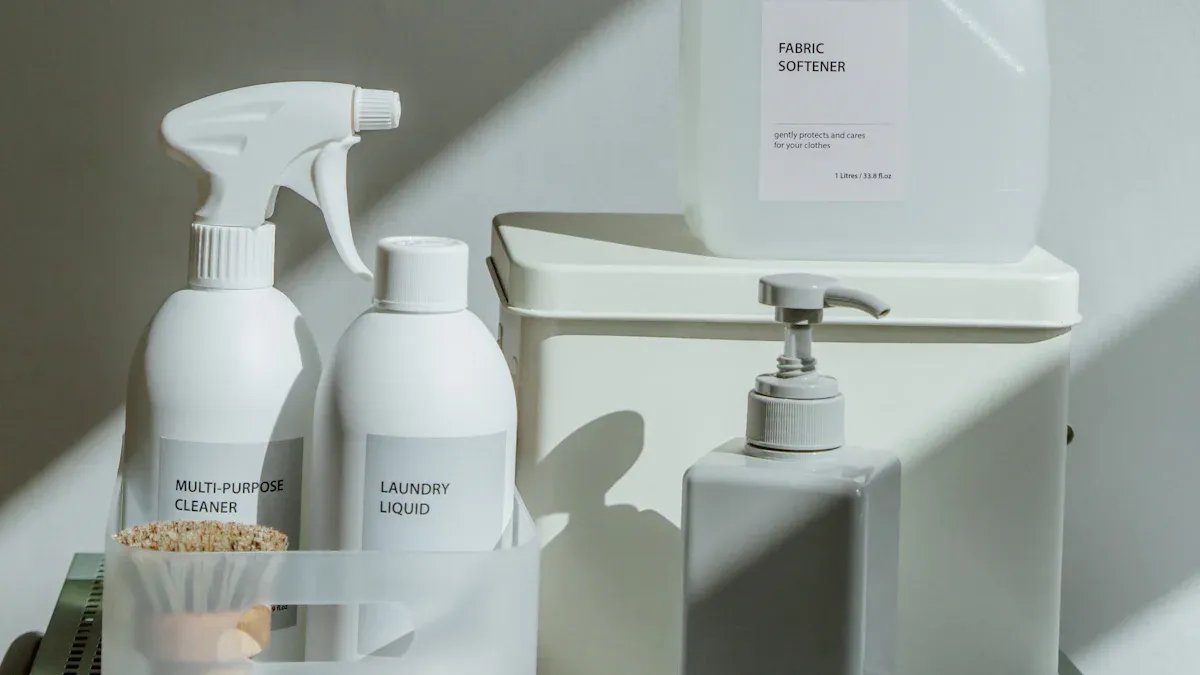
You must choose the right cleaning agents for your ion water dispenser. Using the correct products protects your machine’s sensitive components and ensures your water remains pure. The wrong cleaners can cause damage or leave behind harmful residues.
Manufacturer-Approved Solutions
Your first and best option is always a cleaning solution approved by your dispenser's manufacturer. These products are specifically designed for your model. They guarantee a safe and effective clean without voiding your warranty. Many brands offer their own systems or cartridges.
- AlkaViva units often use the Dual Automatic Reverse Cleaning (DARC II) system.
- Smart water ionizers may require the Nexus & Smart Citric Acid Cleaning Cartridge.
- Tyent provides an Ionizer Deep Cleaning kit for thorough maintenance.
Tip 💡: Always check your user manual to find the recommended cleaning product for your specific ionizer.
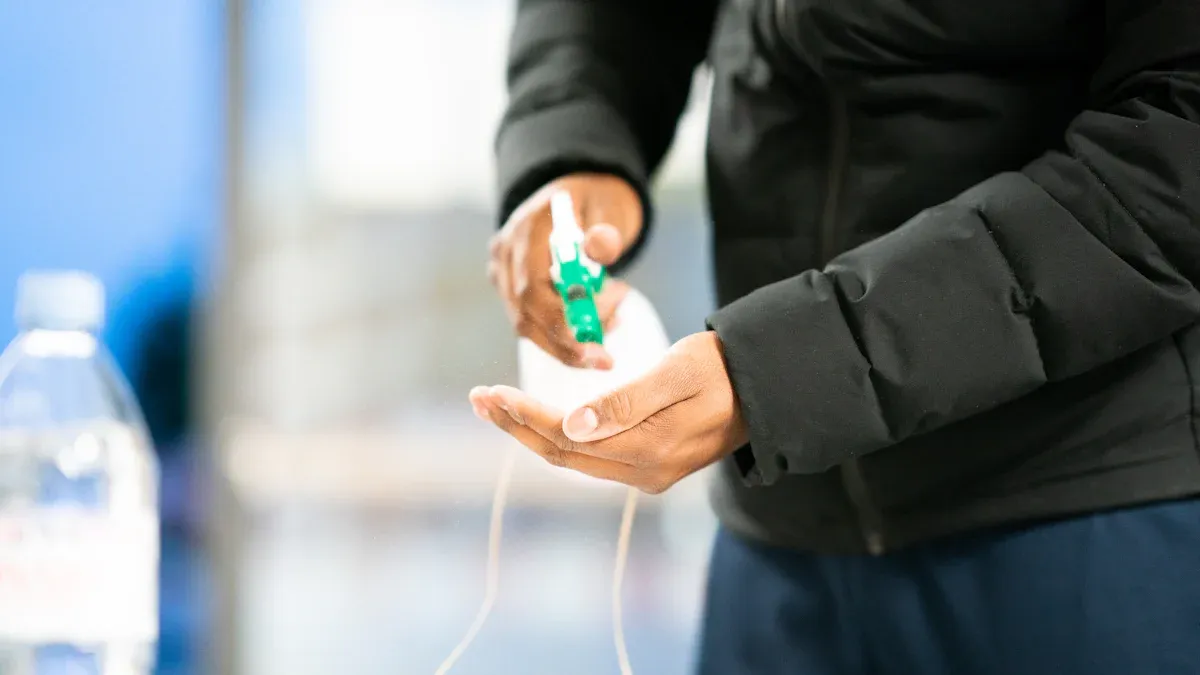
Citric Acid for Descaling
Citric acid is a fantastic, natural option for descaling your machine. It is a food-grade acid that safely dissolves mineral buildup like calcium and magnesium. This process is crucial for keeping the internal parts, especially the electrode plates, free from scale. You can typically buy citric acid powder and mix it with water to create a cleaning solution. This helps maintain optimal performance and water flow.
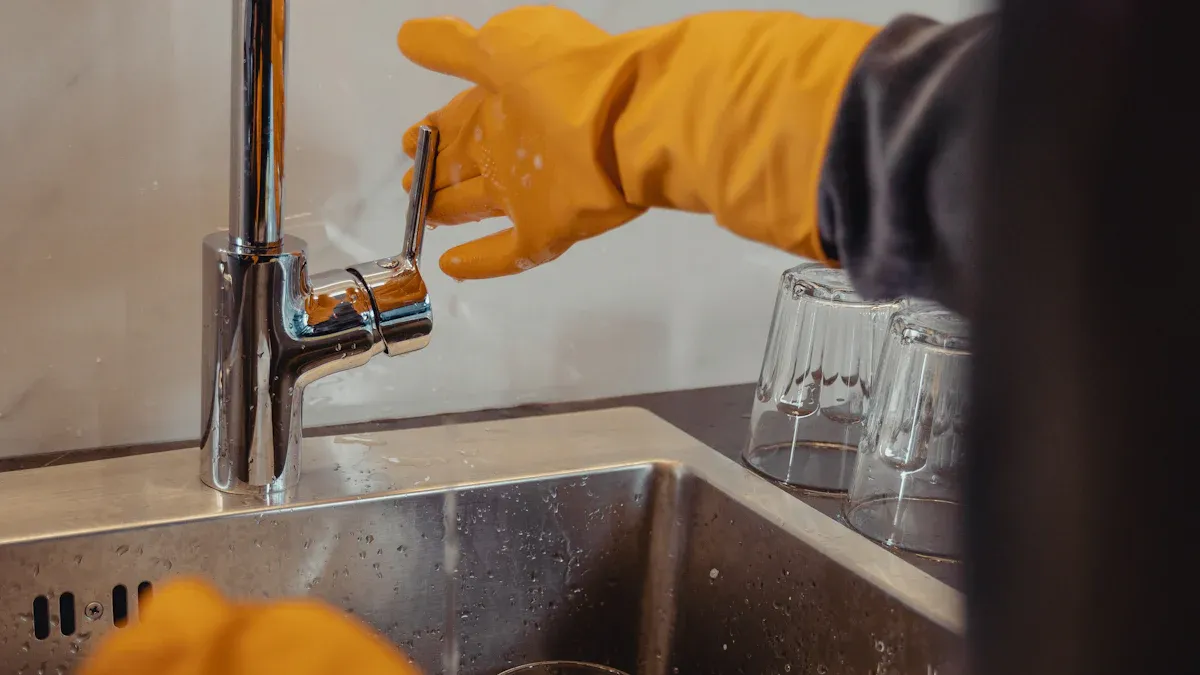
Mild Soap and Water
For routine external cleaning, you only need simple tools. Mild dish soap and warm water are a safe and effective combination. You can use this gentle solution to wash removable parts like the drip tray. It is also perfect for wiping down the spouts and taps to remove germs and daily grime. Just remember to rinse all parts thoroughly with fresh water to remove any soap residue before reassembling your unit.
Step-by-Step Guide to Cleaning Your Dispenser
Following a detailed cleaning process keeps your machine running smoothly. This guide breaks down the cleaning into simple, manageable steps. You can ensure every glass of water is pure and healthy with this routine.
Step 1: Gather Supplies
You should collect all your cleaning materials before you begin. This preparation makes the process faster and more efficient. Having everything ready prevents you from stopping midway through the cleaning.
- Cleaning Solution: Use a manufacturer-approved cleaning solution or a deep cleaning system.
- Descaling Agent:
CITRIC ACID CLEANING GRANULEis very effective for deep cleaning and removing mineral scale. - Basic Cleaners: You will need mild dish soap and warm water.
- Tools: Get a few soft cloths or sponges, a small bottle brush for tight spots, and clean towels for drying.
Step 2: Power Down and Disassemble
Your safety is the top priority. You must always disconnect the machine from its power source before cleaning. This action prevents any electrical accidents.
- Turn off the power switch on your unit.
- Unplug the dispenser from the wall outlet.
- Remove any water bottles connected to the machine.
- Carefully detach all removable parts. These often include the drip tray, water tank lid, and nozzles.
Step 3: Clean External Surfaces
You can now clean the outside of your dispenser. A clean exterior prevents dust and germs from contaminating your water.
- Dampen a soft cloth with warm, mild soapy water.
- Wipe down all outside surfaces. Pay special attention to buttons, levers, and areas with fingerprints.
- Use a small bottle brush to gently clean around the spouts.
- Rinse the cloth with clean water and wipe the surfaces again to remove soap residue.
- Dry everything completely with a clean towel to avoid water spots.
Step 4: Run an Internal Cleaning Cycle
Internal cleaning is vital for removing mineral buildup from the electrode plates. Many modern ionizers have an automatic cleaning feature. This cycle often reverses the electrode polarity to flush away mineral deposits.
Did You Know? 🧐 Some units, like the Chanson VS70, run an automated cleaning cycle right after you use them. Other models may pause operation after dispensing 10-20 gallons of water until a cleaning cycle is complete.
For a manual deep clean, you will use your citric acid solution. Follow your user manual’s instructions to run the cleaning solution through the system. This process dissolves the tough scale that can harm your machine.
Step 5: Sanitize Removable Parts
You need to wash the parts you removed earlier. This step eliminates any grime or early-stage biofilm.
- Soak the drip tray, nozzles, and other removable components in a basin of warm, soapy water.
- Use a soft brush or sponge to gently scrub away any stains or buildup.
- Pay close attention to corners and small openings where germs can hide.
- Rinse each part thoroughly under fresh running water. You want to remove all soap residue.
- Set the parts on a clean towel to air dry completely.
Step 6: Rinse the System Thoroughly
You must flush your dispenser completely after running a cleaning cycle. This step removes any leftover cleaning solution. Any remaining residue could affect the taste of your water and your health.
- Fill the reservoir with fresh, clean water.
- Let the water sit for a few minutes.
- Drain the water completely through the spouts.
- Repeat this rinsing process at least two or three times to ensure the system is perfectly clean.
Step 7: Reassemble and Final Test
You are now ready to put your ion water dispenser back together. Once assembled, you should perform a final test. This check confirms that the cleaning was successful and the machine is working correctly.
- Carefully reattach all dry, removable parts to the unit.
- Plug the dispenser back into the power outlet and turn it on.
- Dispense a glass of water. It should taste fresh and have no unusual odor. If a strange taste remains, you may need to replace your filter.
- To verify performance, you can test the water's pH level. Pour a small sample and add a few drops of pH reagent. Compare the color to your pH chart to confirm the ionizer is producing the correct pH levels. Your pH reagent is the most reliable way to check this.
Common Hygiene Mistakes to Avoid
You can keep your dispenser in top condition by avoiding a few common errors. Proper care protects your machine and ensures your water quality remains high. Understanding these mistakes helps you maintain a healthy hydration routine.
Using Harsh Chemicals
You should never use harsh chemicals like bleach or ammonia to clean your dispenser. These strong cleaners can damage the sensitive internal components, including the electrode plates. They may also leave behind harmful residues that contaminate your drinking water. Always stick to manufacturer-approved cleaners or simple citric acid.
Neglecting the Drip Tray
You must not forget to clean the drip tray. This part catches spills and condensation, creating a damp environment. Stagnant water in the tray is a perfect breeding ground for bacteria and mold.
- Mold can form a jelly-like substance that clogs drain lines.
- It can release millions of airborne spores into your home.
- These spores can trigger allergies and asthma, especially for sensitive individuals.
Remember: Clean your drip tray at least once a week with warm, soapy water to prevent these microbial dangers.
Skipping the Descaling Process
You might be tempted to skip the descaling process, but this is a major mistake. Mineral scale builds up inside your machine over time. This buildup can clog water lines, reduce water flow, and damage the electrodes. Regular descaling is essential for your ionizer to function correctly and produce water at the proper pH levels.
Using Abrasive Sponges
You should only use soft cloths or non-abrasive sponges for cleaning. Scouring pads and steel wool will cause irreversible damage to your dispenser's finish. These rough tools can create deep scratches on stainless steel surfaces. They can also strip the protective enamel or paint from faucets and spouts, leaving ugly marks.
Consistent cleaning is the best way to protect your health. This care also extends the life of your ion water dispenser. You should set reminders with apps like Tody or Google Calendar to maintain your routine.
Pro Tip: Always consult your user manual for specific instructions. You can usually download a digital copy from the manufacturer's support website if you lose the original.
FAQ
How often should I clean my ionizer?
You should wipe it down daily. Perform a weekly flush and a monthly deep clean. You must also descale the unit every 3 to 6 months for optimal performance.
Can I use vinegar instead of citric acid?
You should avoid using vinegar. It can damage the platinum coating on the electrode plates. Always use manufacturer-approved cleaners or food-grade citric acid for the best and safest results.
What happens if I don't clean my dispenser?
Neglecting your dispenser leads to poor water taste. It also causes mineral buildup and bacterial growth. This can damage your machine and compromise your health over time.