The Ultimate Maintenance Checklist for Your Gravity Water Dispenser
Your gravity water dispenser requires a simple upkeep routine for optimal safety and performance. Without regular cleaning, these units can become breeding grounds for bacteria.
Note: Research reveals that water dispensers can harbor even higher levels of microbial contamination than the tap water sources they are filled from.
Adhering to a maintenance schedule guarantees your dispenser provides safe, clean drinking water and functions correctly for years.
Key Takeaways
- Clean your water dispenser every month. This stops germs from growing and keeps your water safe.
- Always change your water filters on time. Old filters do not clean water well and can make you sick.
- Keep your dispenser out of the sun. Sunlight makes algae grow, which can make your water bad.
Your Essential Cleaning Toolkit
You do not need a lot of special equipment to keep your dispenser clean. Gathering your tools beforehand makes the cleaning process quick and efficient. You can find most of these items around your house or at a local store.
Must-Have Cleaning Supplies
You will need a few basic items for a successful cleaning. Manufacturers often recommend a simple kit to get the job done right. Your essential toolkit should include:
- A soft cloth or non-abrasive scour pad
- Mild dish soap
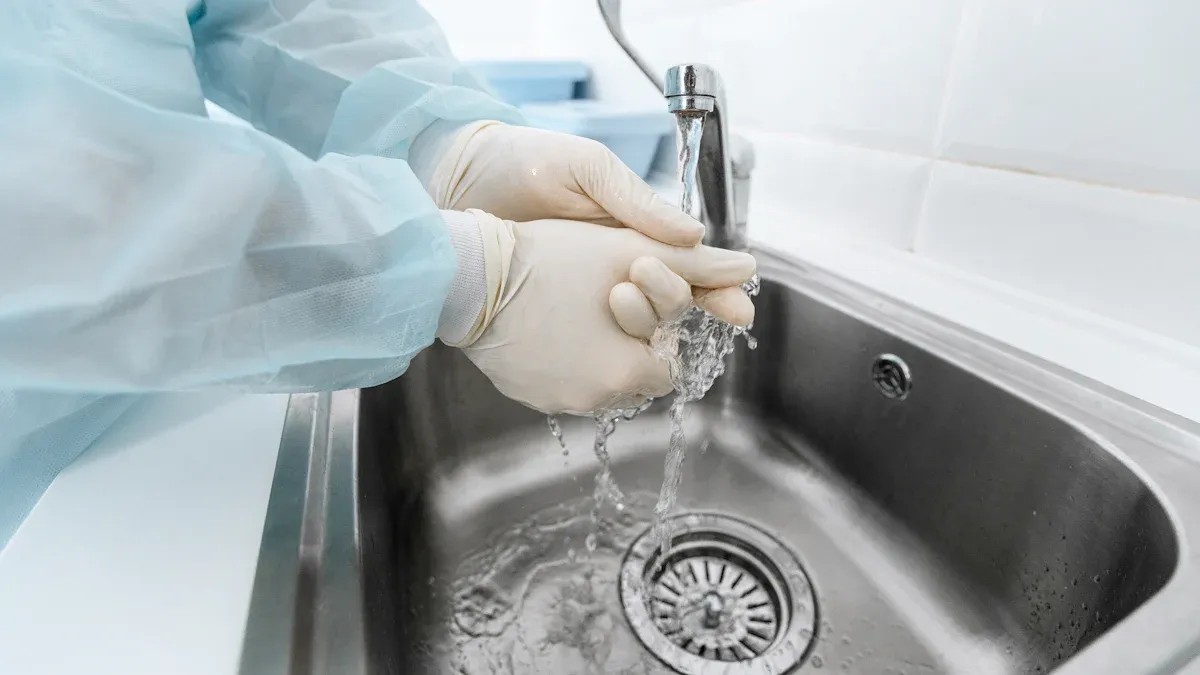
- Protective nitrile gloves
- Your dispenser's user manual for specific instructions
Pro Tip: Always have your user manual handy. It provides valuable details about your specific model's parts and disassembly process.
Recommended Sanitizing Agents
Sanitizing is a crucial step that eliminates harmful germs. You should use a sanitizing agent that is safe for food-contact surfaces. A simple solution of 3% food-grade hydrogen peroxide works well for this purpose.
For commercial-grade options, look for products with an NSF certification. This certification confirms the product is safe for surfaces that touch your food and water. For example, sanitizers like Alpet D2 are EPA-registered and NSF-listed. They can kill 99.999% of bacteria on contact surfaces in under 60 seconds. Using a certified sanitizer gives you extra peace of mind that your water remains pure and safe to drink.
The Step-by-Step Deep Cleaning Checklist
A deep clean once a month keeps your water tasting fresh and your system free of contaminants. Follow these five steps carefully for a complete and effective cleaning session.
1. Disassemble Your Dispenser
First, you need to take your dispenser apart. Always check your user manual for instructions specific to your model. Place all the parts on a clean towel to keep them organized.
- Empty any remaining water from both the upper and lower chambers.
- Separate the upper chamber from the lower chamber.
- Remove the lid.
- Carefully unscrew and remove the water filters. Set them aside on a clean surface. Do not wash them with soap.
- Remove the spigot from the lower chamber.
How to Remove the Spigot Safely You can typically unscrew the spigot by hand.
- Drain all water from the lower chamber through the spigot.
- Reach inside the chamber and locate the nut holding the spigot in place.
- Hold the spigot steady with one hand from the outside.
- Slowly unscrew the nut with your other hand to release the spigot.
2. Wash the Chambers and Spigot
Next, you will wash all the non-filter components. This step removes any surface dust, residue, or initial biofilm buildup.
Use mild dish soap and warm water with a soft cloth or sponge. Scrub the inside and outside of the upper chamber, lower chamber, and lid. Pay special attention to the spigot, as it can easily trap germs.
To clean the spigot thoroughly:
- Get a small detail brush, like one used for reusable straws.
- Dip the brush in the soapy water.
- Insert the brush into the spigot opening and scrub the inside walls.
- Move the brush back and forth to remove any hidden buildup.
3. Sanitize and Rinse Thoroughly
Washing removes dirt, but sanitizing kills invisible bacteria and viruses. Use your food-grade sanitizing solution, like diluted hydrogen peroxide, on all parts except the filters. Apply the solution to the chambers, lid, and spigot, and let it sit for the time recommended by the product manufacturer (usually 1-5 minutes).
Rinsing away the sanitizer is the most important part of this step. You do not want your water to taste like your cleaning agent.
Rinsing is Key: You must rinse every part after you sanitize it. Rinse each piece at least two times with clean water. Continue rinsing until you can no longer smell the cleaning solution. This ensures your water will taste pure and clean.
4. Clean or Prime Your Filters
Your filters need special care. Never use soap or sanitizers on them, as this will ruin the filtration media. Your action here depends on whether your filters are new or existing.
For Existing Filters: You can clean your current filters to improve their flow rate.
- Backflush the filter. Gently reverse the flow of water through the filter to push out trapped particles. Be firm but gentle to avoid damaging the internal filter element.
- Sanitize the filter element. You can kill microorganisms by running a diluted sanitizing solution through the filter. Use one capful of unscented bleach per liter of water or follow the directions for chlorine dioxide drops.
For New Filters (Priming): New filters must be primed before use. Priming removes loose manufacturing dust and saturates the filter so water can flow through it.
- Hold the new filter under a faucet.
- Press the included priming washer against the tap to create a seal.
- Slowly turn on the cold water.
- Watch as beads of water appear on the filter's surface from the bottom up. This takes about 5-10 seconds.
- Once water beads cover the surface, the filter is primed. Rinse the outside of the entire filter before you install it.
5. Reassemble and Fill
Now you can put your clean gravity water dispenser back together. A correct assembly order prevents leaks and ensures a proper seal.
- Install the spigot. Insert the spigot into the hole on the lower chamber. Make sure the washers are in the correct place (usually one inside, one outside). Hand-tighten the nut from the inside until it is snug. Do not overtighten.
- Install the filters. Screw the primed or cleaned filters into the bottom of the upper chamber. Hand-tighten the wing nuts to create a watertight seal.
- Stack the chambers. Place the upper chamber securely on top of the lower chamber.
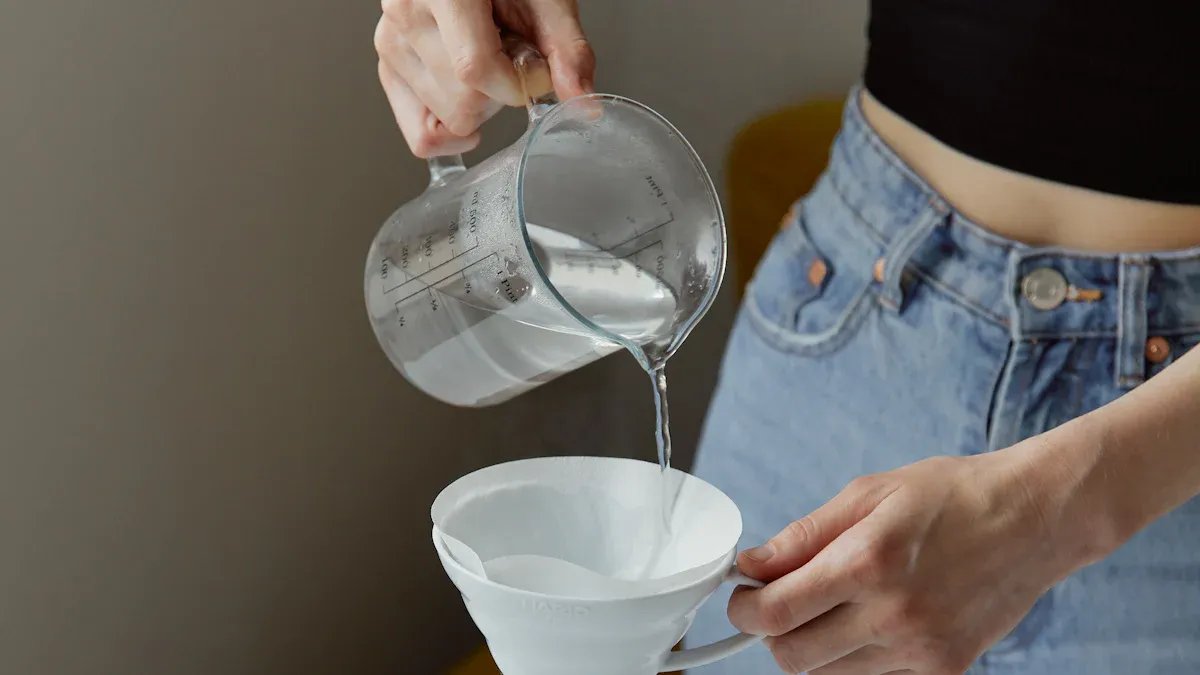
- Fill and enjoy. Place the lid on top. Fill the upper chamber with water and let it filter through. Discard the first full batch of filtered water to flush out any remaining residue. Your dispenser is now ready to provide clean, safe drinking water.
Your Routine Maintenance Schedule for Your Gravity Water Dispenser
Following a consistent schedule is the easiest way to keep your water pure and your system in top shape. You can break down your maintenance into simple weekly, monthly, and long-term tasks.
Weekly Checklist
A quick weekly check-up prevents grime and mold from building up. These simple actions take only a few minutes.
- Wipe Down Surfaces: Use a soft, damp cloth to clean the outside of your dispenser. Pay attention to the spigot and drip tray.
- Wash the Drip Tray: You should remove and wash the drip tray with warm, soapy water. This simple step stops mold growth.
- Check Ceramic Pre-Filters: If your system has a ceramic pre-filter, check its condition. You can scrub its surface with a clean sponge under running water if it looks dirty or the flow rate slows down.
Monthly Checklist
Your monthly task is the deep clean. You should follow the five-step deep cleaning checklist detailed in the previous section. This process involves taking apart, washing, and sanitizing your entire system.
Important Reminder: If you have not used your gravity water dispenser for a few weeks, you should perform a full deep clean. This ensures you flush the entire system before drinking from it again.
Every 6 Months (or as Recommended)
Your filters are the most critical part of your system. You must replace them regularly to guarantee your water is safe.
Most carbon block filters have a recommended replacement cycle of 12 months. However, you should always follow the specific guidelines in your user manual. Some manufacturers may suggest a 6-month replacement schedule depending on your water quality and usage. Mark your calendar to remember when it is time for a change. 🗓️
5 Pro Tips for Optimal Performance
You can get the most out of your water filter with a few simple habits. These professional tips will improve your system's performance and extend its life. Following this advice ensures you always have the best-tasting water.
Tip 1: Use Pre-Filtered Water
You can significantly extend the life of your main filters by using a pre-filter. A pre-filter catches larger particles like sediment and silt. This process reduces the strain on your primary filters. They can then work more effectively for a longer time. Adding a pre-filter is a smart investment for your system.
Filter Lifespan Varies: Different filters have different replacement schedules. Always check your user manual, but here are some common timelines:
- Ceramic Pre-filter: 1 year
- Fluoride Filter: 4 months or 317 gallons
- 5-Stage Filter: 6 months or 475 gallons
- Mineral Stones: 2 years
Tip 2: Avoid Direct Sunlight
You should place your dispenser in a cool, dark location. Algae are photosynthetic organisms. They use sunlight as energy to grow and reproduce. Direct sunlight exposure will encourage algae to grow inside your water chambers.
Even indirect sunlight provides enough energy for algae to thrive. Algal spores are common in the air and water. They only need light to start growing. The best way to prevent algae is to keep your gravity water dispenser out of the sun. ☀️
Simple Science: No sunlight means no photosynthesis. No photosynthesis means no algae growth. It is that simple.
Tip 3: Keep the Spigot Clean
The spigot is one of the most frequently touched parts of your dispenser. It can easily collect germs from hands and the surrounding air. You should clean the spigot more often than just during your monthly deep clean.
Wipe the outside of the spigot daily with a clean, damp cloth. Once a week, use a small brush to scrub the inside of the spigot opening. This quick task helps prevent biofilm buildup and keeps your water path clean.
Tip 4: Don't Let Water Sit Too Long
You should try to use and refill your dispenser regularly. Water that sits for long periods can become stagnant. Stagnant water may develop a flat taste. It also creates an environment where bacteria can multiply.
If you are going away on vacation, empty your dispenser before you leave. When you return, perform a full deep clean before refilling it. Consistent use keeps the water fresh, aerated, and tasting great.
Tip 5: Check for a Proper Seal
A proper seal is essential for your dispenser to work correctly. A poor seal can cause two major problems: leaks and contamination. If the chambers do not seal together properly, water can leak out. If the filter's seal is not tight, unfiltered water can seep into your lower chamber.
After each cleaning, double-check all connection points.
- Ensure the wing nuts on your filters are hand-tight.
- Confirm the upper chamber sits securely on the lower chamber.
- Check that the spigot's washers are correctly placed and the nut is snug.
A quick check for a tight seal prevents messy leaks and protects the purity of your drinking water.
Troubleshooting Common Issues
Even with regular care, you might run into a few small problems. You can solve most common issues with your gravity water dispenser quickly and easily at home.
Fixing a Slow Flow Rate
A slow flow rate is the most common issue you will face. This problem almost always points to your filters. Over time, the filters get clogged with contaminants they have removed from your water. You can often fix this by cleaning your filters according to the manufacturer's instructions. If cleaning does not help or the filter is old, it is time for a replacement. A new filter will restore a fast, steady flow.
Dealing with Leaks
Finding a puddle around your dispenser can be alarming, but the fix is usually simple. Leaks typically happen at connection points. You can follow these steps to stop a leak:
- Check the Spigot: The nut holding the spigot can loosen over time. Reach inside the lower chamber and hand-tighten the nut until it is snug.
- Inspect the Seal: Make sure the upper chamber is sitting correctly on the lower chamber to create a proper seal.
- Look for Blockages: While less common, a blockage in the spigot can cause pressure issues. A quick clean with a small brush can clear it out.
Addressing Unpleasant Tastes or Odors
Your water should always taste fresh and clean. If you notice an unpleasant taste or smell, you can investigate the cause.
New Dispenser? A new unit can sometimes make water taste like plastic. This taste usually goes away after you use it a few times. You can also mix two tablespoons of baking soda with water and let it sit in the chambers overnight to remove the taste.
For an established system, a bad taste or musty odor often means your filter is old. An aging filter can harbor bacteria and stop working effectively. Replacing the filter is the best solution. Regular cleaning also prevents mold and bacteria from growing, which cause bad odors.
You can guarantee pure, great-tasting water by following this maintenance checklist. A well-maintained dispenser removes harmful impurities while keeping healthy minerals. This protects your health and your investment.
Start this simple routine today. You will provide worry-free, healthy hydration for you and your family.
FAQ
How often should I clean my dispenser?
You should wipe down the exterior weekly. Perform a full deep clean of all components once a month to ensure your water remains pure and your system functions correctly.
Can I use tap water in my gravity dispenser?
Yes, you can use tap water. The system is designed to remove chlorine, heavy metals, and other common contaminants found in municipal tap water, improving its taste and safety.
What happens if I don't change the filters?
Old filters stop working effectively. They can no longer remove contaminants and may even harbor bacteria. This will compromise the safety and taste of your drinking water.