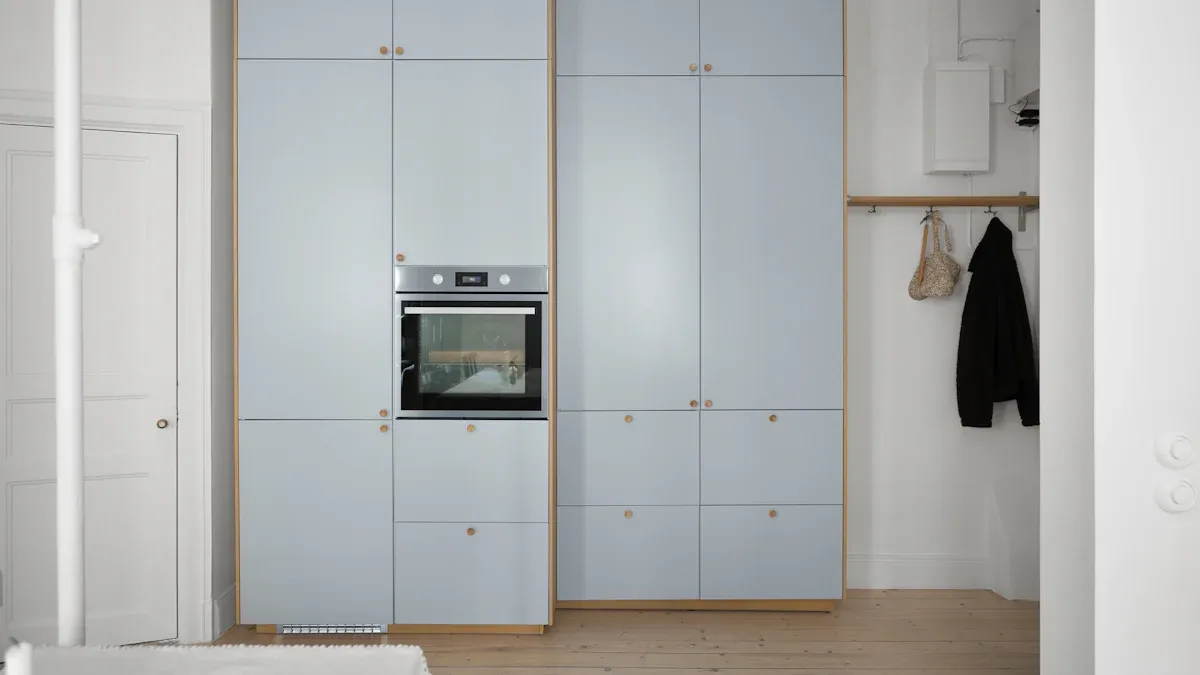
How To Build A Simple Cabinet To Hide Your Water Dispenser
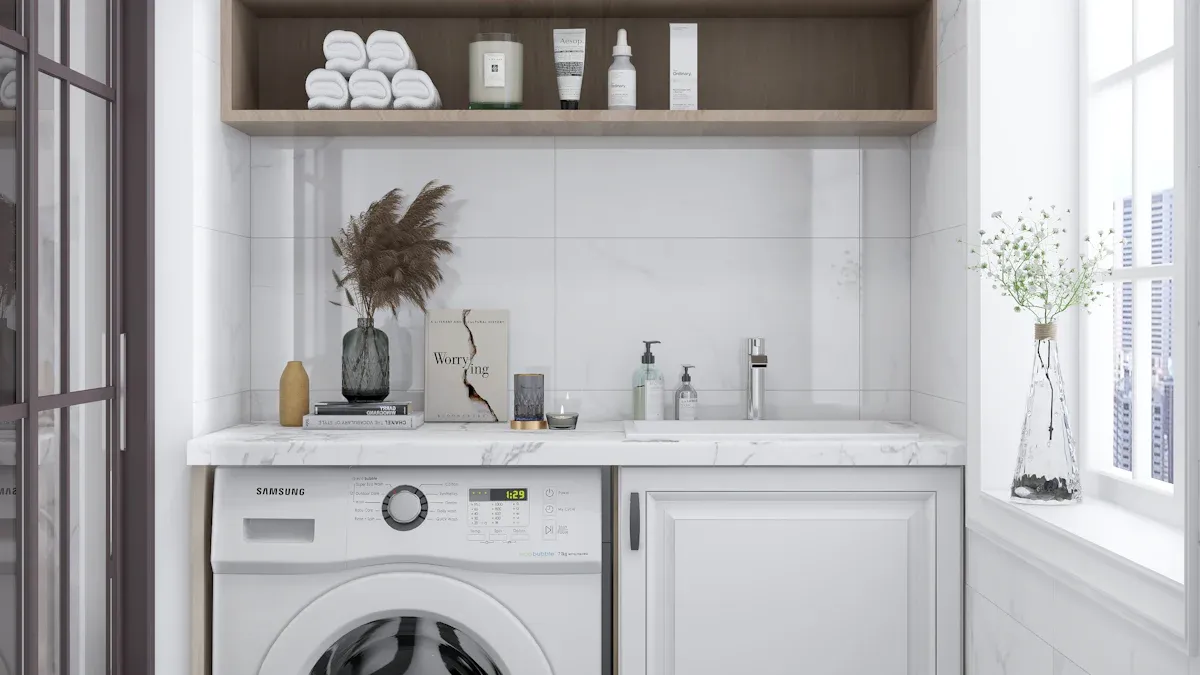
Does that bulky water dispenser clash with your kitchen's style? You can build a simple cabinet to cover water dispenser in just one weekend.
This project is a perfect way to add a custom touch. You can use natural materials to match today's popular nature-infused kitchen designs.
Key Takeaways
- Plan your cabinet carefully. Measure your water dispenser and add space for air flow. This keeps the dispenser cool.
- Build the cabinet frame using strong joints. Pocket-hole joinery is a good choice. Use wood glue for extra strength.
- Finish your cabinet with sanding and paint or stain. Add a hinged top for easy bottle changes. Install a handle for the door.
Pre-Build: Planning and Prep
Before you start cutting wood, a little planning goes a long way. Proper preparation ensures your project runs smoothly and you get a perfect fit. Let's get everything in order.
Gather Your Tools and Materials
First, you need to gather your supplies. You don't need a full workshop, just a few key items. For materials, choose a durable wood that can handle some moisture. White Oak and Maple are excellent choices because they are strong and resist wear and tear.
Essential Tools:
- Safety glasses and a dust mask
- Tape measure and pencil
- Circular saw or hand saw
- Drill
- Clamps and wood glue
Materials:
- Plywood or solid wood boards (like White Oak or Maple)
- Wood screws
- Sandpaper
- Your choice of paint or stain
Measure Your Dispenser (Don't Forget Ventilation!)
Next, you will measure your water dispenser. Use your tape measure to get the exact height, width, and depth. Write these numbers down. Now, add extra space for airflow. Your dispenser needs to breathe to stay cool and run efficiently.
Pro Tip: Plan for at least 8 inches of open space around the sides and back of the unit. This clearance prevents the dispenser from overheating inside the cabinet. Also, make sure the top has enough room to open for bottle changes.
Create a Simple Cut List
A cut list is your blueprint. It tells you the exact size of each piece of wood you need to cut. Based on your measurements (including the extra ventilation space), list out each panel: two sides, a back, a door, and a top lid. A clear cut list helps you buy the right amount of wood for your cabinet to cover water dispenser. Remember to add a small buffer, about 10-20%, to your material measurements. This extra material accounts for the wood used in joinery and gives you a safety net for any mistakes.
The Build: Assembling Your Cabinet to Cover Water Dispenser
Now for the fun part—bringing your design to life! With your cut list ready, it's time to start building. Work slowly and check your measurements as you go. You'll have a beautiful cabinet built in no time.
Build the Side and Back Panels
First, you will assemble the main panels. Take the pieces you cut for the sides and back. You need a strong way to join them together. For a simple and sturdy cabinet, pocket-hole joinery is a fantastic choice. This method uses angled holes and screws to create a quick, reliable connection.
Get Started with Joinery: You can use a pocket-hole jig to drill angled holes along the edges of your back panel. Then, you'll attach the back panel to the two side panels with screws. This forms a solid U-shape.
Other joinery methods work well too. Dowels create invisible joints, while biscuits help with alignment. Here’s a quick comparison:
| Technique | Complexity | Resources | Ideal Use Cases |
|---|---|---|---|
| Pocket-Hole Joinery | Low; simplified process with jigs | Pocket-hole jig; self-tapping screws | Cabinet boxes; rapid furniture |
| Dowel Joinery | Moderate; precise hole alignment essential | Doweling jig; standard woodworking tools | Cabinet face frames; panel joinery |
| Biscuit Joinery | Low to moderate; straightforward process | Biscuit joiner and matching biscuits | Panel assemblies; cabinet face frames |
Assemble the Main Frame
With your panels joined, you can now assemble the main frame of your cabinet. This step creates the sturdy box that will cover water dispenser units.
- Apply a thin bead of wood glue to the edges where your panels will meet.
- Use clamps to hold the pieces together tightly. The clamps ensure a snug fit while the glue dries.
- Wipe away any excess glue with a damp cloth before it dries.
For a strong bond, you should use a quality wood glue. Polyvinyl Acetate (PVA) glues are perfect for this kind of project.
- Titebond III Ultimate Wood Glue is a popular choice because it's strong and water-resistant.
- Titebond Original Wood Glue also works great for indoor furniture and dries clear.
- These PVA glues are non-toxic and easy to clean up with water.
Let the frame dry completely according to the glue manufacturer's instructions.
Construct and Attach the Door
A great-looking door makes all the difference. A Shaker-style door is simple, classic, and easy to build. It consists of a frame (stiles and rails) and a flat center panel.
To build the door, you will cut vertical boards (stiles) and horizontal boards (rails). You can join them with pocket holes drilled into the ends of the rails. After assembling the frame, you slide a thin plywood panel into a groove cut on the inside edge.
Pro Tip: Before you cut your door, you need to know its final size. For a clean look, use a ½ inch overlay. This means the door will be slightly larger than the cabinet opening.
- Door Height = Opening Height + 1 inch
- Door Width = Opening Width + 1 inch
Once your door is built, you need to attach it. Concealed hinges, also called European hinges, are perfect because they are completely hidden when the door is closed. You will need to drill shallow holes in the door to install them.
| Hinge Type | Visibility | Installation Method |
|---|---|---|
| European Hinge | Concealed | Mortised (requires a cutout) |
| Butt Hinge | Exposed or Partially Concealed | Mortised |
| Strap Hinge | Exposed | Surface-mounted |
| Piano Hinge | Exposed | Surface-mounted |
Create a Top Lid for Bottle Access
Your cabinet needs a way to access the water bottle for changes. A hinged top lid is the perfect solution. Cut a piece of wood to fit the top of your cabinet. You can attach it along the back edge with a piano hinge or two smaller butt hinges.
For an extra touch, you can add a small clasp on the front to keep the lid securely closed. Using a nice wood like Poplar or Baltic Birch Plywood for the lid can add a stylish contrast.
Sand, Paint, or Stain
Now it's time to give your cabinet its final look. Proper sanding is key to a professional finish. The 'Golden Rule of Sanding' is to move through sandpaper grits without skipping too many. Each grit removes the scratches from the previous one.
Start with a lower grit like P80 or P120 to smooth out any imperfections. Then, move up to P180 and finally P220 for a surface that's ready for finishing.
| Grit Number | Application |
|---|---|
| P80 | Starting grit for hardwoods, removes shallow scratches |
| P120 | Starting grit for softwoods |
| P180 | Smooths raised wood grain, preps for latex paint |
| P220 | Preps for wood stain and final finishing |
Next, decide between paint or stain. Each has a unique look and benefits. This cabinet to cover water dispenser can match your existing decor.
| Feature | Painted Cabinets | Stained Cabinets |
|---|---|---|
| Pros | Smooth, uniform look; endless color options | Showcases natural wood grain; durable finish |
| Cons | Shows wear easier (chips, dents) | Visible wood imperfections (knots, grain) |
If you plan to use the top of your cabinet as a small counter, consider a food-safe finish. You can apply a few coats of walnut oil and finish with a blended wax for a durable, safe surface.
Install Hardware and Final Touches
The final details complete your project. Installing a handle or knob makes the door easy to open.
Use a Jig! A cabinet hardware jig is a template that helps you drill holes in the exact same spot every time. It ensures your hardware is perfectly aligned and looks professional.
After installing the handle, consider adding a few functional accessories. You can place a small stainless steel drip tray inside on the cabinet floor to catch any spills. Some people even add a wall-mounted cup holder inside the cabinet for easy access. Now, stand back and admire your new, stylish way to cover water dispenser messes and machinery!
Take a moment to admire your new custom cabinet! You successfully built a functional piece to cover water dispenser clutter and upgraded your home's style. Research shows that reducing visual chaos helps lower stress and sharpen focus.
Enjoy your new, organized space and the peace of mind that comes with it! 🎉
FAQ
What if I don't have a circular saw?
You can use a simple hand saw and a miter box for straight cuts. Many home improvement stores will also cut your wood to size for you.
How do I make the cabinet more stable?
You can make your cabinet sturdier by adding a full back panel. Attaching small corner braces inside the frame also adds significant strength and prevents wobbling.
Can I add shelves inside the cabinet?
Yes, you can easily add shelves. This is a great way to store cups or other small items.
You can install simple shelf pins or small wood cleats to support your shelves. Just make sure they don't block the water bottle.