The Best Way to Clean Your Home Water Dispenser
An excellent water dispenser home provides convenient access to clean water. You can easily maintain its quality. The best cleaning method is a simple, 30-minute process. You can use either a vinegar or a bleach solution. This guide ensures your water remains safe and tastes great.
Did You Know? 💡 Biofilms can form inside your dispenser, harboring harmful bacteria like Legionella and E. coli. These germs can contaminate your drinking water, potentially causing serious health risks and unpleasant tastes.
Key Takeaways
- Clean your water dispenser every three to six months. This prevents germs and keeps water fresh.
- You can use vinegar or bleach to clean your dispenser. Always rinse it well after cleaning.
- Regular cleaning makes your water taste good. It also keeps you safe from harmful bacteria.
The Complete Step-by-Step Cleaning Process
This five-step process makes cleaning your water dispenser simple and fast. You will have fresh, clean water in about 30 minutes.
Gather Your Cleaning Supplies
Before you begin, you need to collect a few items. Most are common household products. You will need your cleaning solution (vinegar or bleach), clean cloths or sponges, and a bucket.
For a more specialized approach, you can find commercial cleaning products. Ideal Pure Water suggests using a product like Pristines H2OK Water Cooler Cleaner for a guaranteed clean. You can also purchase complete kits. These kits provide everything you need in one box.
Here are a couple of examples:
- Rainbow Technology's Water Cooler Cleaner Kit includes baking soda, liquid dish soap, a sponge, and industrial wipers.
- ReadyRefresh's DIY Cleaning Kit comes with a scour pad, food-grade hydrogen peroxide, nitrile gloves, and a user manual.
Prepare Your Dispenser
Proper preparation protects you and your appliance. It makes the cleaning process much smoother.
Safety First! ⚠️ Always disconnect your appliance from power before cleaning. This prevents any risk of electric shock.
- Unplug the dispenser from the electrical outlet.
- Turn off the hot water switch, usually found on the back.
- Let the hot water reservoir cool down for about an hour.
- Remove the water bottle. Wait until the bottle is empty to avoid spills. Pull the bottle straight up to detach it.
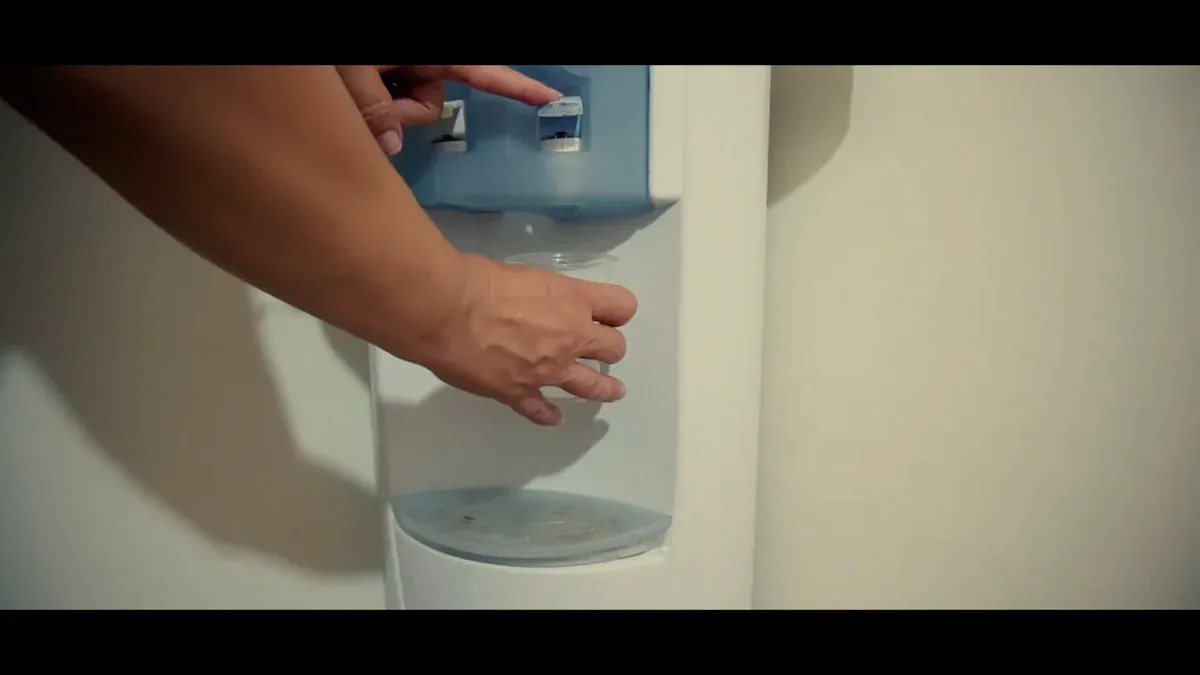
- Drain all remaining water from the reservoirs through the spigots.
Next, you will take apart the top of your water dispenser home. You can typically remove the following parts for cleaning:
- The bottle support collar (the ring the bottle sits on)
- The separator or baffle inside the reservoir
- The drip tray grill
For some models, like a Vitapur cooler, you may need to align arrows to unlock and remove the top collar. It might feel tight, so turn it in small steps.
Clean with Your Chosen Solution
Now you are ready to sanitize the inside of the dispenser.
Pour your cleaning solution (either vinegar and water or bleach and water) into the top reservoir. Fill it completely.
Pro Tip: 📝 Always read your manufacturer's user manual first. Parts and internal systems vary by brand. Following the manual prevents damage to your water dispenser home. For stubborn buildup, you can use a paste of baking soda and water to gently scrub the inside of the reservoir before adding the liquid solution.
Let the solution sit inside the unit. The ideal time can vary.
- Some models require the solution to sit for a minimum of 2 to 5 minutes.
- Other brands, like Brio, recommend letting it sit for 15 minutes.
While the solution soaks, clean the removable parts you set aside. You can wash them in the sink with warm, soapy water. Also, take this time to clean the drip tray. If the tray is removable, wash it separately. If not, wipe it thoroughly with a cloth dipped in your cleaning solution.
Rinse the System Thoroughly
Rinsing is the most important step to ensure your water tastes great. You must remove all traces of the cleaning solution.
- Drain the solution. Dispense the entire cleaning solution through the cold and hot spigots into a bucket.
- Fill with fresh water. Pour clean, fresh water into the reservoir until it is full.
- Drain again. Dispense all the fresh water through both spigots.
- Repeat the rinse. You must rinse the unit a minimum of two times. If you can still smell vinegar or bleach, continue rinsing. You may need to flush two or more gallons of water through the system until the odor is completely gone.
Reassemble and Final Wipe-Down
Your dispenser is now internally sanitized. The final step is putting it all back together.
Make sure all the removable parts are completely dry. Place the baffle and support collar back onto the unit. Slide the clean drip tray back into position.
Use a clean, damp cloth to wipe down the entire exterior of the dispenser, including the spigots. Place a new water bottle on top, plug the unit back in, and turn on the hot water switch if you use it. You can now enjoy safe and great-tasting water.
Essential Maintenance for Your Water Dispenser Home
Consistent maintenance keeps your water dispenser home in top condition. You can prevent the long-term buildup of biofilms and harmful bacteria. This ensures your water is always safe and tastes fresh.
How Often Should You Clean It?
You should perform a deep clean every three to six months. However, your usage affects this schedule. A dispenser in a high-traffic area may need monthly cleaning. You should also clean your unit immediately if you notice any warning signs.
Time to Clean? Watch for These Signs! 🚨
- Your water tastes or smells metallic or funky.
- Water flows very slowly from the spigots.
- You see visible slime or green algae inside the reservoir.
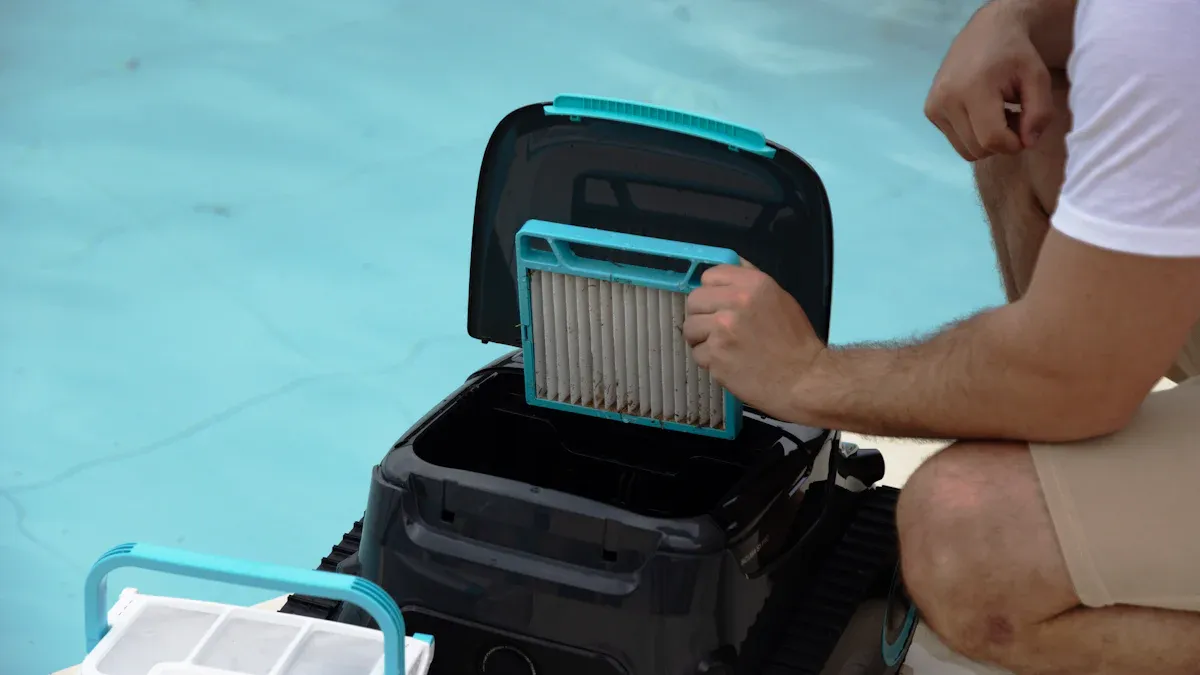
- The 'change filter' light turns on.
Choosing Your Cleaning Solution
You have two main choices for cleaning: a vinegar solution or a bleach solution. Each has its own benefits. Vinegar is a natural option that works well for dissolving mineral buildup from hard water. Bleach is a powerful sanitizer.
| Solution | Pros | Cons |
|---|---|---|
| Vinegar | Natural, effective descaler | Can damage some rubber parts |
| Bleach | Strong disinfectant | Requires very thorough rinsing |
Always check your user manual before choosing. Some manufacturers may advise against using vinegar on their products.
Quick Weekly Maintenance Tips
You can perform small tasks each week to maintain your water dispenser home. These quick steps prevent grime and keep things fresh between deep cleanings.
- Wipe the Exterior: Use a damp cloth to wipe down all outer surfaces and remove dust or spills.
- Clean the Drip Tray: Empty the drip tray and wash it with warm, soapy water to prevent mold.
- Sanitize the Spigots: Use a soft brush or cloth dipped in a cleaning solution to gently scrub the nozzles. This removes any buildup.
You now have the best method for clean, great-tasting water. Following this routine extends your dispenser's lifespan and ensures it works efficiently. You prevent harmful bacteria, like coliforms and heterotrophs, from contaminating your water.
Remember: This simple habit protects your health with every glass you drink. 💧
FAQ
Is it safe to use bleach to clean my water dispenser?
Yes, using bleach is safe if you dilute it correctly. You must rinse the dispenser multiple times with fresh water. This removes any bleach residue and protects your water's taste.
What if my water still tastes bad after cleaning?
A lingering taste means you need to rinse more. Flush the system with at least two more gallons of fresh water. The taste will disappear with thorough rinsing.
Can I use this method for a bottom-loading dispenser?
Yes, the cleaning process is very similar. You will pump the cleaning solution through the internal lines. Always consult your user manual for model-specific instructions before you begin cleaning.