The Ultimate Beginner's Guide to DTF Transfer Films in 2026
Direct-to-Film (DTF) printing is a method for transferring vibrant, durable designs. This technique uses specialized dtf transfer films on a wide range of fabrics. The process involves three core stages: printing the design, applying an adhesive powder, and heat-pressing the transfer onto the garment. This creates a high-quality finish.
Key Takeaways
- DTF printing uses special film and powder to put colorful designs on many types of fabric. You need a DTF printer, inks, film, and a heat press to start.
- Follow five steps to use DTF films: print your design backward, add adhesive powder, melt the powder, press the design onto your item, and then peel the film off. A final press makes the design last longer.
- DTF prints are strong and stretchy. They work on many fabrics, even dark ones. This makes DTF a good choice for custom clothes.
What You'll Need: Your DTF Starter Kit
Assembling the right equipment is the first step toward producing professional-grade custom apparel. A beginner's setup can range from a basic collection of core components to a more advanced workstation. This section outlines the necessary and recommended tools for your DTF journey.
The Essentials
Every DTF printing operation requires a few core pieces of equipment to function. These items form the foundation of the printing, curing, and application process.
- DTF Printer: This specialized printer handles the unique ink and film combination. Beginners can choose a model based on their expected print volume and budget.
| Print Volume | Budget | Maintenance | Recommended Model |
|---|---|---|---|
| < 100 prints/month | Under $1,500 | Low | jinlong DTF Mini A4 |
| < 100 prints/month | $1,500 – $3,000 | Moderate | Procolored Panda A3 |
| Budget conscious | Under $1,000 | Accept risk | Mophorn A3 DTF |
- DTF Inks and Adhesive Powder: You will need specialized DTF inks (Cyan, Magenta, Yellow, Black, and White) and a thermoplastic adhesive powder. Quality inks from brands like STS or Kodak ensure vibrant colors and excellent wash durability.
- DTF Transfer Films: These specially coated sheets hold the ink and release the design onto the garment during pressing.
- Curing Oven or Heat Press: A device is necessary to melt the adhesive powder onto the printed film. A heat press is also required for the final transfer to the fabric.
Recommended for a Smoother Process
Pro Tip: While not strictly essential, the following tools significantly improve print quality, workflow efficiency, and workplace safety.
- RIP Software: Raster Image Processing (RIP) software like AcroRIP gives you total control over your prints. It manages color accuracy with ICC profiles, generates the crucial white ink underbase, and optimizes ink usage for sharper, more vibrant results than a standard printer driver can achieve.
- Air Purifier: The curing process releases fumes and fine particles. An air purifier with HEPA and charcoal filters is highly recommended to maintain good air quality and ensure a safe, clear workspace, especially in enclosed areas.
- Humidity Gauge: DTF printing works best in a controlled environment. A simple humidity gauge helps you monitor conditions to prevent film and ink issues.
The 5-Step Guide to Using DTF Transfer Films
With your starter kit ready, it is time to create your first custom garment. This five-step guide breaks down the entire DTF process, from digital design to finished product. Following these procedures ensures a high-quality, durable, and professional-looking transfer.
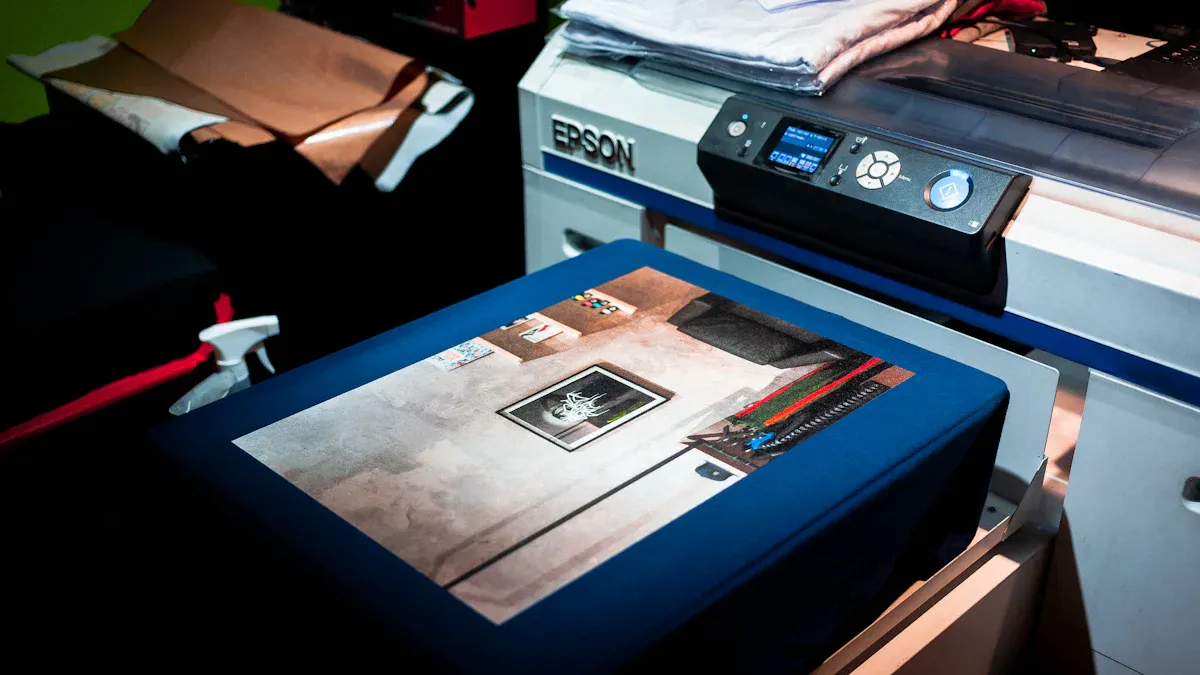
Step 1: Print Your Mirrored Design
The first step is printing your artwork onto the DTF film. A crucial part of this process is mirroring the design. The printer will apply the image to the film backward so it appears correctly when pressed onto the fabric.
Most design or RIP software can handle this task. Users can flip the design horizontally before printing.
- Adobe Photoshop: Navigate to
Image > Image Rotation > Flip Canvas Horizontal. - Adobe Illustrator: Select all objects, then go to
Object > Transform > Reflectand choose the horizontal axis. - RIP Software: Enable the "Mirror" or "Flip Horizontal" option in the print layout settings.
Important Note: Only mirror the design in one program. Applying the mirror function in both your design software and your RIP software will result in a double-mirrored (and thus incorrect) print.
For optimal print quality, configure your RIP software settings carefully. These settings control color accuracy and ink density.
- Resolution: Set the print resolution to 1440x720 DPI or higher for crisp details.
- White Ink: Use 100% white ink coverage under the color layer. This creates an opaque base that makes colors pop.
- ICC Profile: Select the correct ICC profile for your specific printer, ink, and film combination to ensure accurate color reproduction.
Step 2: Apply the Adhesive Powder
After printing, the ink needs a binding agent. This is where the adhesive powder comes in. The powder sticks only to the wet ink, creating the adhesive layer that will bond the design to the garment.
For manual application, place the freshly printed film in a shallow tray. Generously sprinkle the powder over the entire design, ensuring full coverage. Gently roll the film back and forth to distribute the powder evenly. Once covered, lift the film and flick the back of it firmly to shake off all excess powder. Only the powder stuck to the ink should remain.
Pro Tip: Control Your Environment DTF powder is hygroscopic, meaning it absorbs moisture from the air. High humidity (above 60%) can cause the powder to clump, leading to uneven application and poor adhesion. Maintain a workspace humidity level between 40-60% and store your powder in a tightly sealed container to prevent issues.
Step 3: Cure the Powdered Film
Curing melts the adhesive powder, transforming it into a smooth, solid sheet of adhesive. This prepares the transfer for pressing. You can use a dedicated curing oven or the hover function of a heat press. The goal is to melt the powder without touching the film with a hot surface.
Visual cues indicate a perfect cure. The powder will transform from a grainy, matte texture to a glossy, slightly bumpy surface that resembles an orange peel. The entire design should look like a unified, melted sheet.
| Curing Method | Temperature Range | Time |
|---|---|---|
| Convection Oven | 212–230°F (100–110°C) | 2–3 minutes |
| Heat Press (Hover) | 270–300°F (132–149°C) | 60–90 seconds |
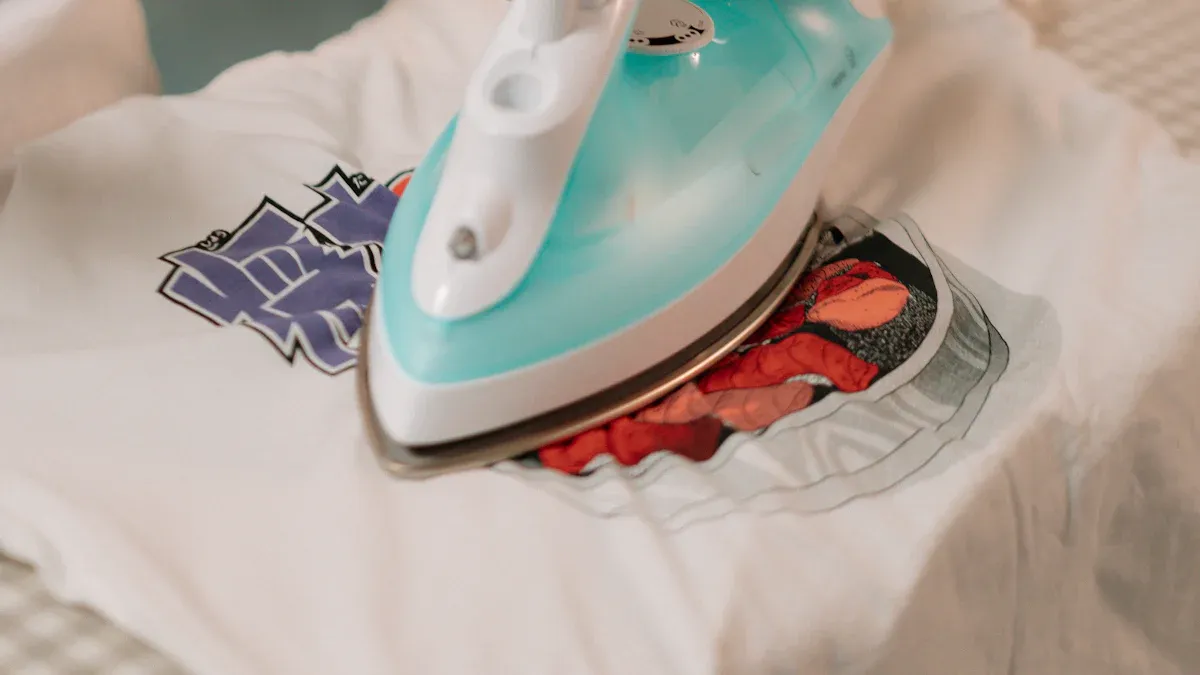
Step 4: Press the Transfer
Now it is time to apply the design to the garment. Place the garment on the heat press and pre-press it for 3-5 seconds to remove moisture and wrinkles. Position the cured transfer on the garment with the ink side down.
Place a sheet of parchment paper or silicone paper over the transfer. These materials protect the garment and ensure even heat distribution. Avoid using a Teflon sheet, as it can block too much heat and cause poor adhesion. Press the design using the appropriate settings for your fabric type.
| Fabric Type | Temperature (°F) | Time (seconds) | Pressure |
|---|---|---|---|
| 100% Cotton & Blends | 300–315°F | 10–13 seconds | Medium to Firm |
| 100% Polyester | 250–275°F | 7–8 seconds | Medium |
| Performance Fabrics | 275–280°F | 7–10 seconds | Medium to Firm |
Step 5: Peel and Finalize
The final step involves removing the film and performing a finishing press. The peeling method depends on the type of dtf transfer films you are using: hot peel or cold peel.
| Consideration | Cold Peel | Hot Peel |
|---|---|---|
| Process | Let the transfer cool completely (30+ seconds) before peeling. | Peel the film immediately while it is still hot. |
| Feel | Often results in a smoother, more matte finish. | Can have a glossier finish if not re-pressed. |
| Ease of Use | More forgiving for beginners. | Requires speed and confidence for a clean peel. |
After peeling the film, a final press is highly recommended. Place a sheet of parchment paper over the exposed design and press it again for 2-5 seconds. This finishing press locks the design into the fabric fibers, improves wash durability, and softens the feel of the print. It helps the design achieve a professional, long-lasting finish.
Common Beginner Mistakes and How to Fix Them
Even with the right equipment, beginners often encounter a few common hurdles. Understanding these issues and their solutions is key to achieving consistent, professional results. This section addresses the most frequent problems in curing, powder application, and final garment quality.
Curing and Pressing Problems
Improper adhesion is a frequent issue, often stemming from incorrect heat press settings. Insufficient pressure is a primary cause, as it prevents the melted adhesive from fully penetrating the garment's fibers. This results in a weak bond where corners may curl or peel after washing.
Solutions to Common Pressing Issues:
- Pre-Press the Garment: Always press the fabric for 5-7 seconds before applying the transfer. This removes hidden moisture and wrinkles that interfere with adhesion.
- Verify Pressure: Use medium to firm pressure. The goal is to embed the design into the fabric, not just sit it on top.
- Calibrate Temperature: Ensure the heat press reaches the recommended temperature for your fabric type. An inaccurate platen can lead to under-cured, weak transfers.
Powder Application Errors
The adhesive powder stage can introduce frustrating imperfections. Powder clumping and stray particles are two common culprits. Clumping often occurs when the powder absorbs moisture from humid air, leading to an uneven, bumpy finish.
Workspace Tip: Control Your Environment Maintain a workspace humidity level between 45-60%. Store your powder in a tightly sealed, airtight container with a desiccant pack to prevent moisture absorption and clumping.
After coating the print, users must thoroughly tap the back of the film to remove all excess powder. Any stray granules left on unprinted areas will melt during curing and transfer to the garment, creating unwanted specks.
Poor Washability and Feel
A print that looks great off the press but fails after one wash is a common beginner frustration. Proper aftercare and finishing techniques are essential for longevity. For maximum durability, garments should be turned inside out and washed in cold water with a mild detergent. Air-drying is best, but a low-heat tumble dry is also acceptable.
To improve the soft-hand feel of the final print, perform a second press. After peeling the film, cover the design with parchment paper and press again for 2-5 seconds. This simple step pushes the ink deeper into the fabric fibers, increasing wash durability and creating a much softer, less plastic-like texture.
DTF Performance and Comparisons
Understanding a decoration method's real-world performance is crucial. DTF printing excels in durability and versatility, but it is important to see how it measures up against other technologies.
Durability, Stretch, and Feel
A properly applied DTF print demonstrates impressive longevity. High-quality transfers can endure between 50 and 100 wash cycles before showing significant fading or cracking. This durability makes them a reliable choice for commercial apparel.
The stretchability of dtf transfer films is another key advantage. They adhere well to flexible fabrics like spandex blends, though careful application is needed to prevent distortion. Some transfers are specifically formulated for high elasticity, making them ideal for performance wear. The final feel is soft, especially after a finishing press, but it sits on top of the fabric rather than soaking into it.
DTF vs. Sublimation vs. DTG
Choosing the right printing method depends on the project's specific needs, such as fabric type, color, and budget. DTF often provides a balanced solution compared to Sublimation and Direct-to-Garment (DTG) printing.
Quick Comparison: DTF vs. The Alternatives This table breaks down the key differences between the three leading digital decoration methods.
| Feature | DTF (Direct-to-Film) | Sublimation | DTG (Direct-to-Garment) |
|---|---|---|---|
| Fabric Compatibility | Cotton, polyester, blends, leather, darks | Light-colored polyester only | Best on 100% cotton; struggles on polyester |
| Vibrancy on Darks | Excellent; opaque white base makes colors pop | Not applicable | Good, but requires heavy pretreatment |
| Cost (100-shirt order) | ~$2.50 per print | $1.00 – $3.00 per print | ~$5.50 per print |
| Feel | Soft but noticeable layer on the fabric | No feel; ink becomes part of the fabric | Very soft; ink dyes the fabric directly |
DTF printing provides exceptional versatility and durability for vibrant, full-color designs. It stands out as a superior method for custom apparel.
Pro Tip for Beginners: Starting with pre-printed dtf transfer films is a cost-effective way to master the application process. This avoids the significant initial investment in printing equipment.
You now have the knowledge to start your first project. Share your results or ask questions in the comments! 🚀
FAQ
What fabrics can DTF transfers be applied to?
DTF works on many materials. This includes cotton, polyester, blends, leather, and wood. Its versatility across light and dark fabrics makes it a popular choice for various projects.
How long do DTF transfers last?
A quality DTF transfer endures 50-100 washes. Proper application and care, like washing in cold water, are essential. This ensures maximum durability and longevity for the printed design.
Is hot peel or cold peel film better for beginners?
Cold peel films are more forgiving for newcomers. They allow time for the transfer to cool completely. This process reduces the risk of peeling errors and ensures a clean transfer.
See Also
Leading Precoating Substances for Advanced Filtration Systems in the Coming Year
Popular Folder Gluer Innovations for Carton Production Lines Next Year
Evidence-Based Strategies to Enhance 2 5-Furandicarboxylic Acid Sustainability Efforts
An Introductory Handbook for Frame Plate Kits in Vehicle Reinforcement
Crucial Procedures for Obtaining PED 2014/68/EU Compliance and Approval